
April 2012
MAME Cabinet
A MAME cabinet is something that I've wanted to build for a while but it wasn't until I watched the documentary "The King of Kong: A Fist Full of Quarters" that I got the inspiration that I needed. I wanted to play some Kong of my own but didn't want to play on my computer. I wanted a more real experience. So with this in mind I started designing my MAME cabinet. Once the design was done it was just a matter of getting the parts together and building it. I really enjoyed this project. It was a lot of work but there weren't any technically difficult parts for me so it was mostly just building. 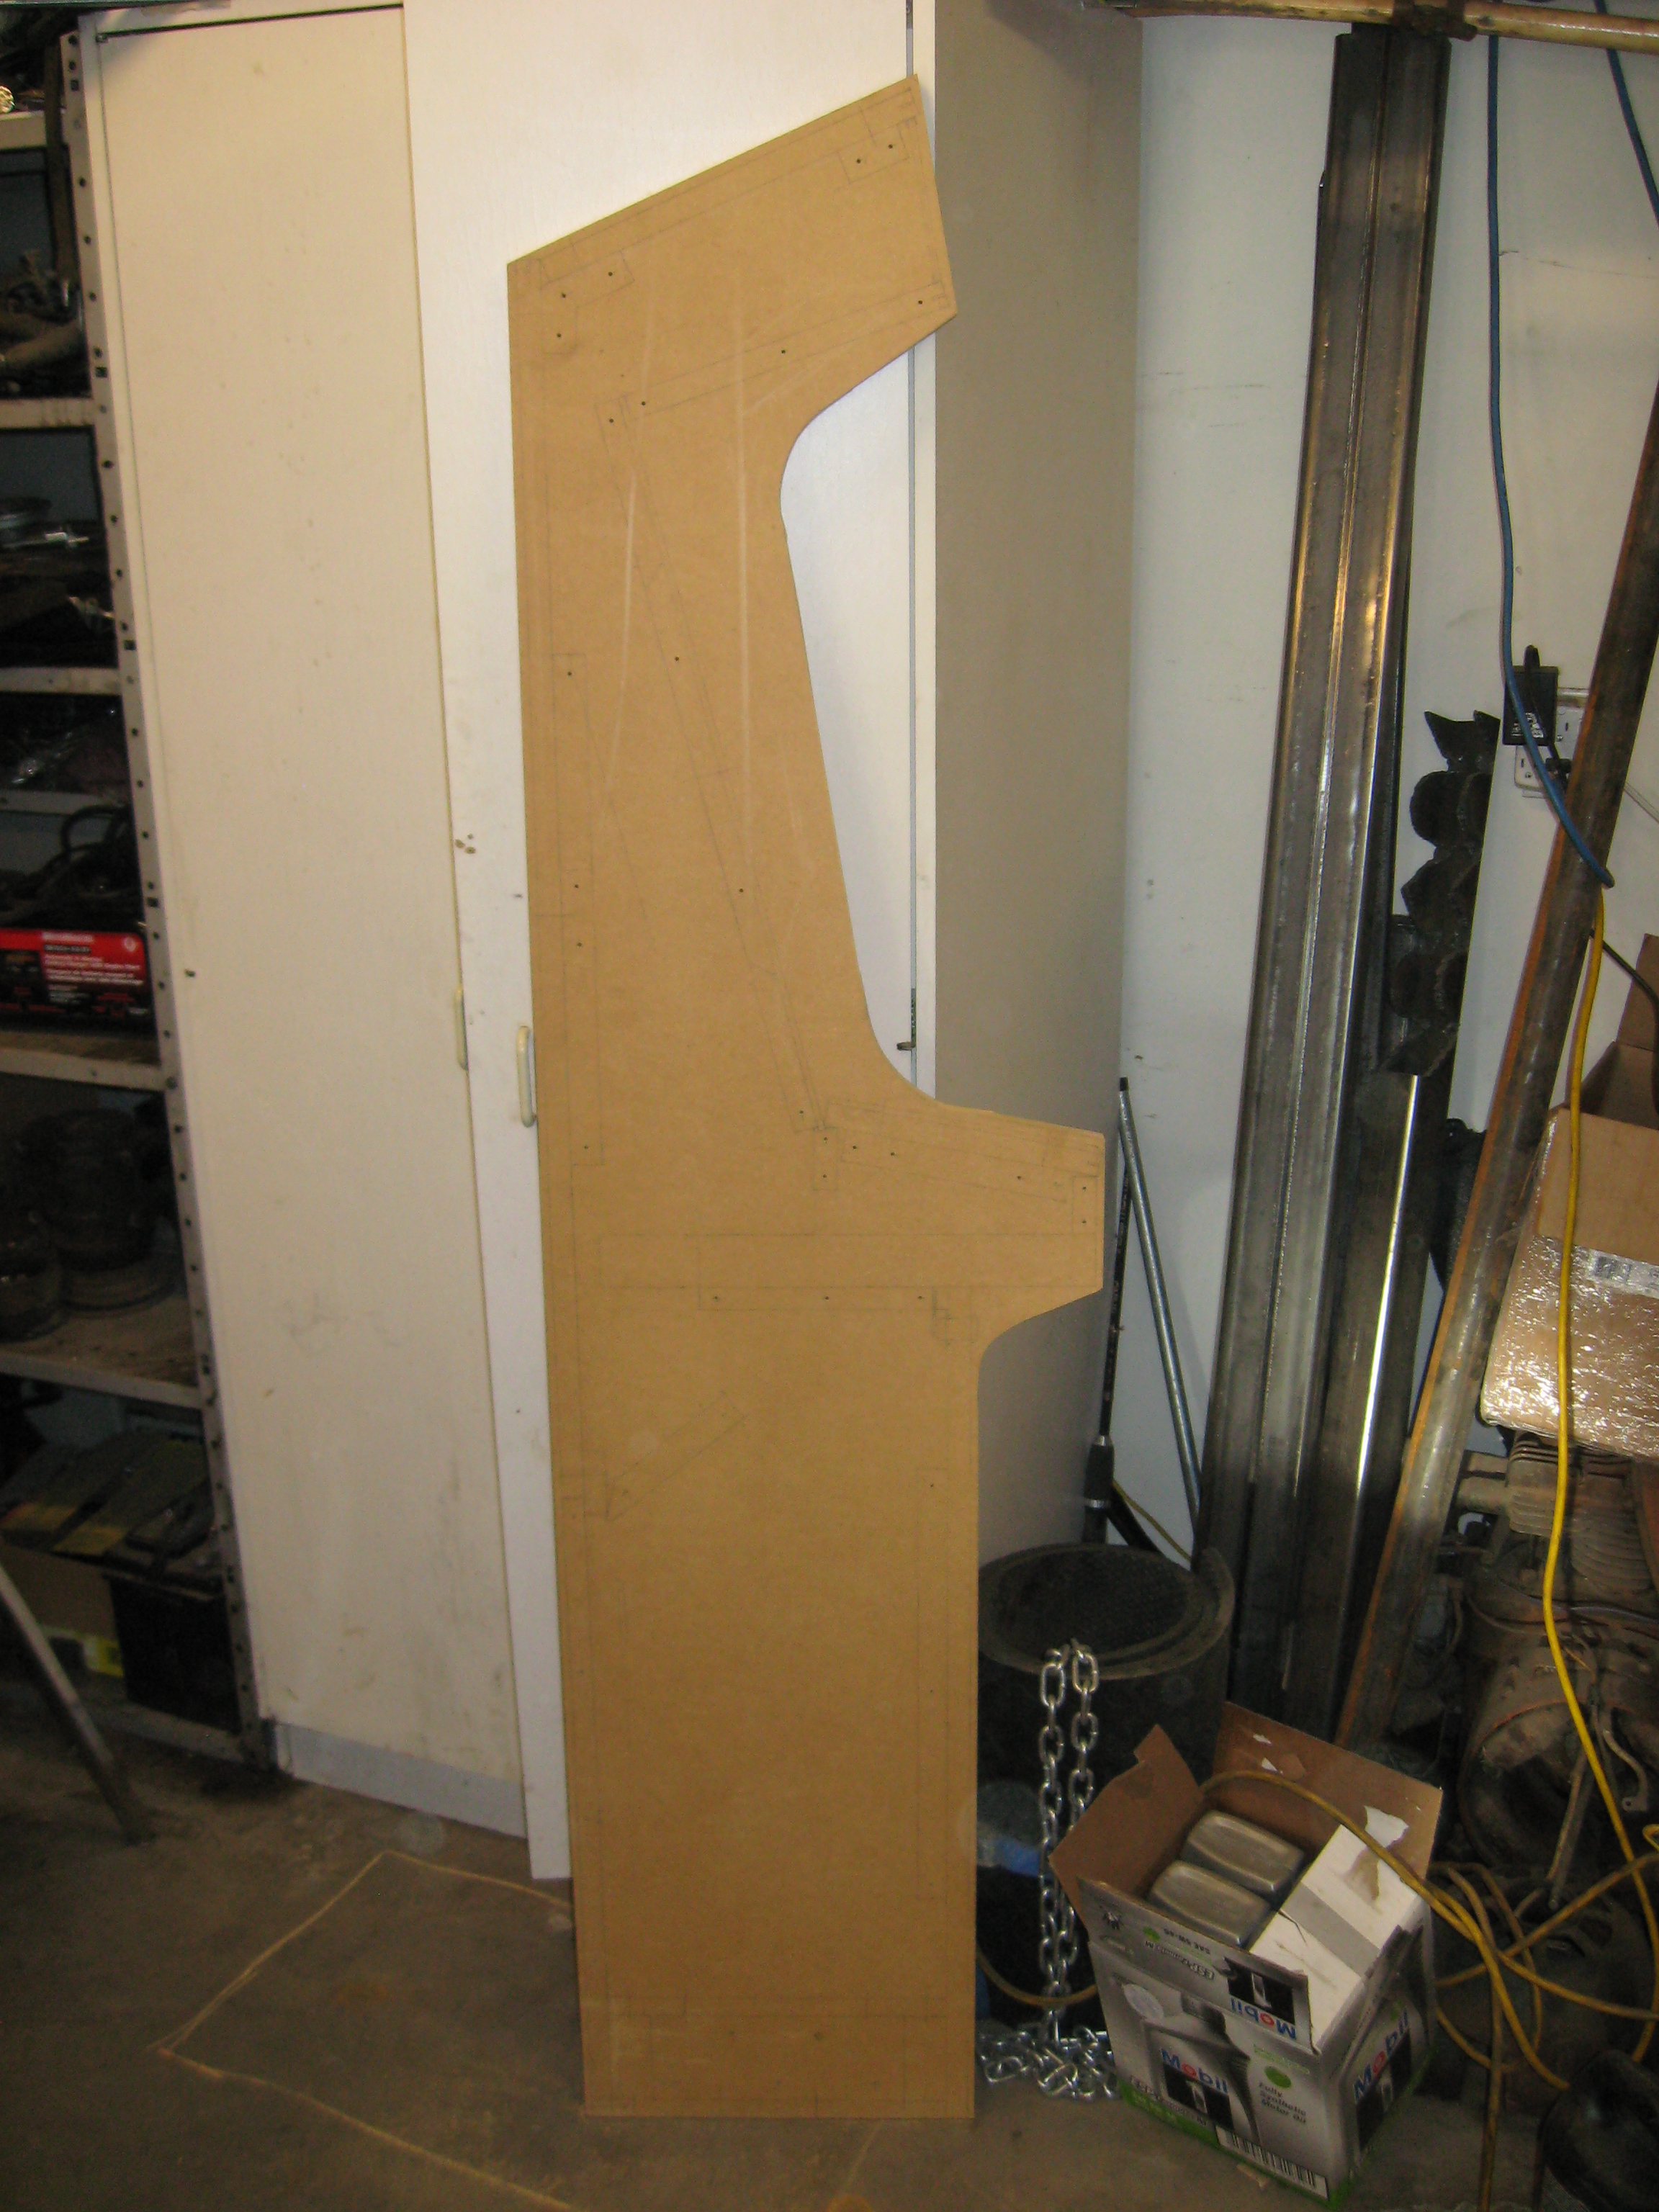 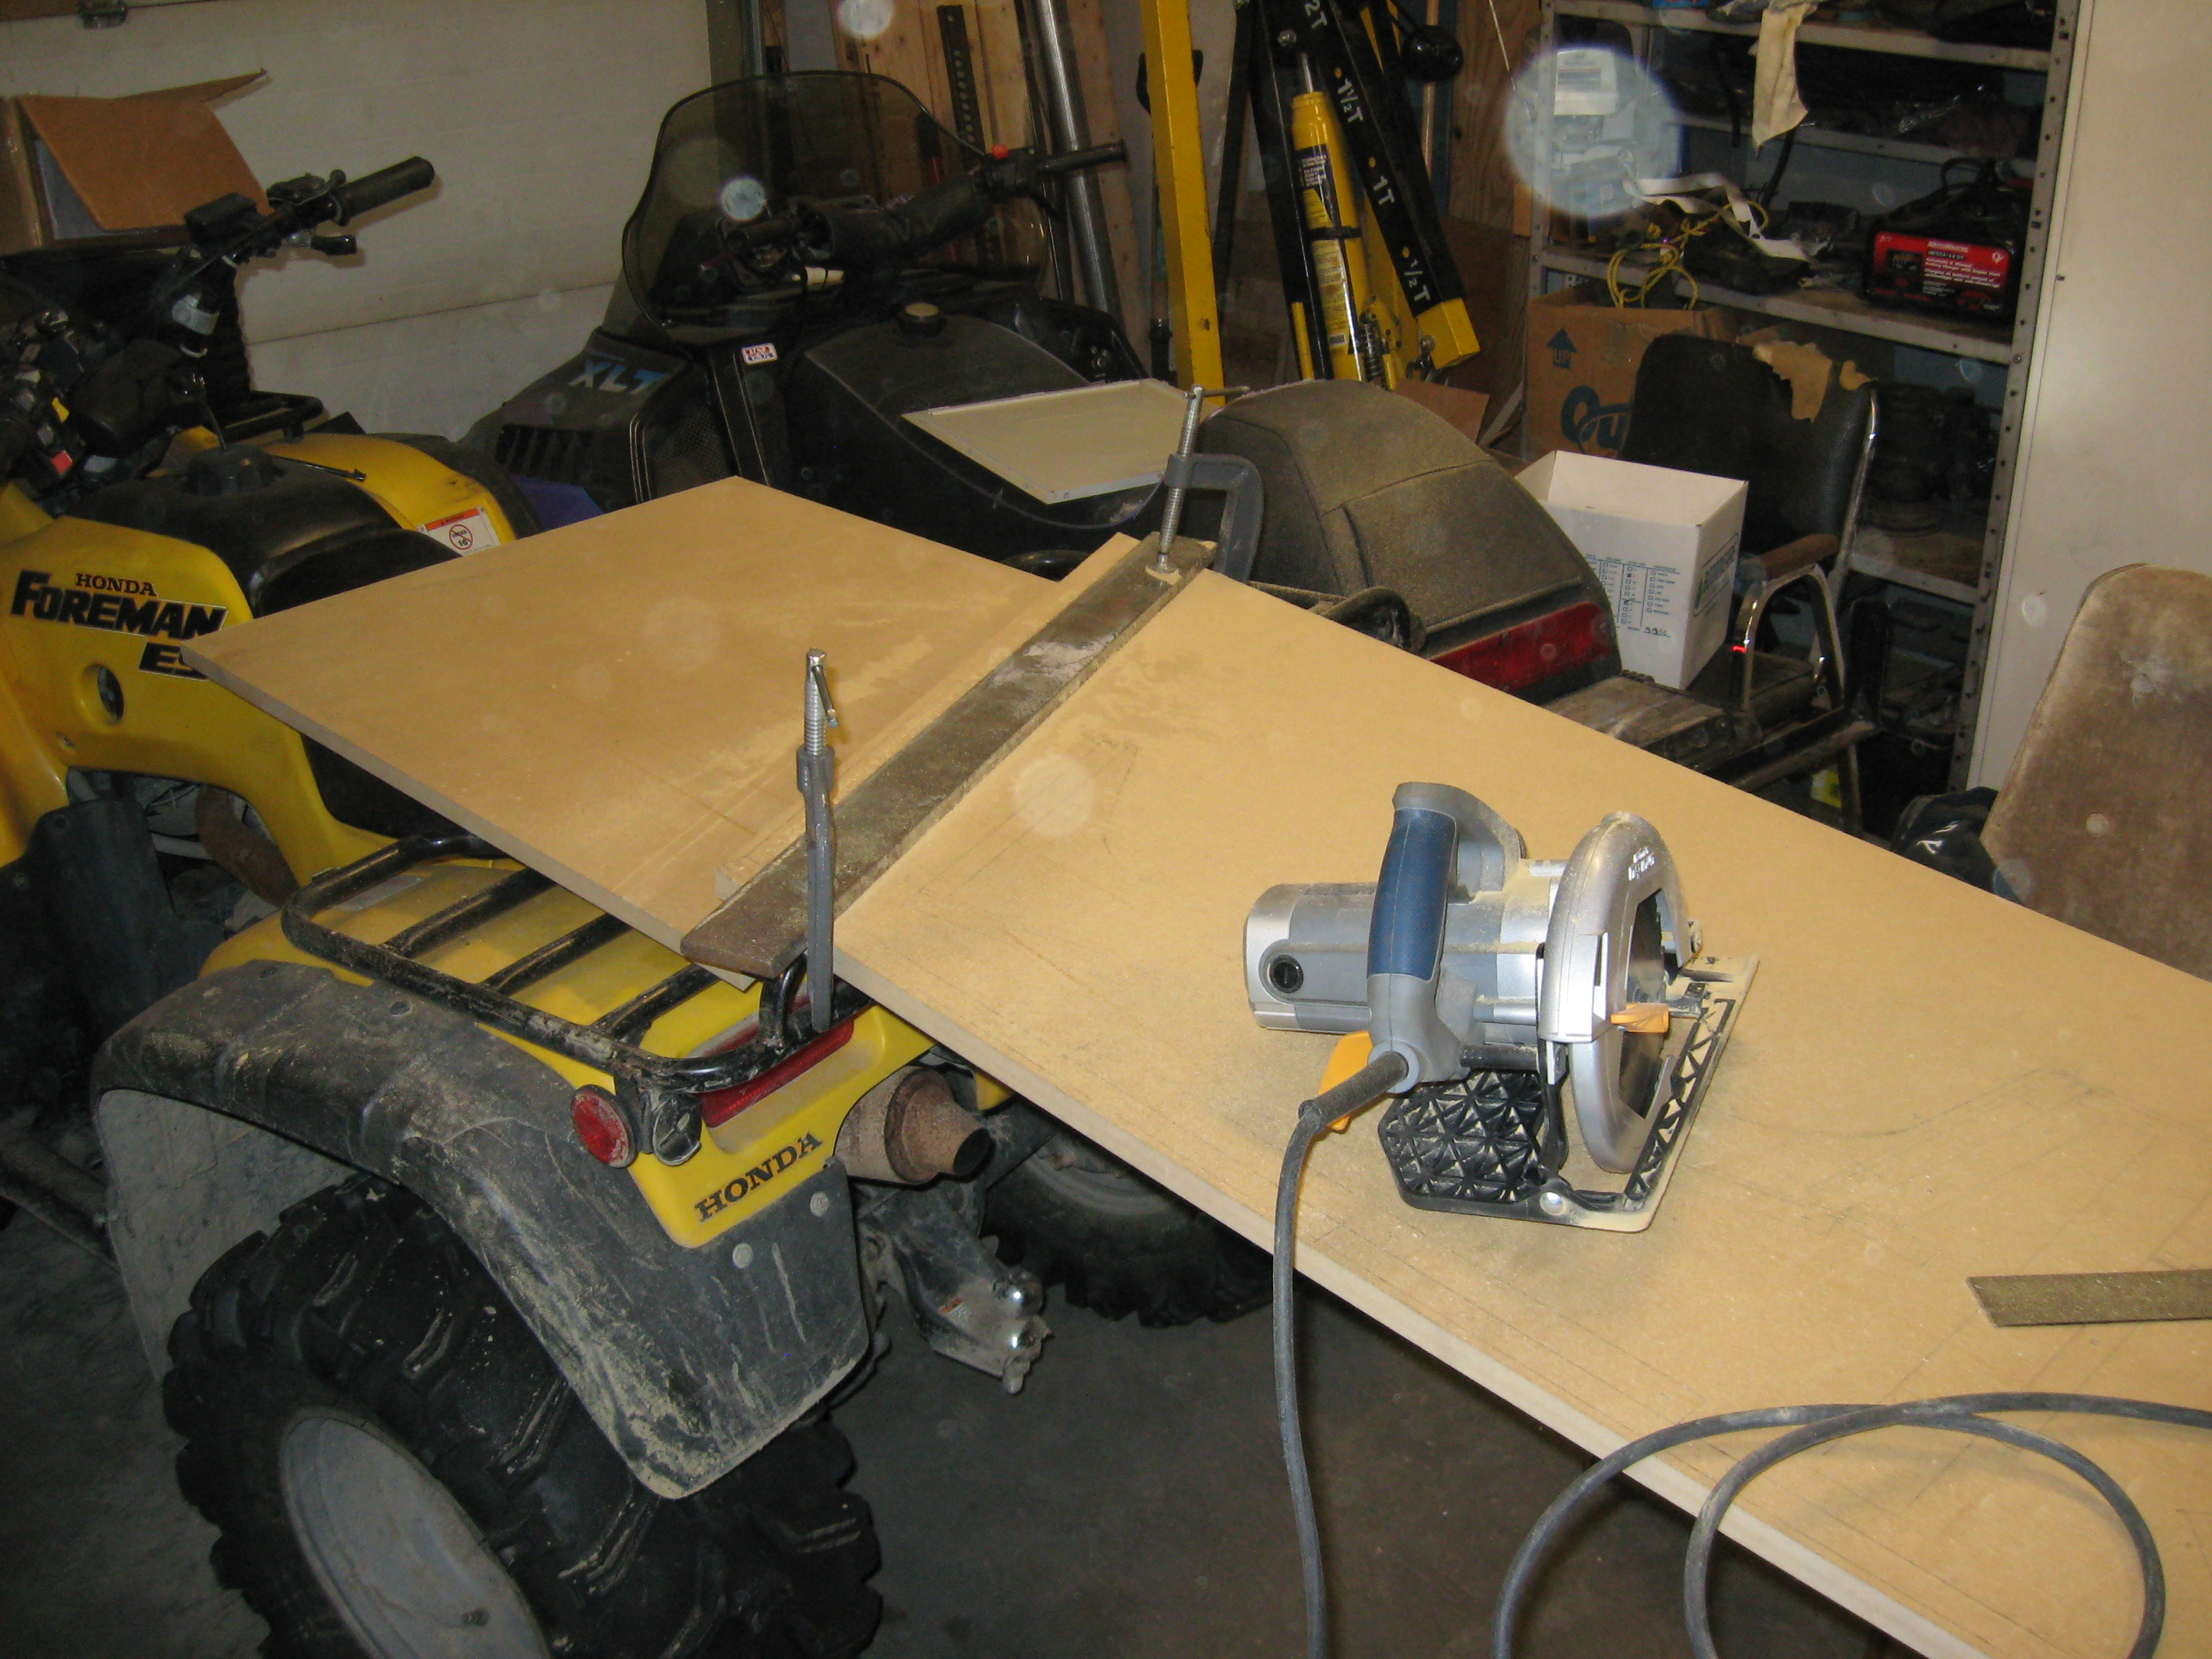 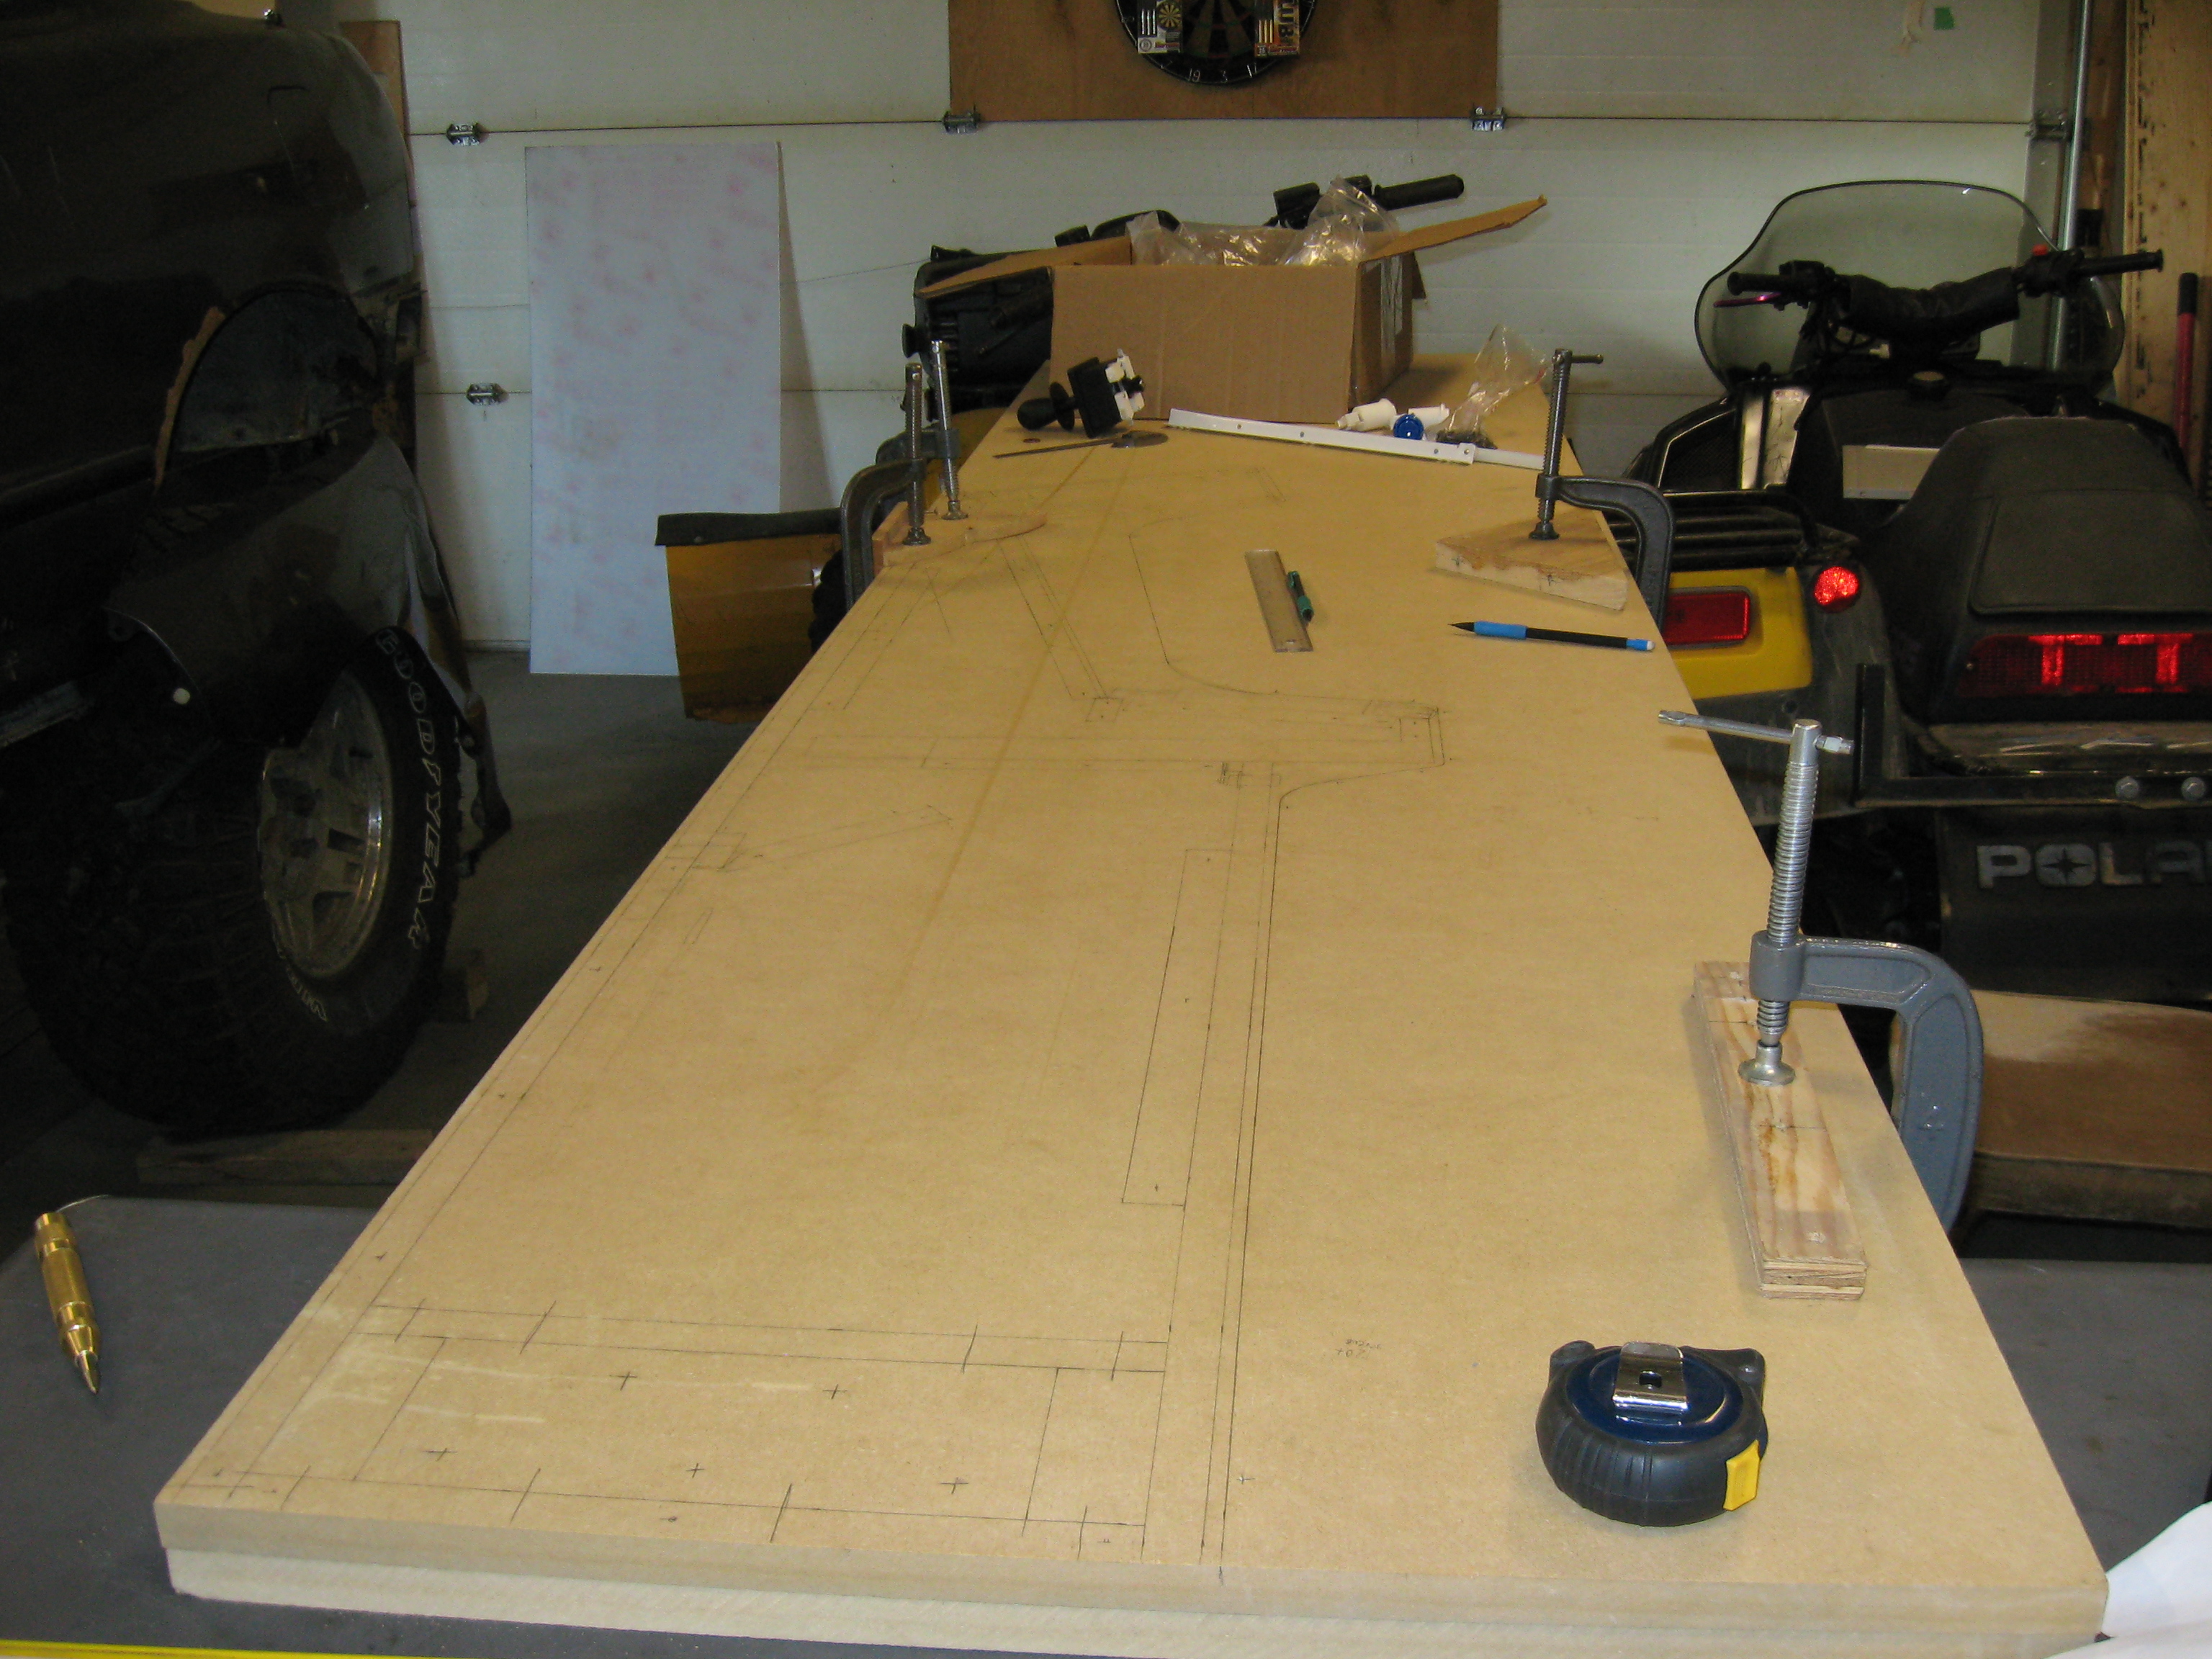
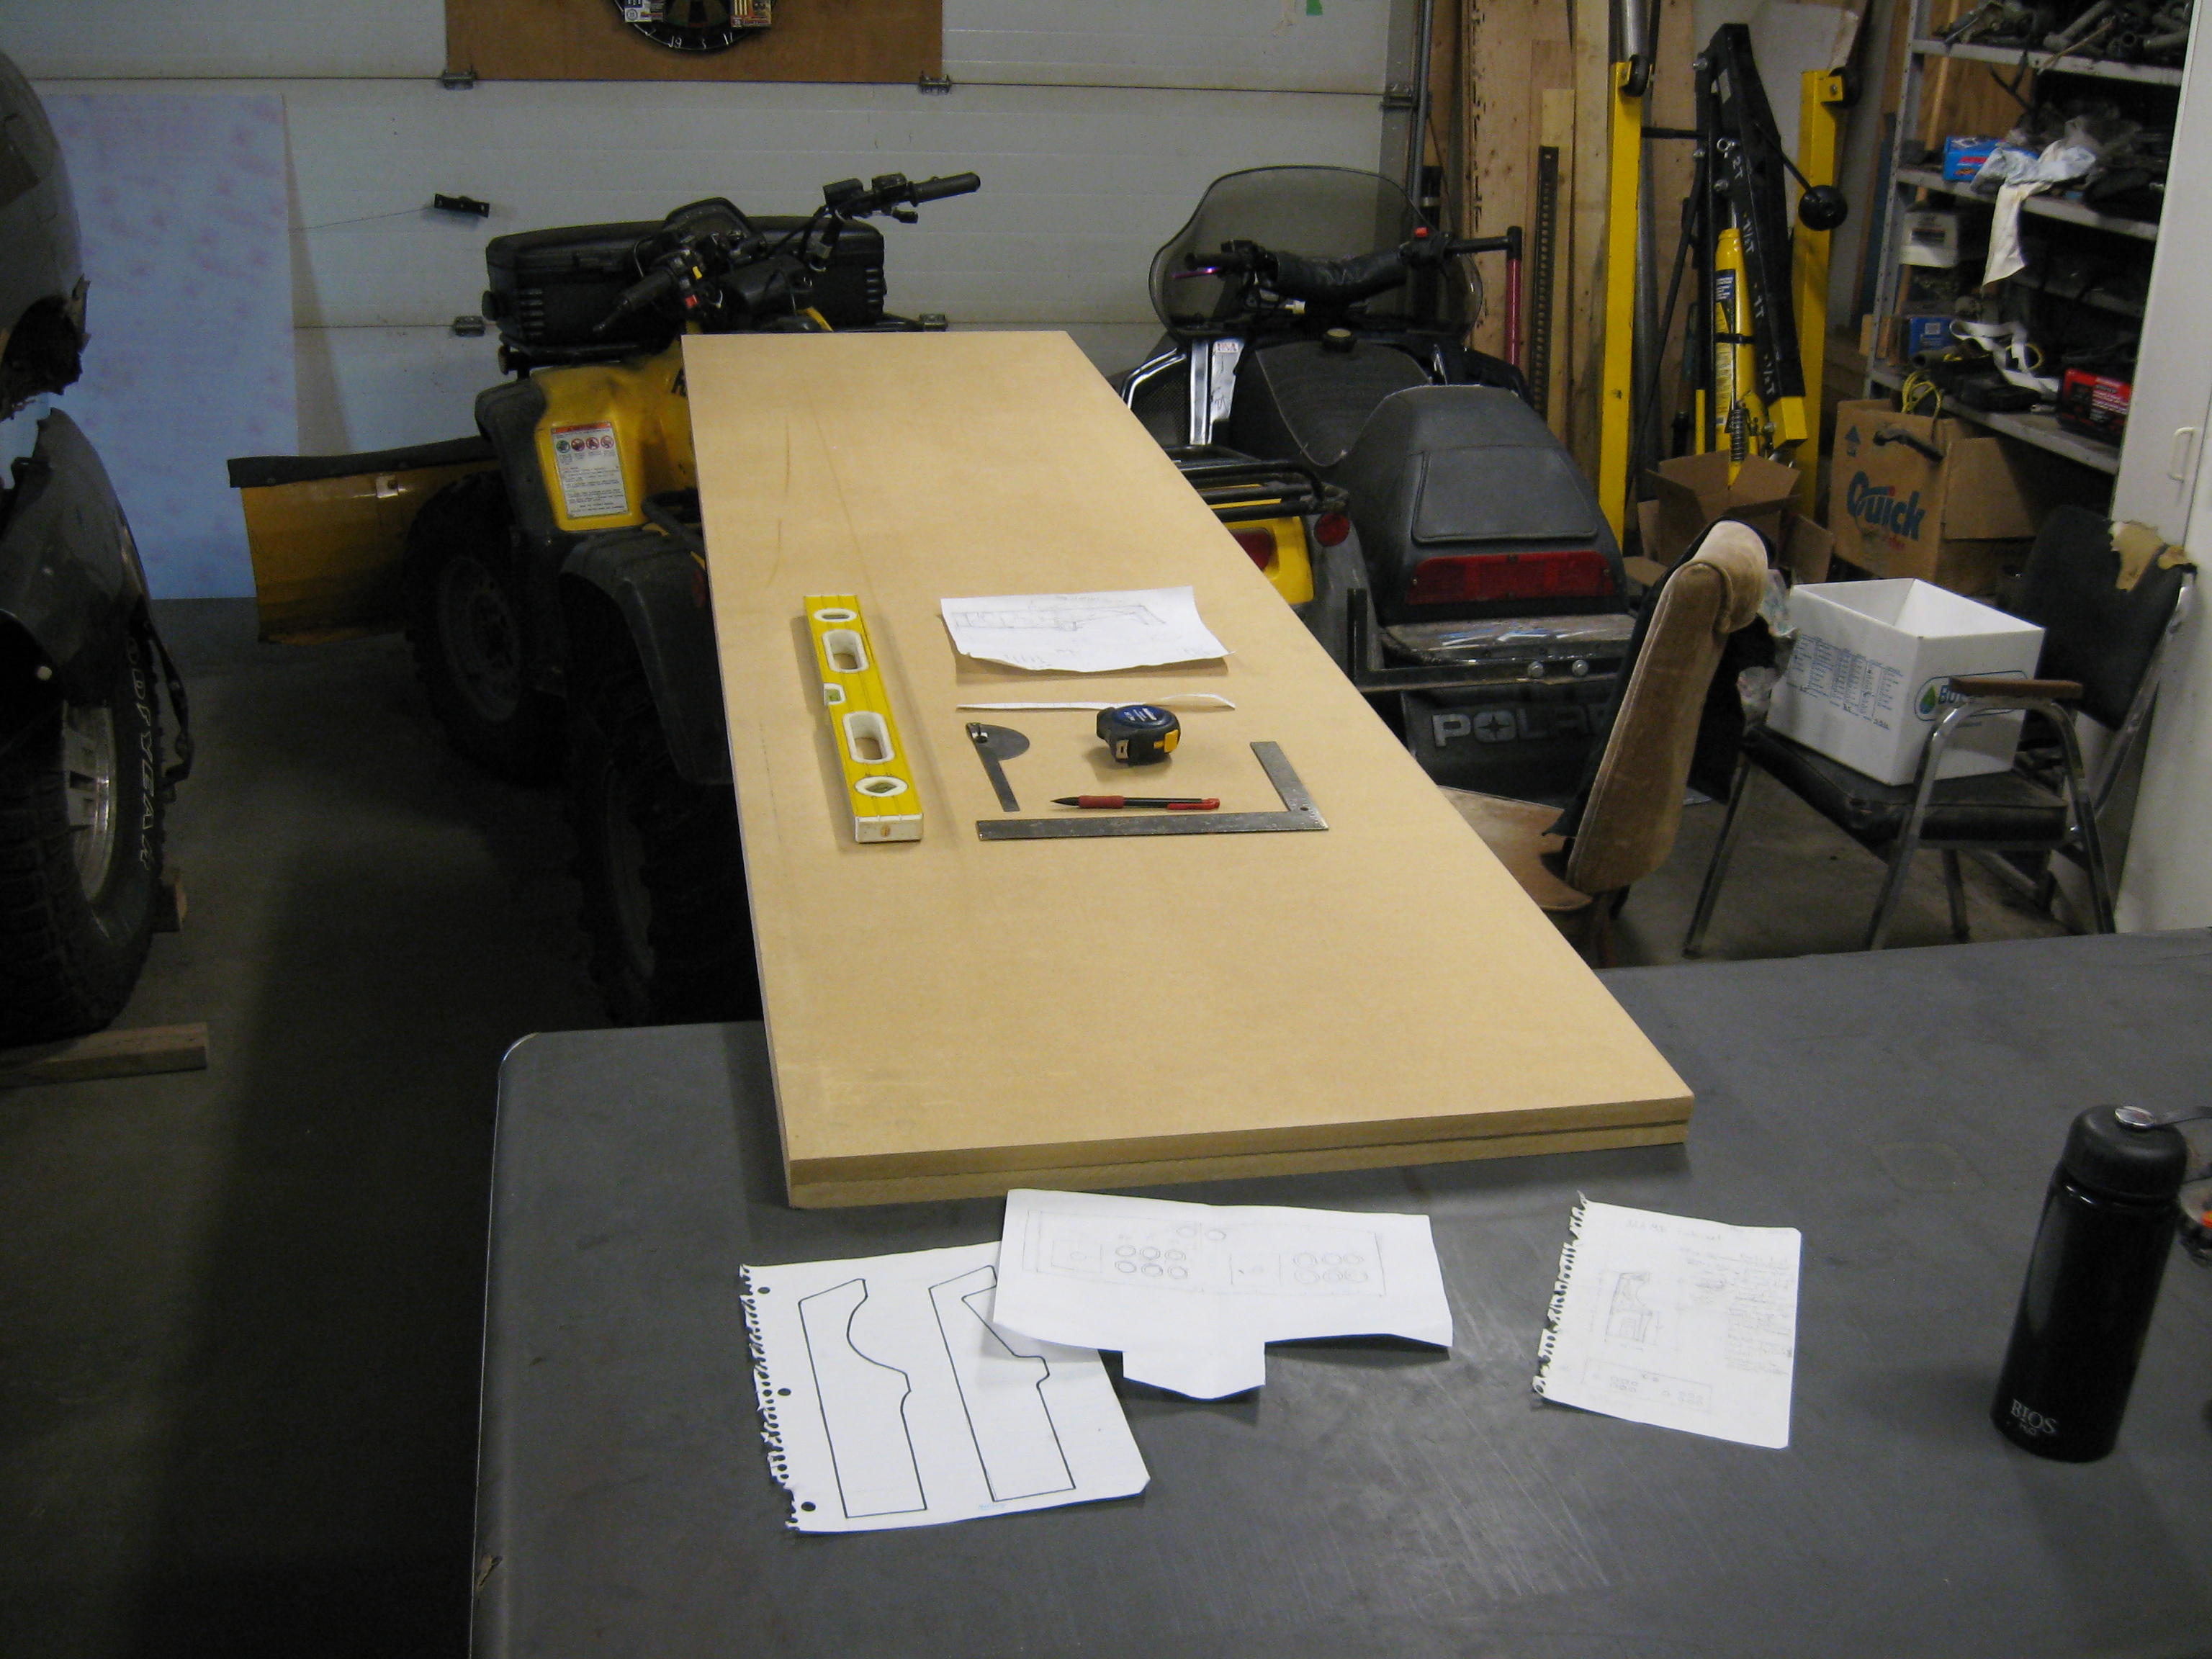
I used 3/4" MDF for the cabinet because it's constant and has some mass to it. I got the hardware store to cut the sheet in half with their table saw so I could transport it easier and so some I would have an even 2 for all the inside pieces. I started by transcribing my design on to the MDF. Then I drilled all the holes (though both sides) that would secure the cabinet together. This would make sure that the holes on both sides would be in the same spot, and hopefully keep everything square. I also drilled some holes near the curves so that I could get a start with my jig saw. I separated the two sides and started cutting them out. I made all the straight cuts with a skil saw first, then went with the jigsaw and did the curves. All the corners were filed down to the radius of a penny. With both sides cut out I started cutting the inside pieces. These were all easy straight cuts. For the base of the cabinet I added a ring of 2"x4"'s and another piece of MDF to add some low end weight and added rigidity. I also built a steel base with 2" feet to keep the cabinet off the ground and to help the MDF from chipping out while moving. 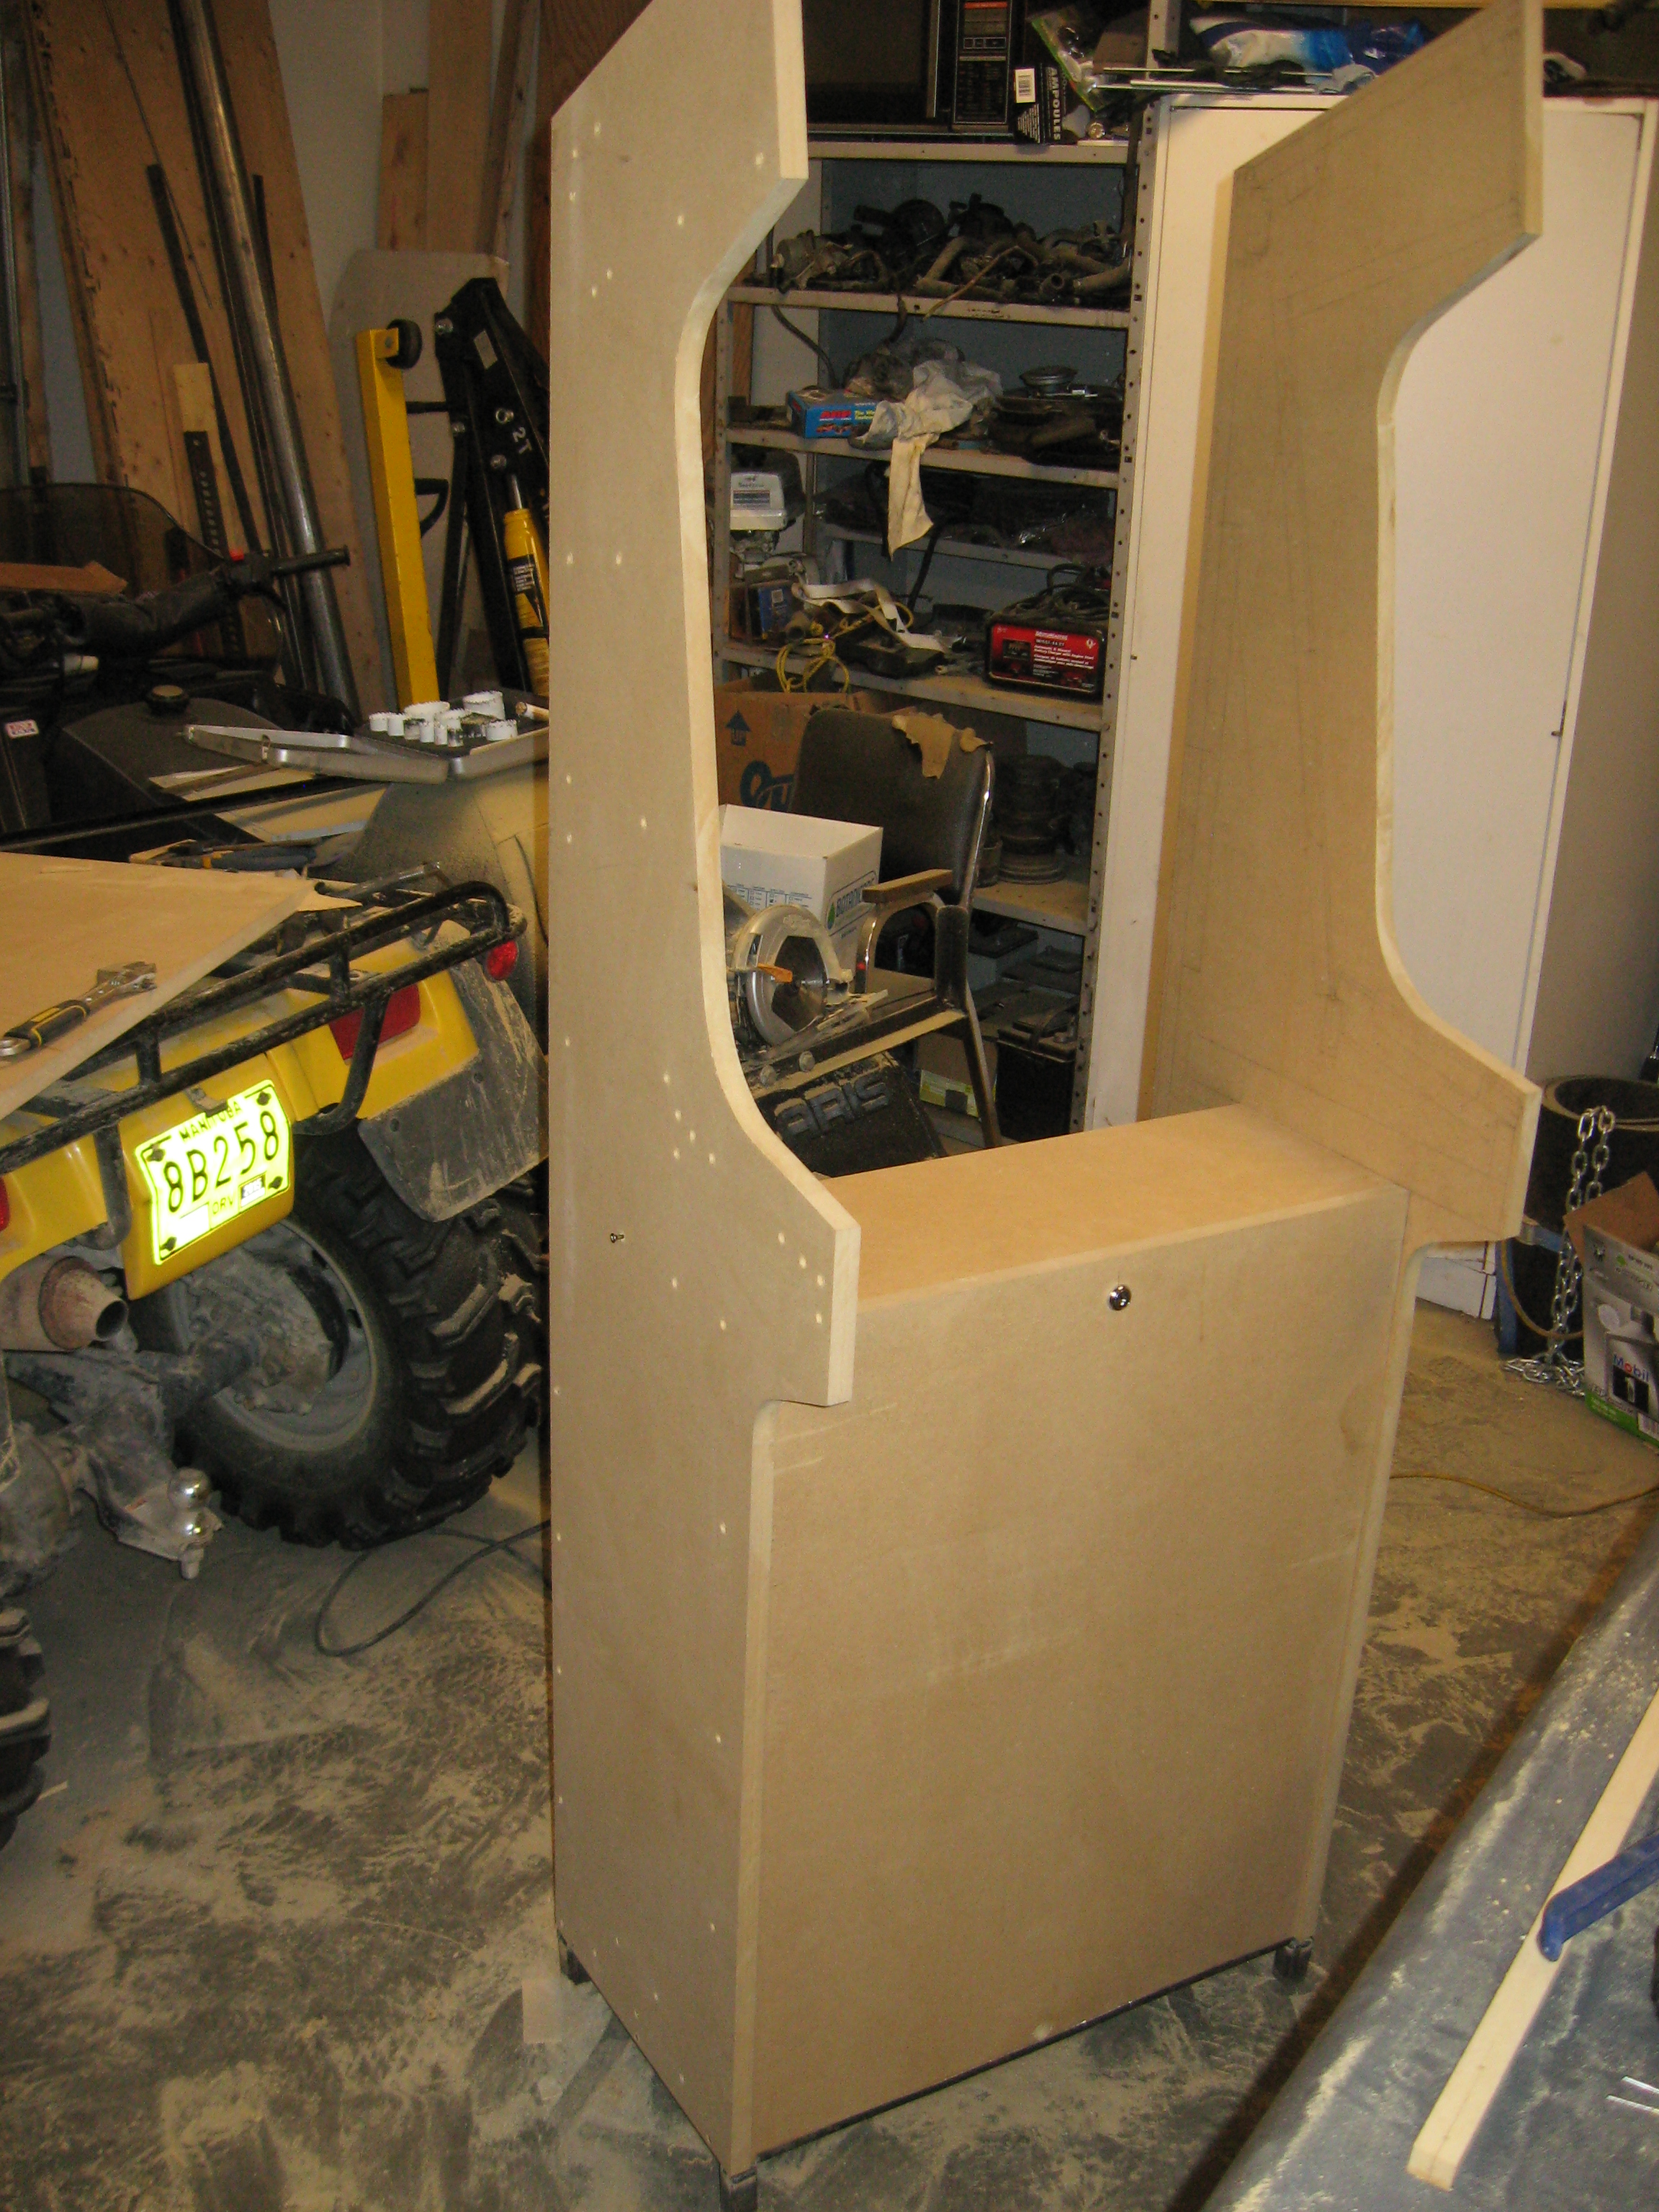 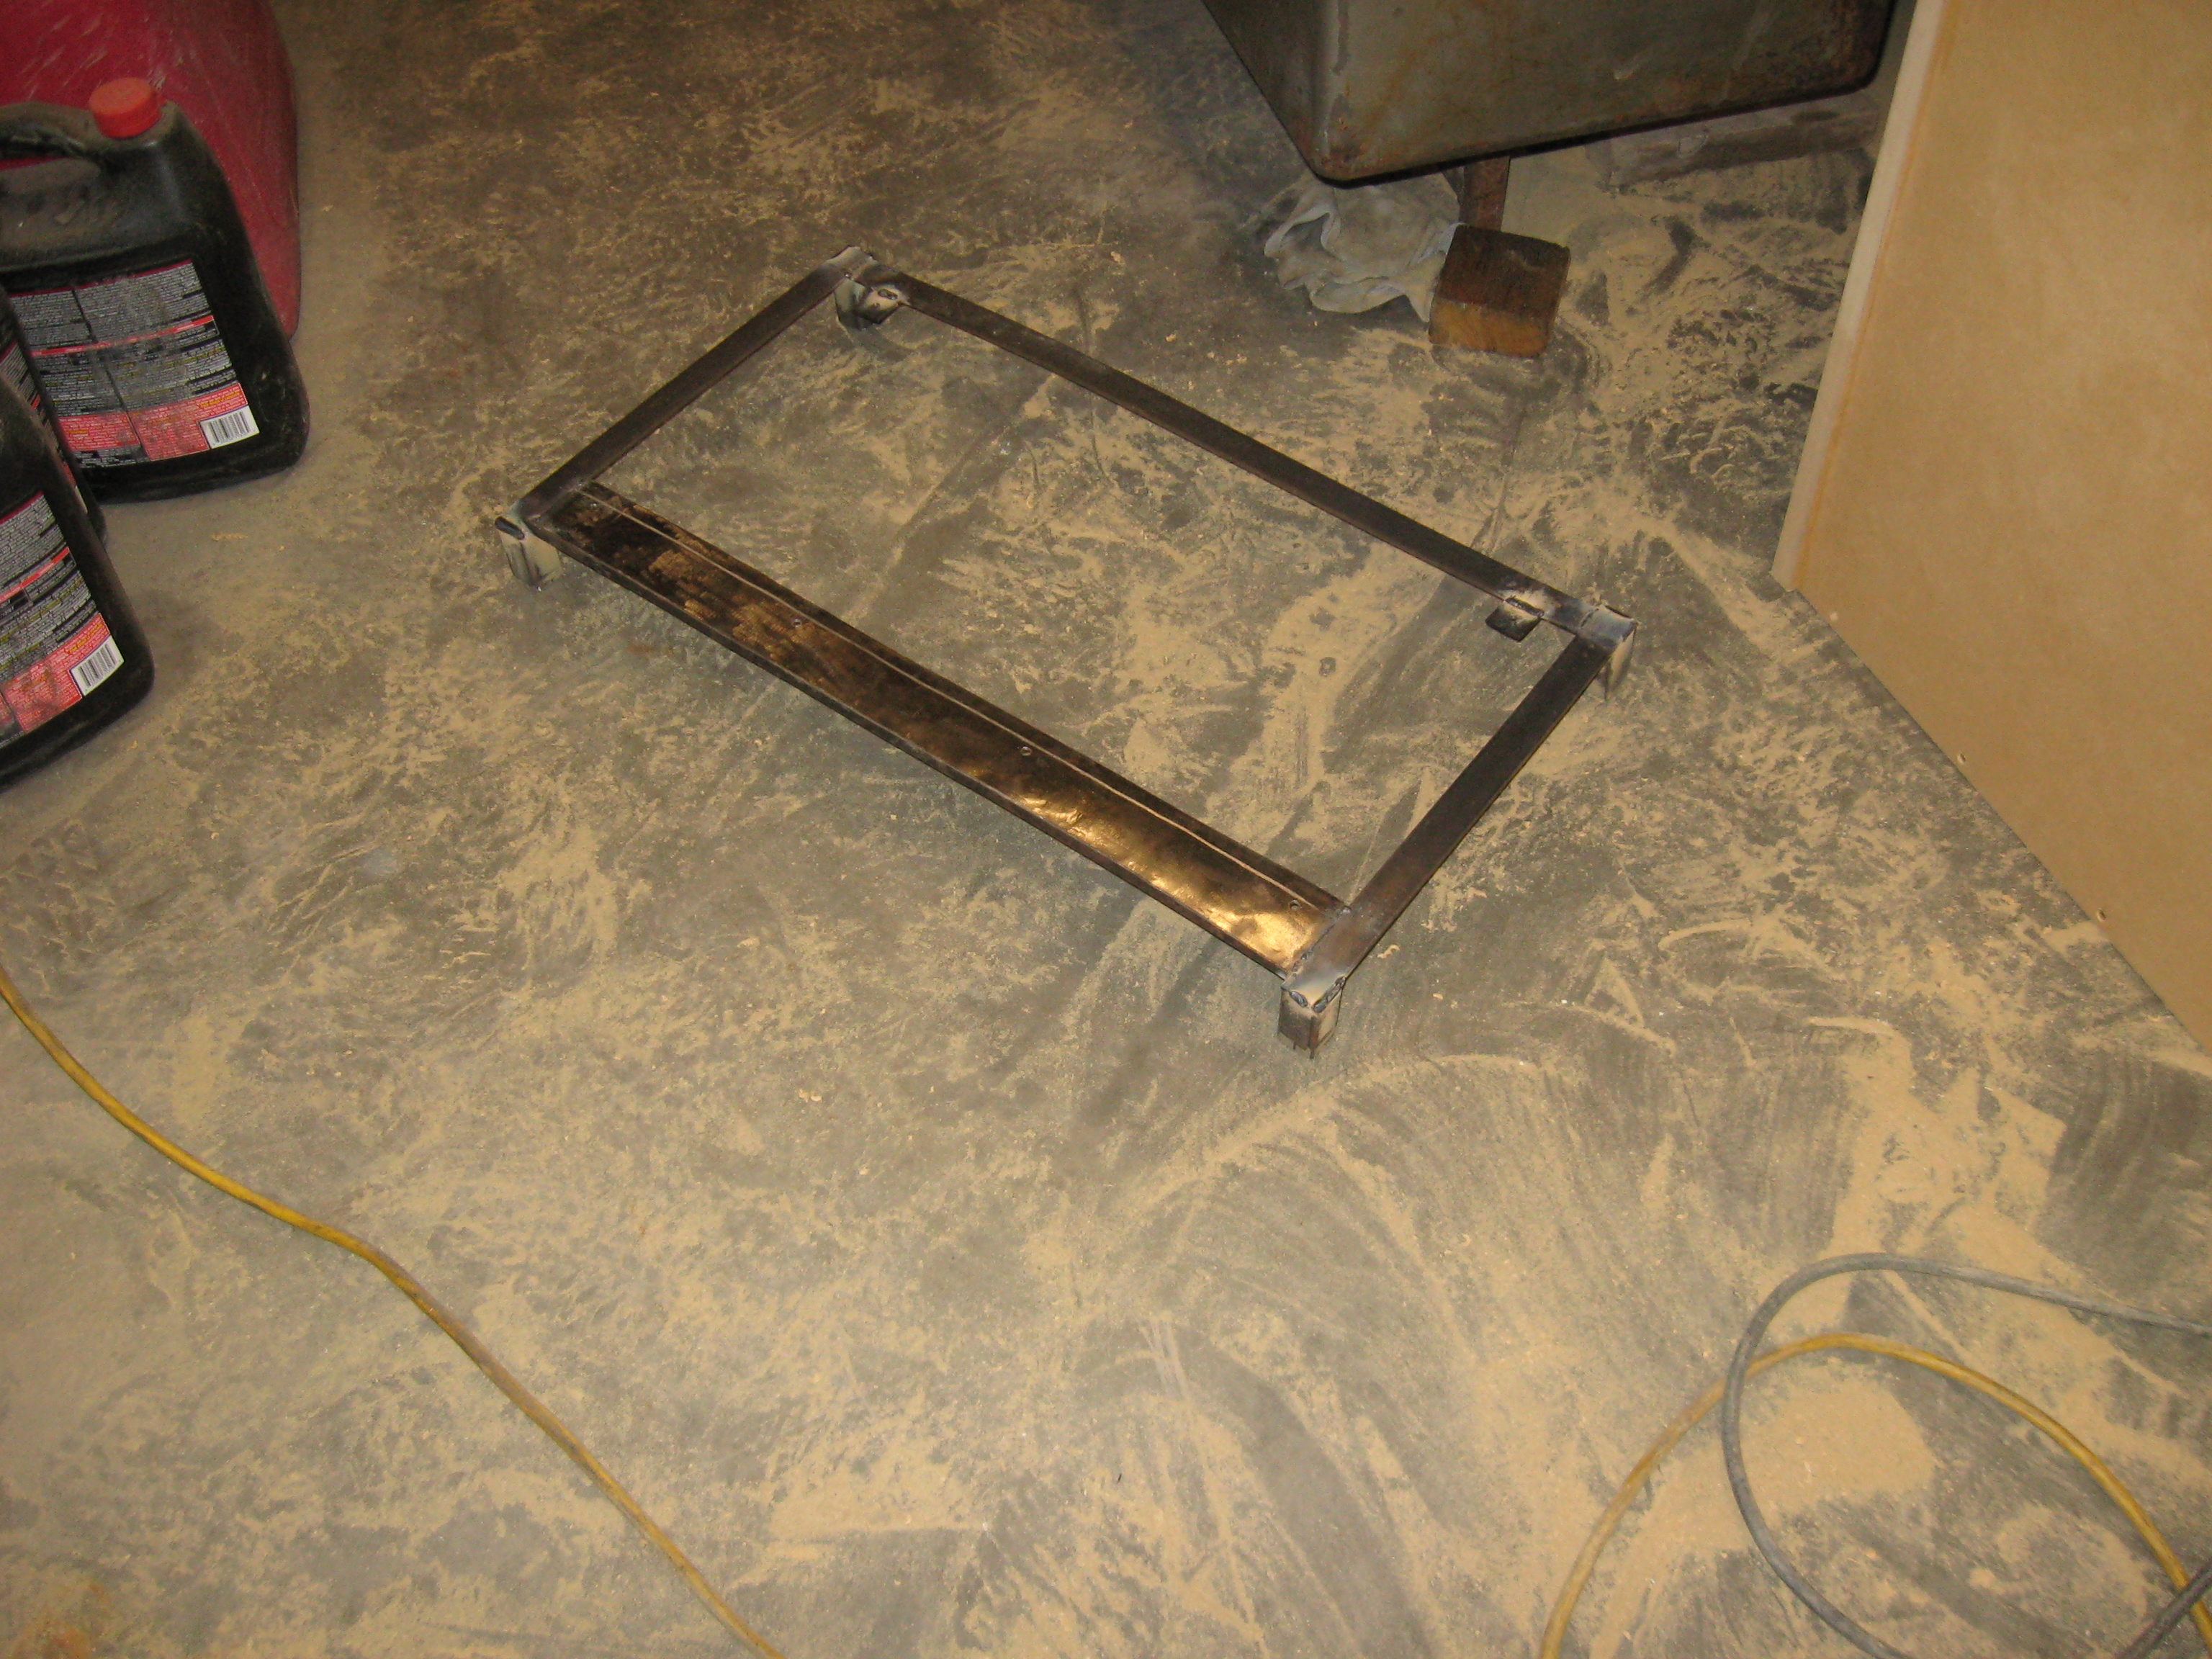 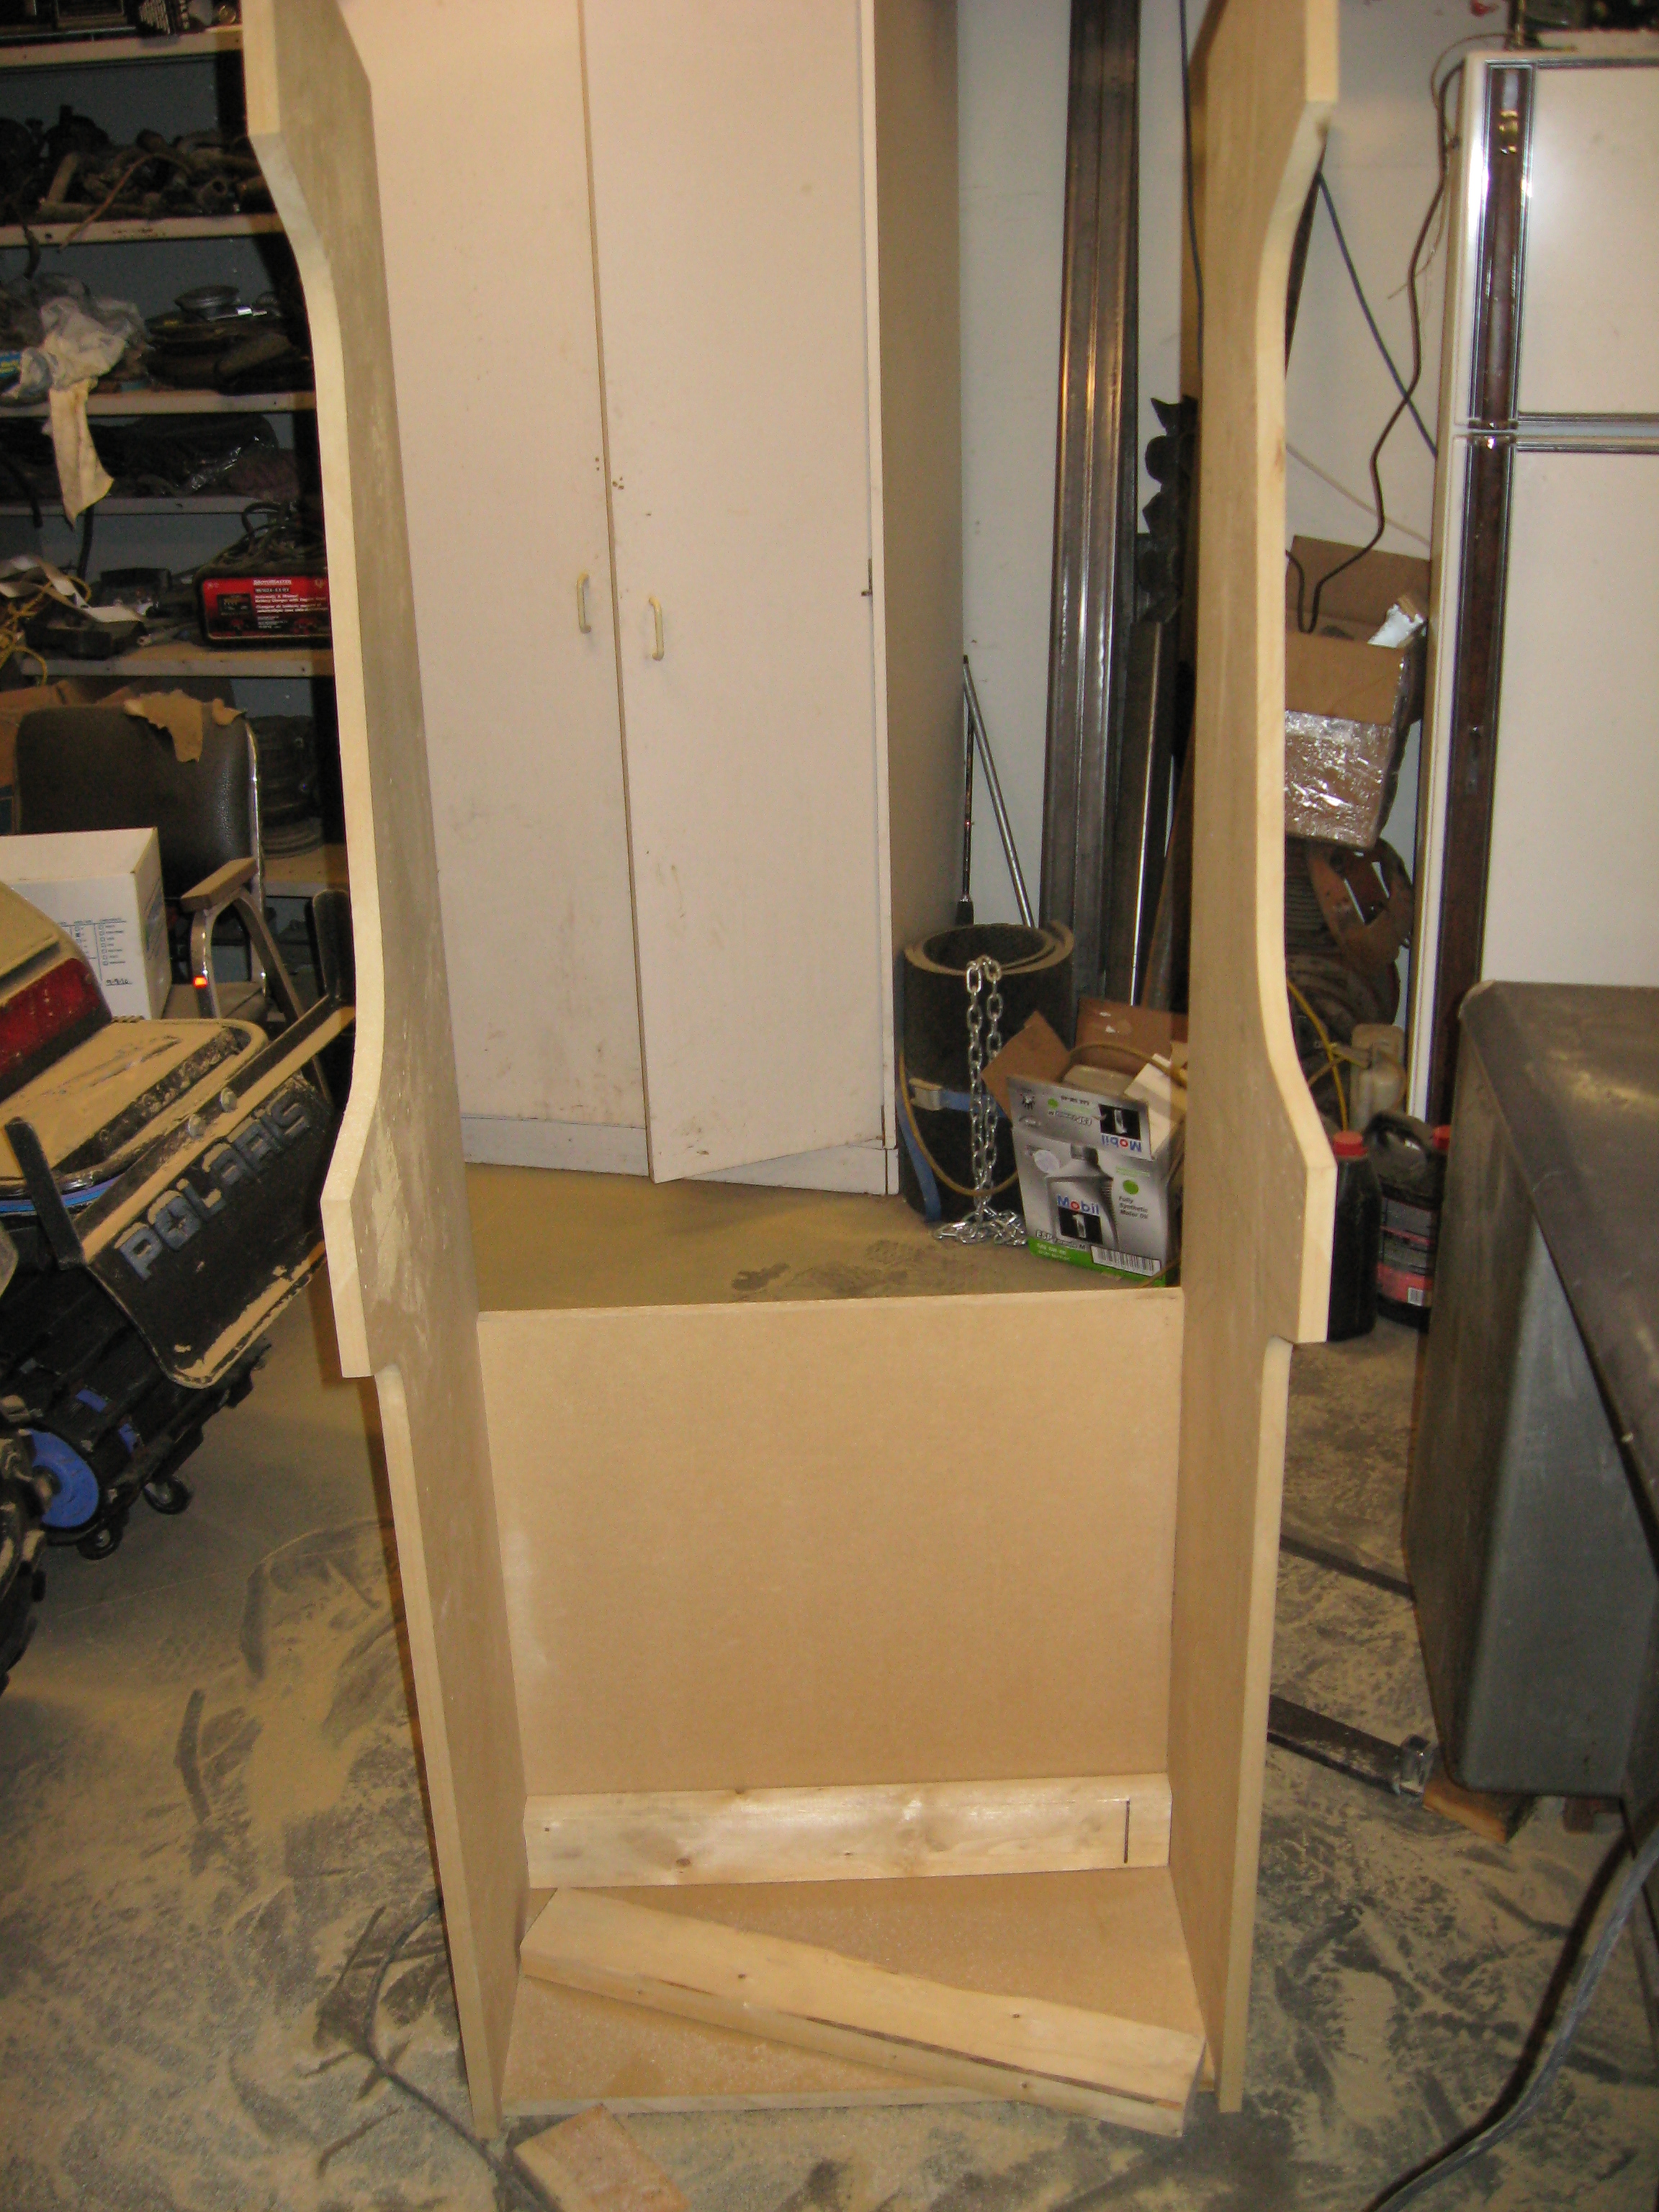
I cut out the monitor hole with the skil and jig saws. Then I beveled the inside edge with a router and a 45* bit. I had to remove the buttons from the face of the monitor and move them to the underside so the monitor would sit flat against the MDF. The monitor was mounted to the MDF with some 2"x4" and some 1/16" steel sheet. I painted the bezel of the monitor flat black to make it less visible. I used some Monsoon computer speakers for the sound. Instead of spending time building a bracket to hold the speakers, I decided to just drill some holes in the edges and screw it to the MDF. In order to let the sound out of the cabinet I had drill a lot of 3/8" holes in the ceiling piece. 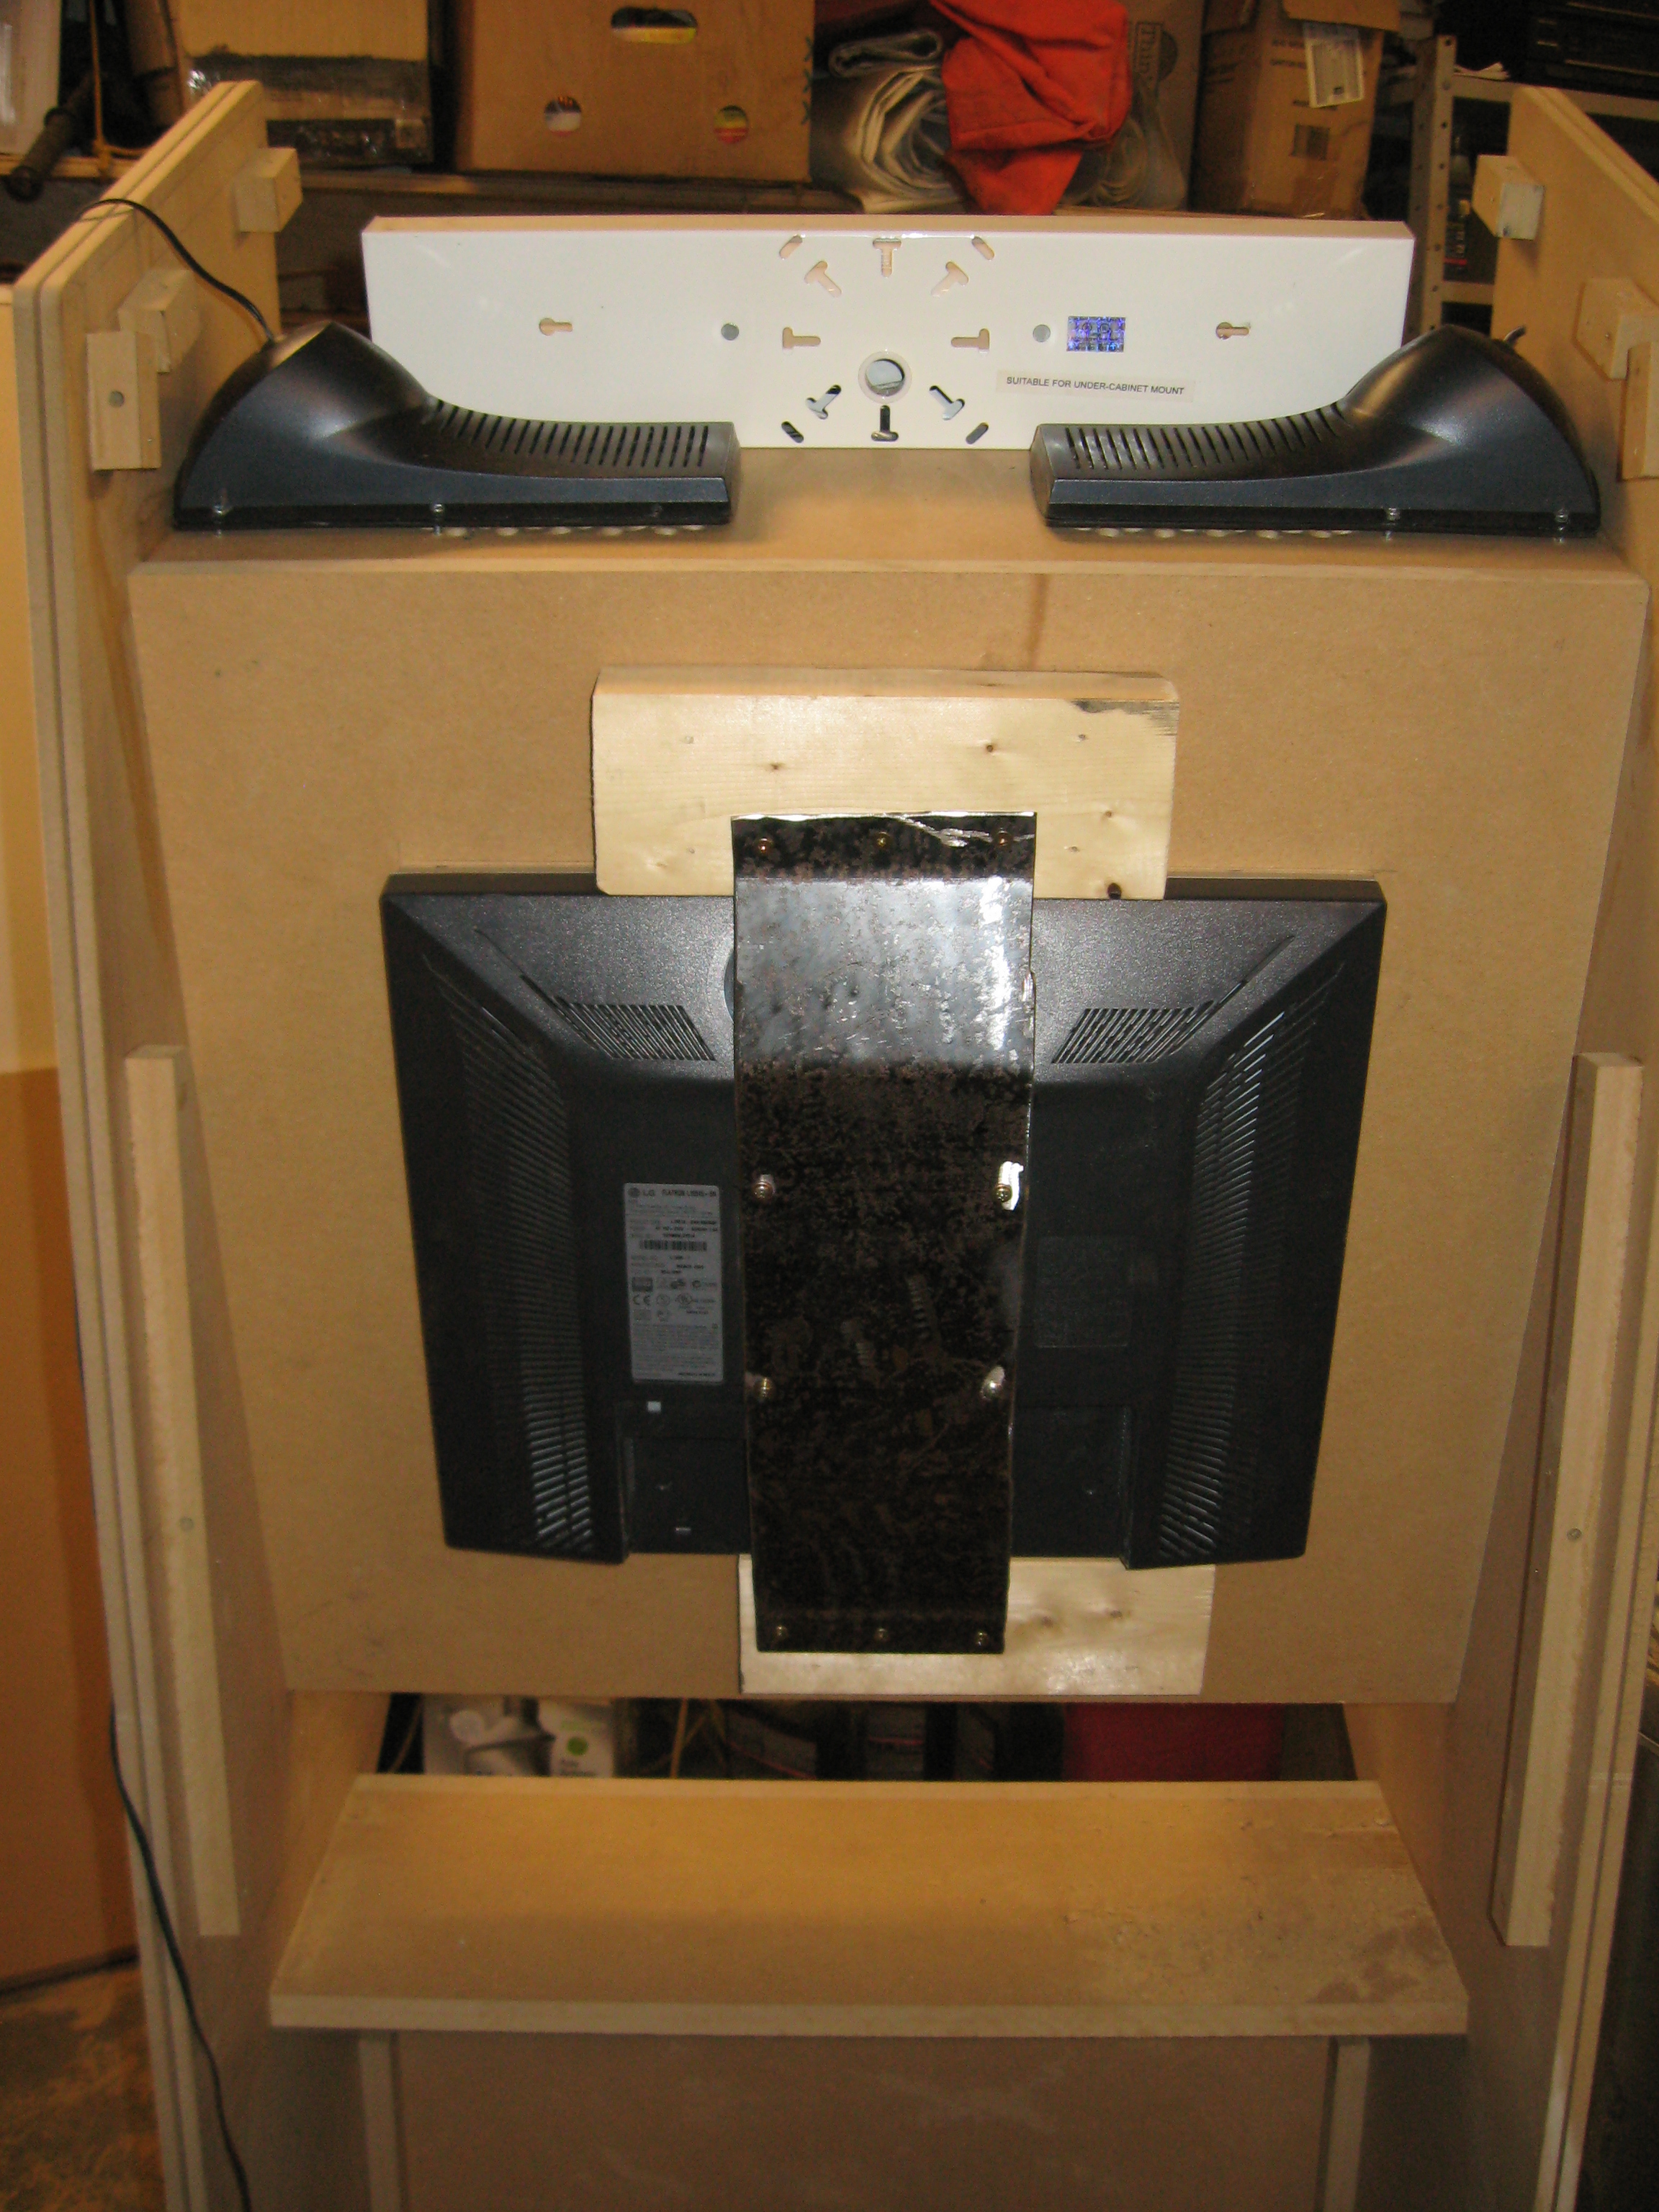 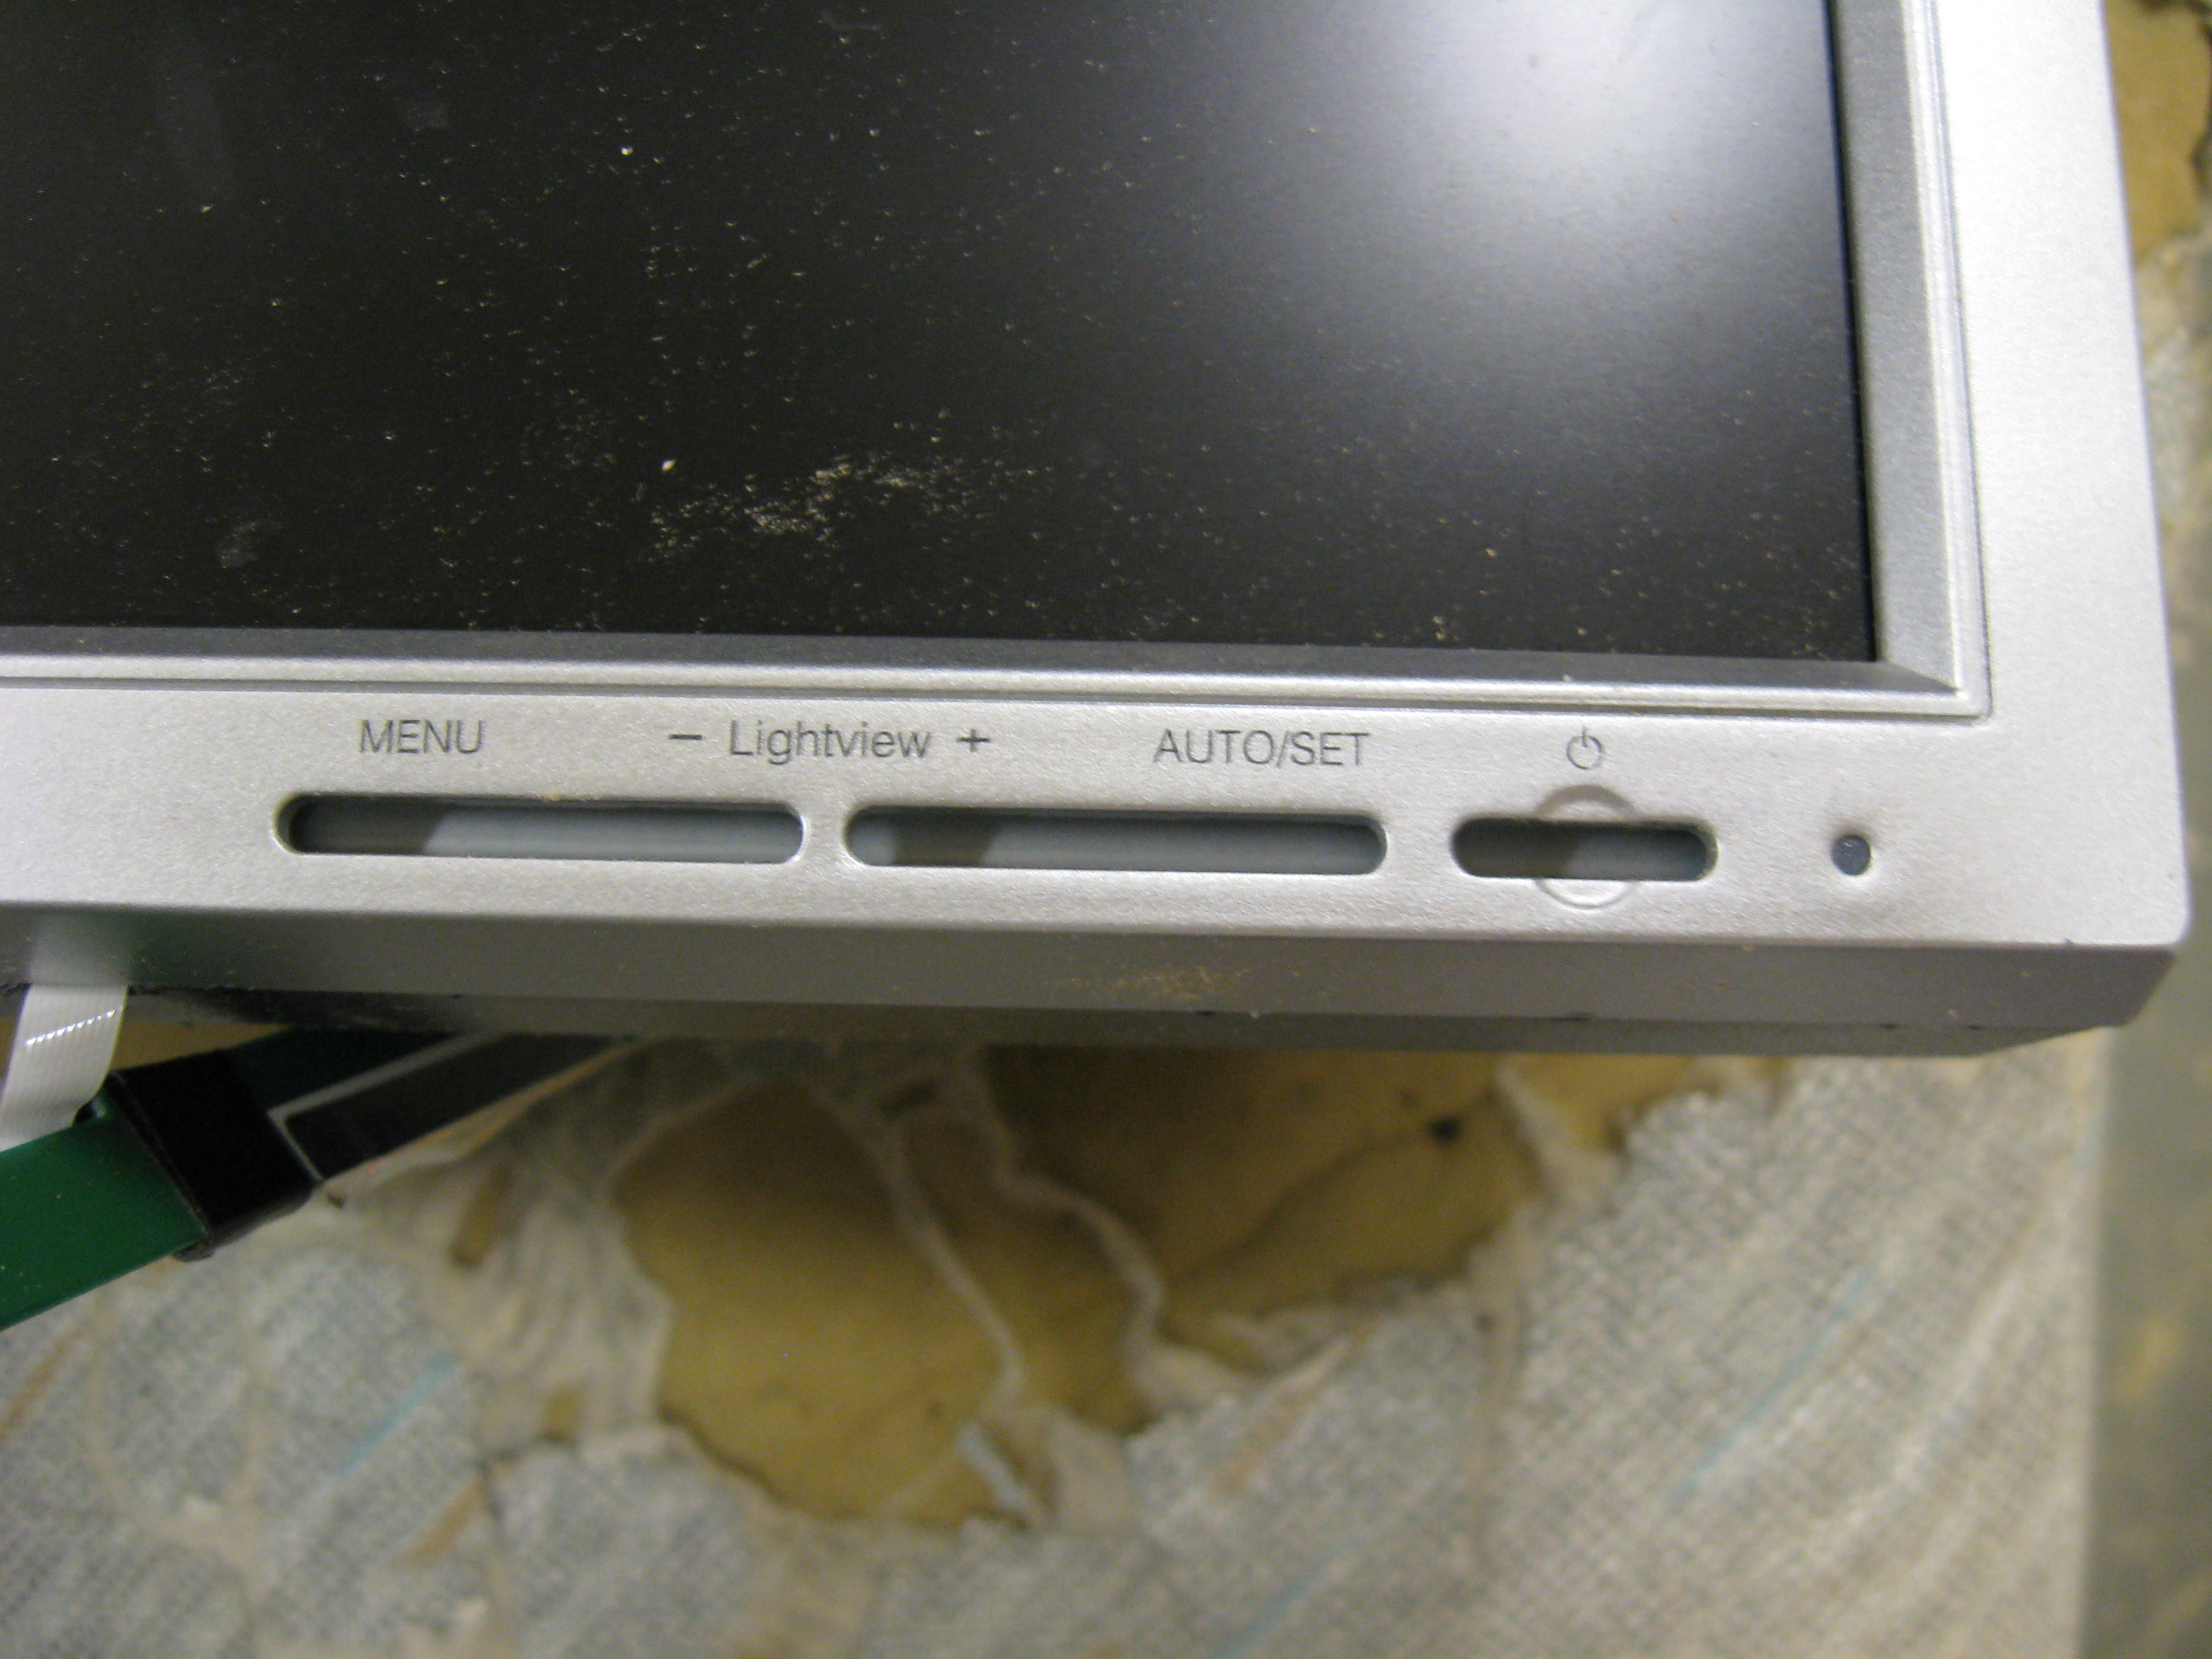 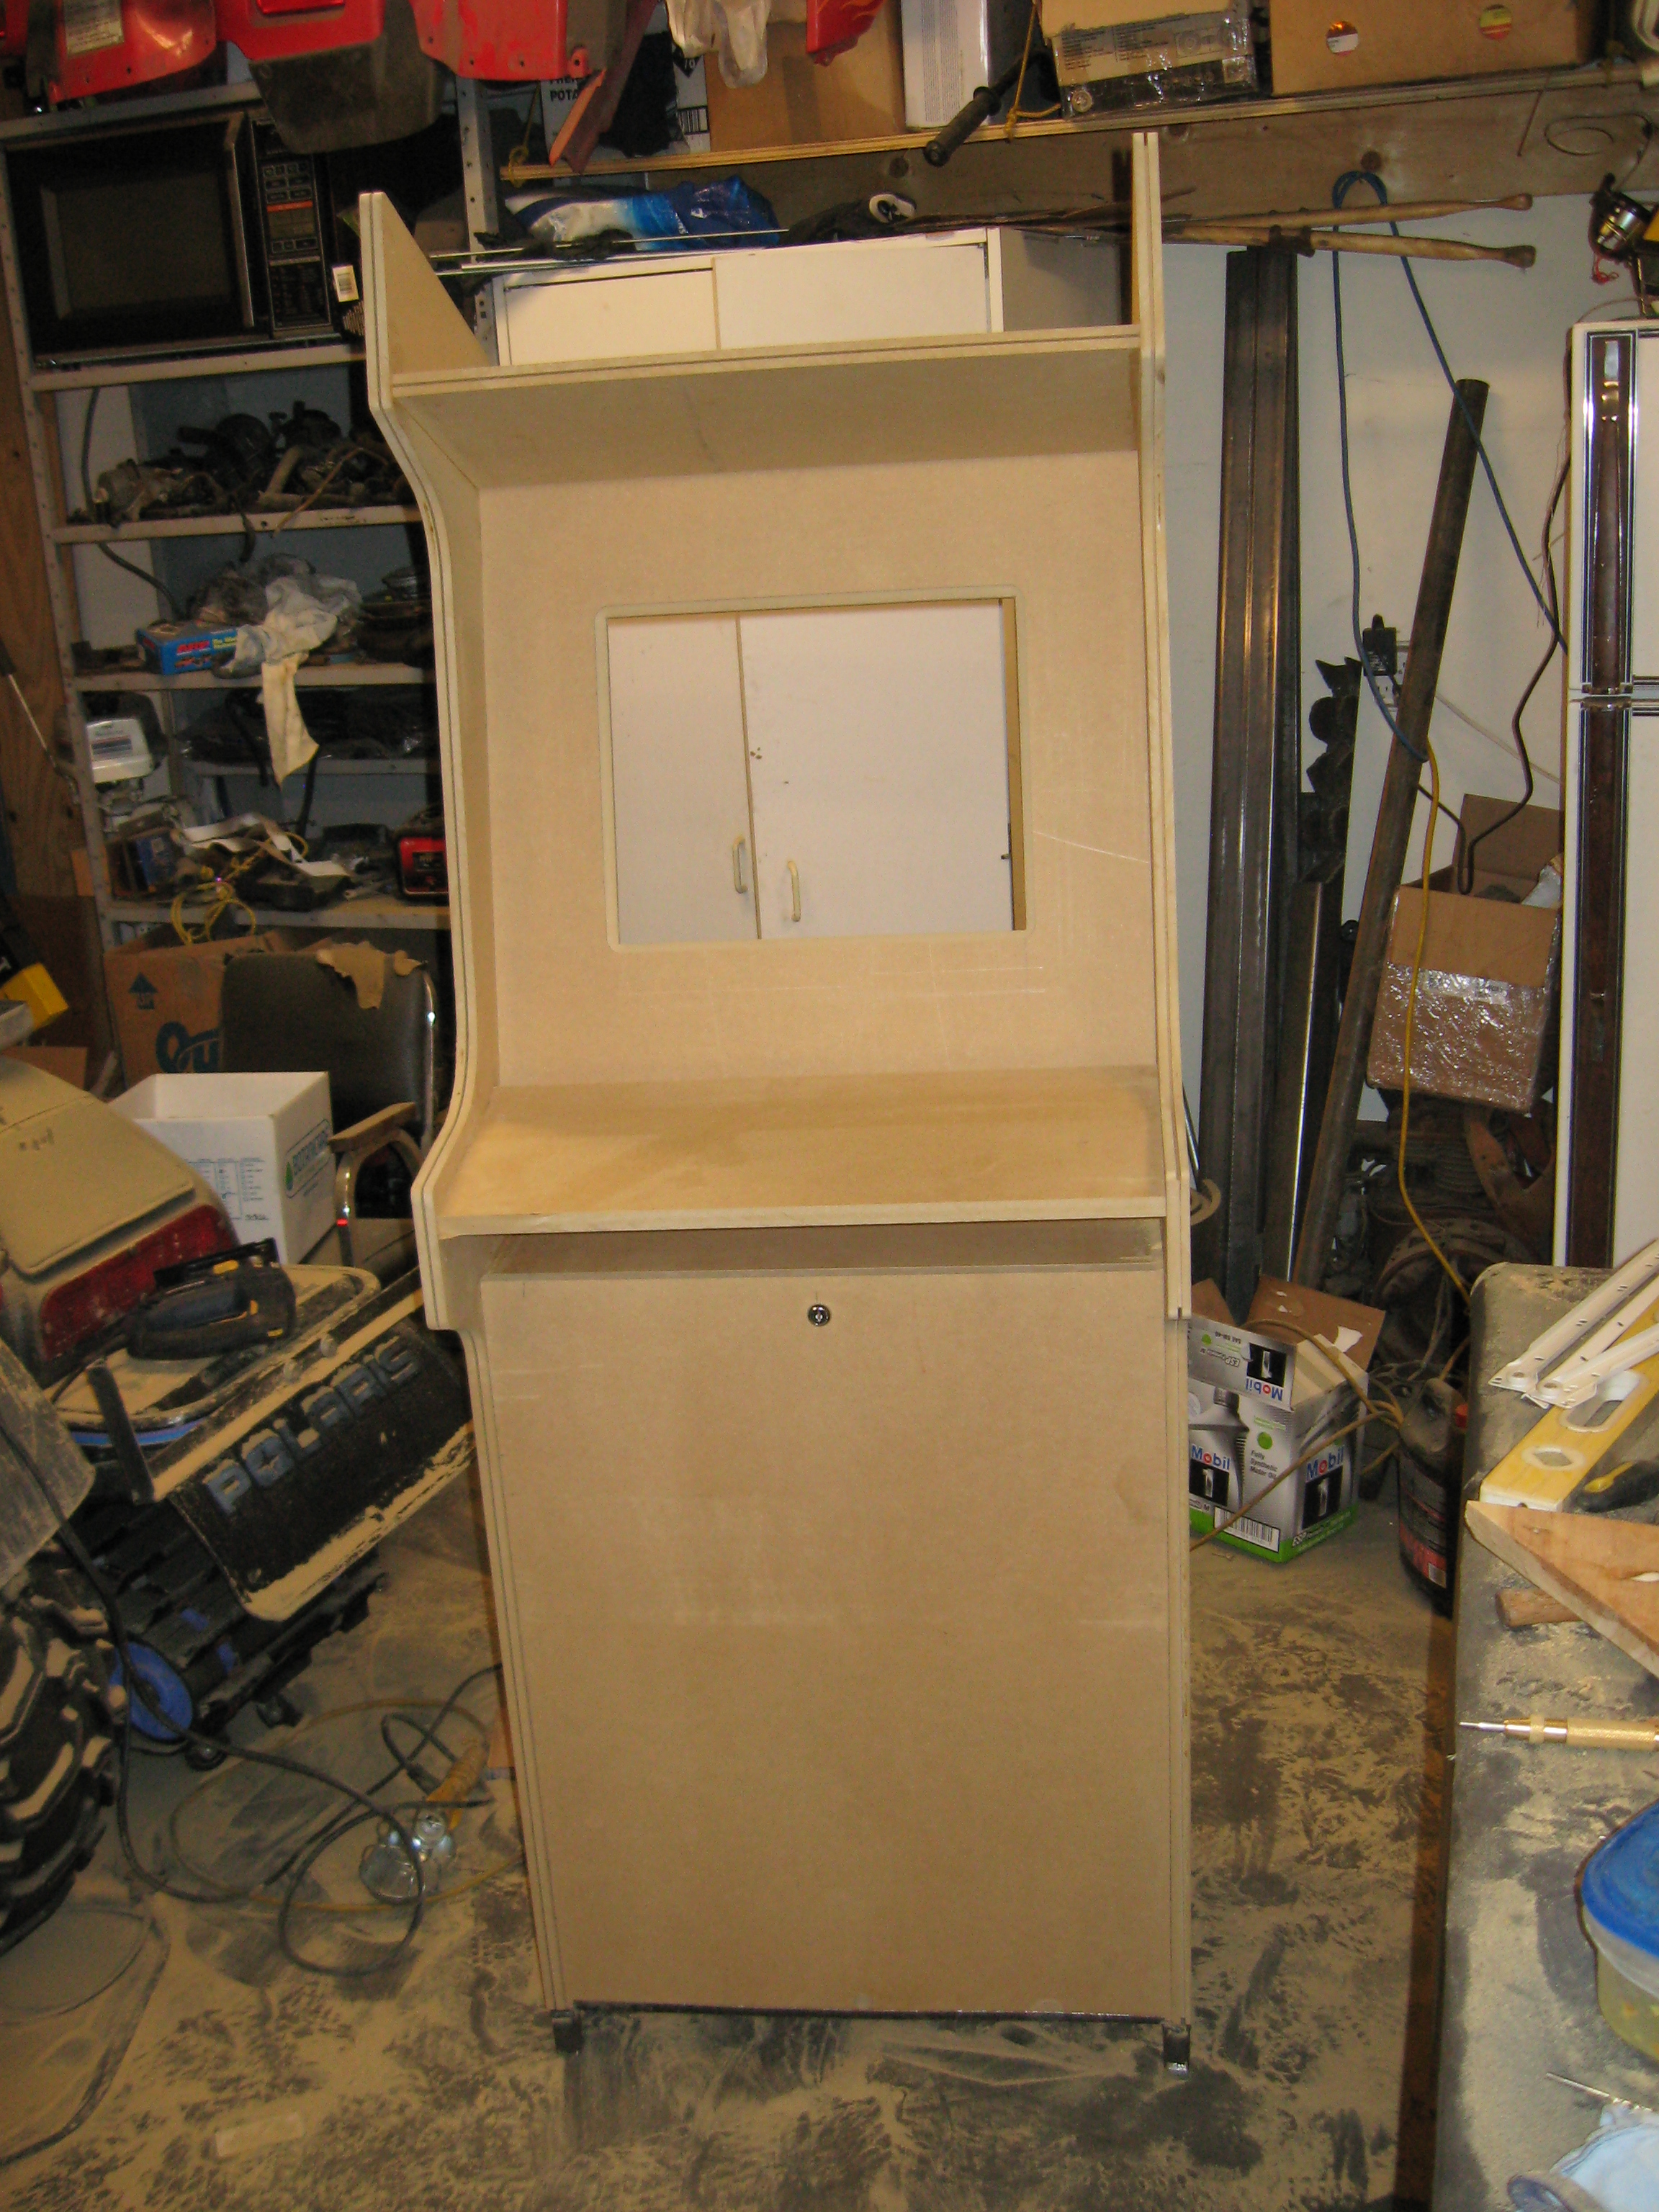
For the control panel, I clamped the Lexan to the MDF and drilled 1/8" pilot holes to get everything lined up. Then I unclamped the two pieces and drilled the holes out with a hole saw and a drill press. Once the buttons were installed I wired up the iPac. The mouse and keyboard drawer is made out of some 18 gauge steel and 16" drawer slides. I wanted a simple way to mount the computer, so instead of building custom brackets, I simple cut apart a computer case and screwed it to the inside of my cabinet. This will make it easy to upgrade or replace parts if necessary. With everything assembled I tested out the hardware to make sure everything worked. Once I was happy with the set up I started prepping for paint.  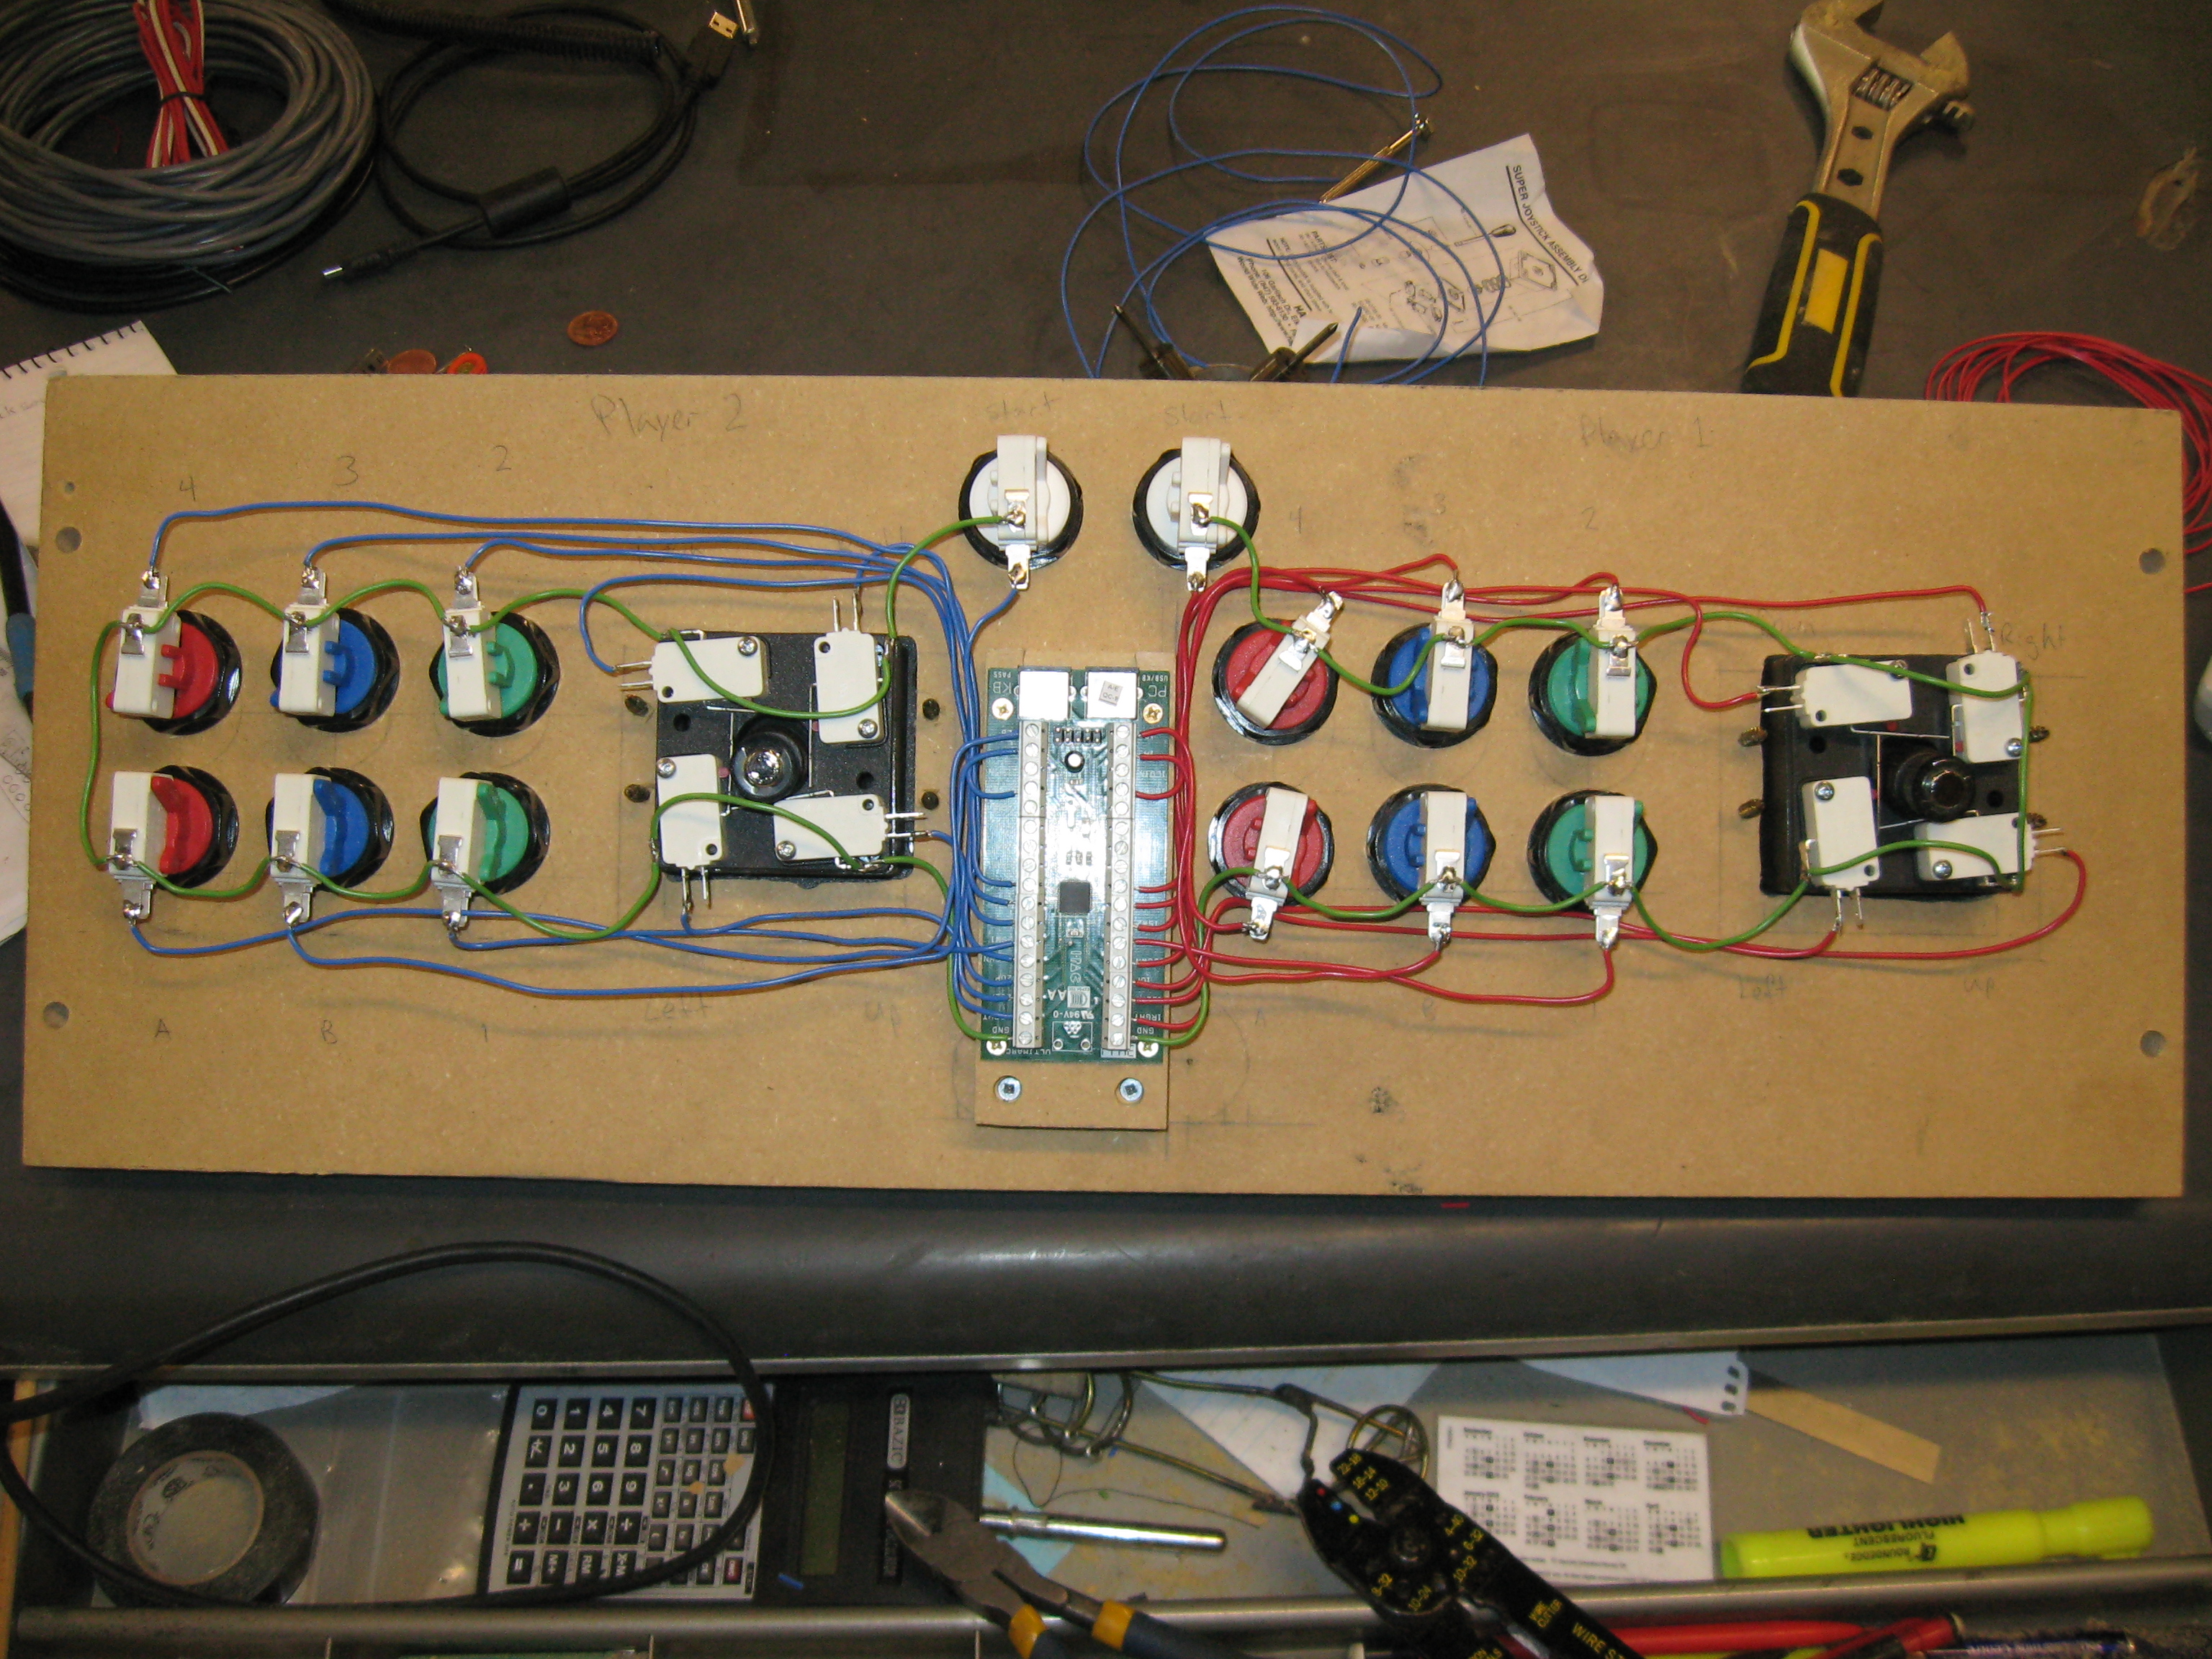 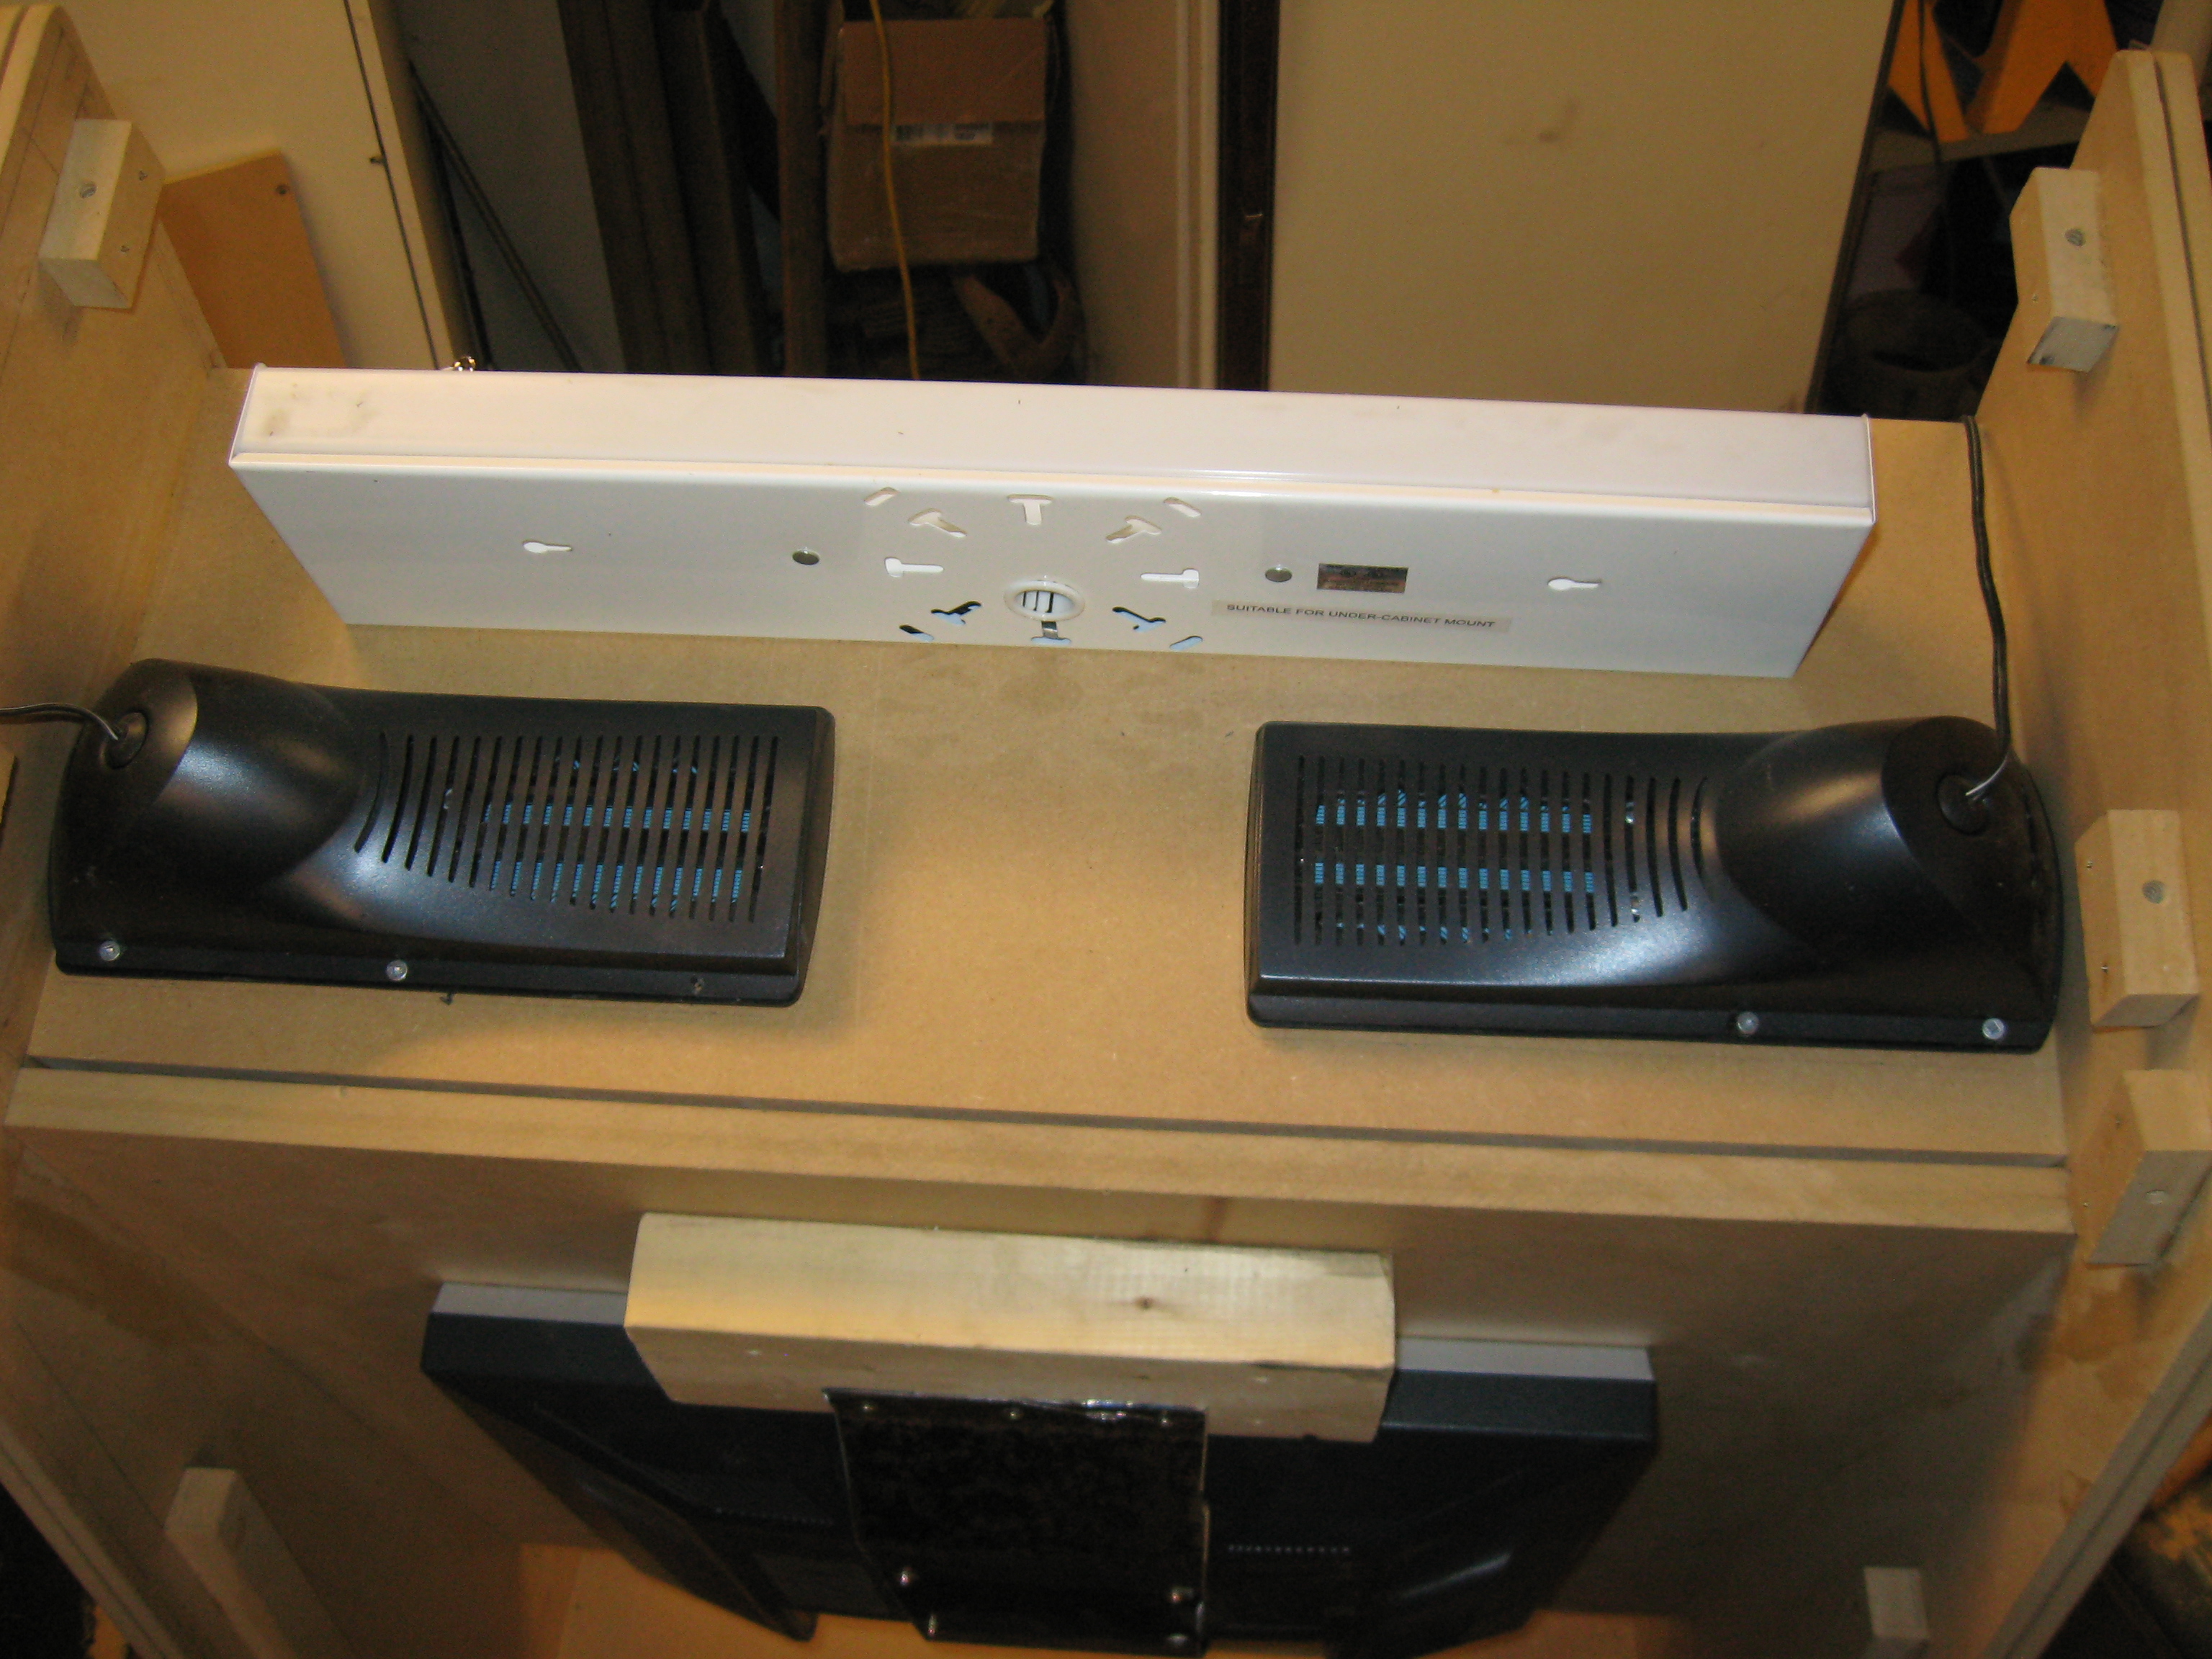
I took all the removable panels and masked off most of the inside. The sides had a lot of screw holes that needed to be putted up and sanded. After a couple coats of automotive putty I primed the sides. I decided to paint the cabinet with black lacquer. This stuff is highly flammable so be safe if youre going to use it.. I thought of building a paint booth and using a fan for fresh air, but the risk of a spark (maybe from the fan) turning my paint booth in to bomb, made me decide to open my garage door and shoot the lacquer towards the outside. 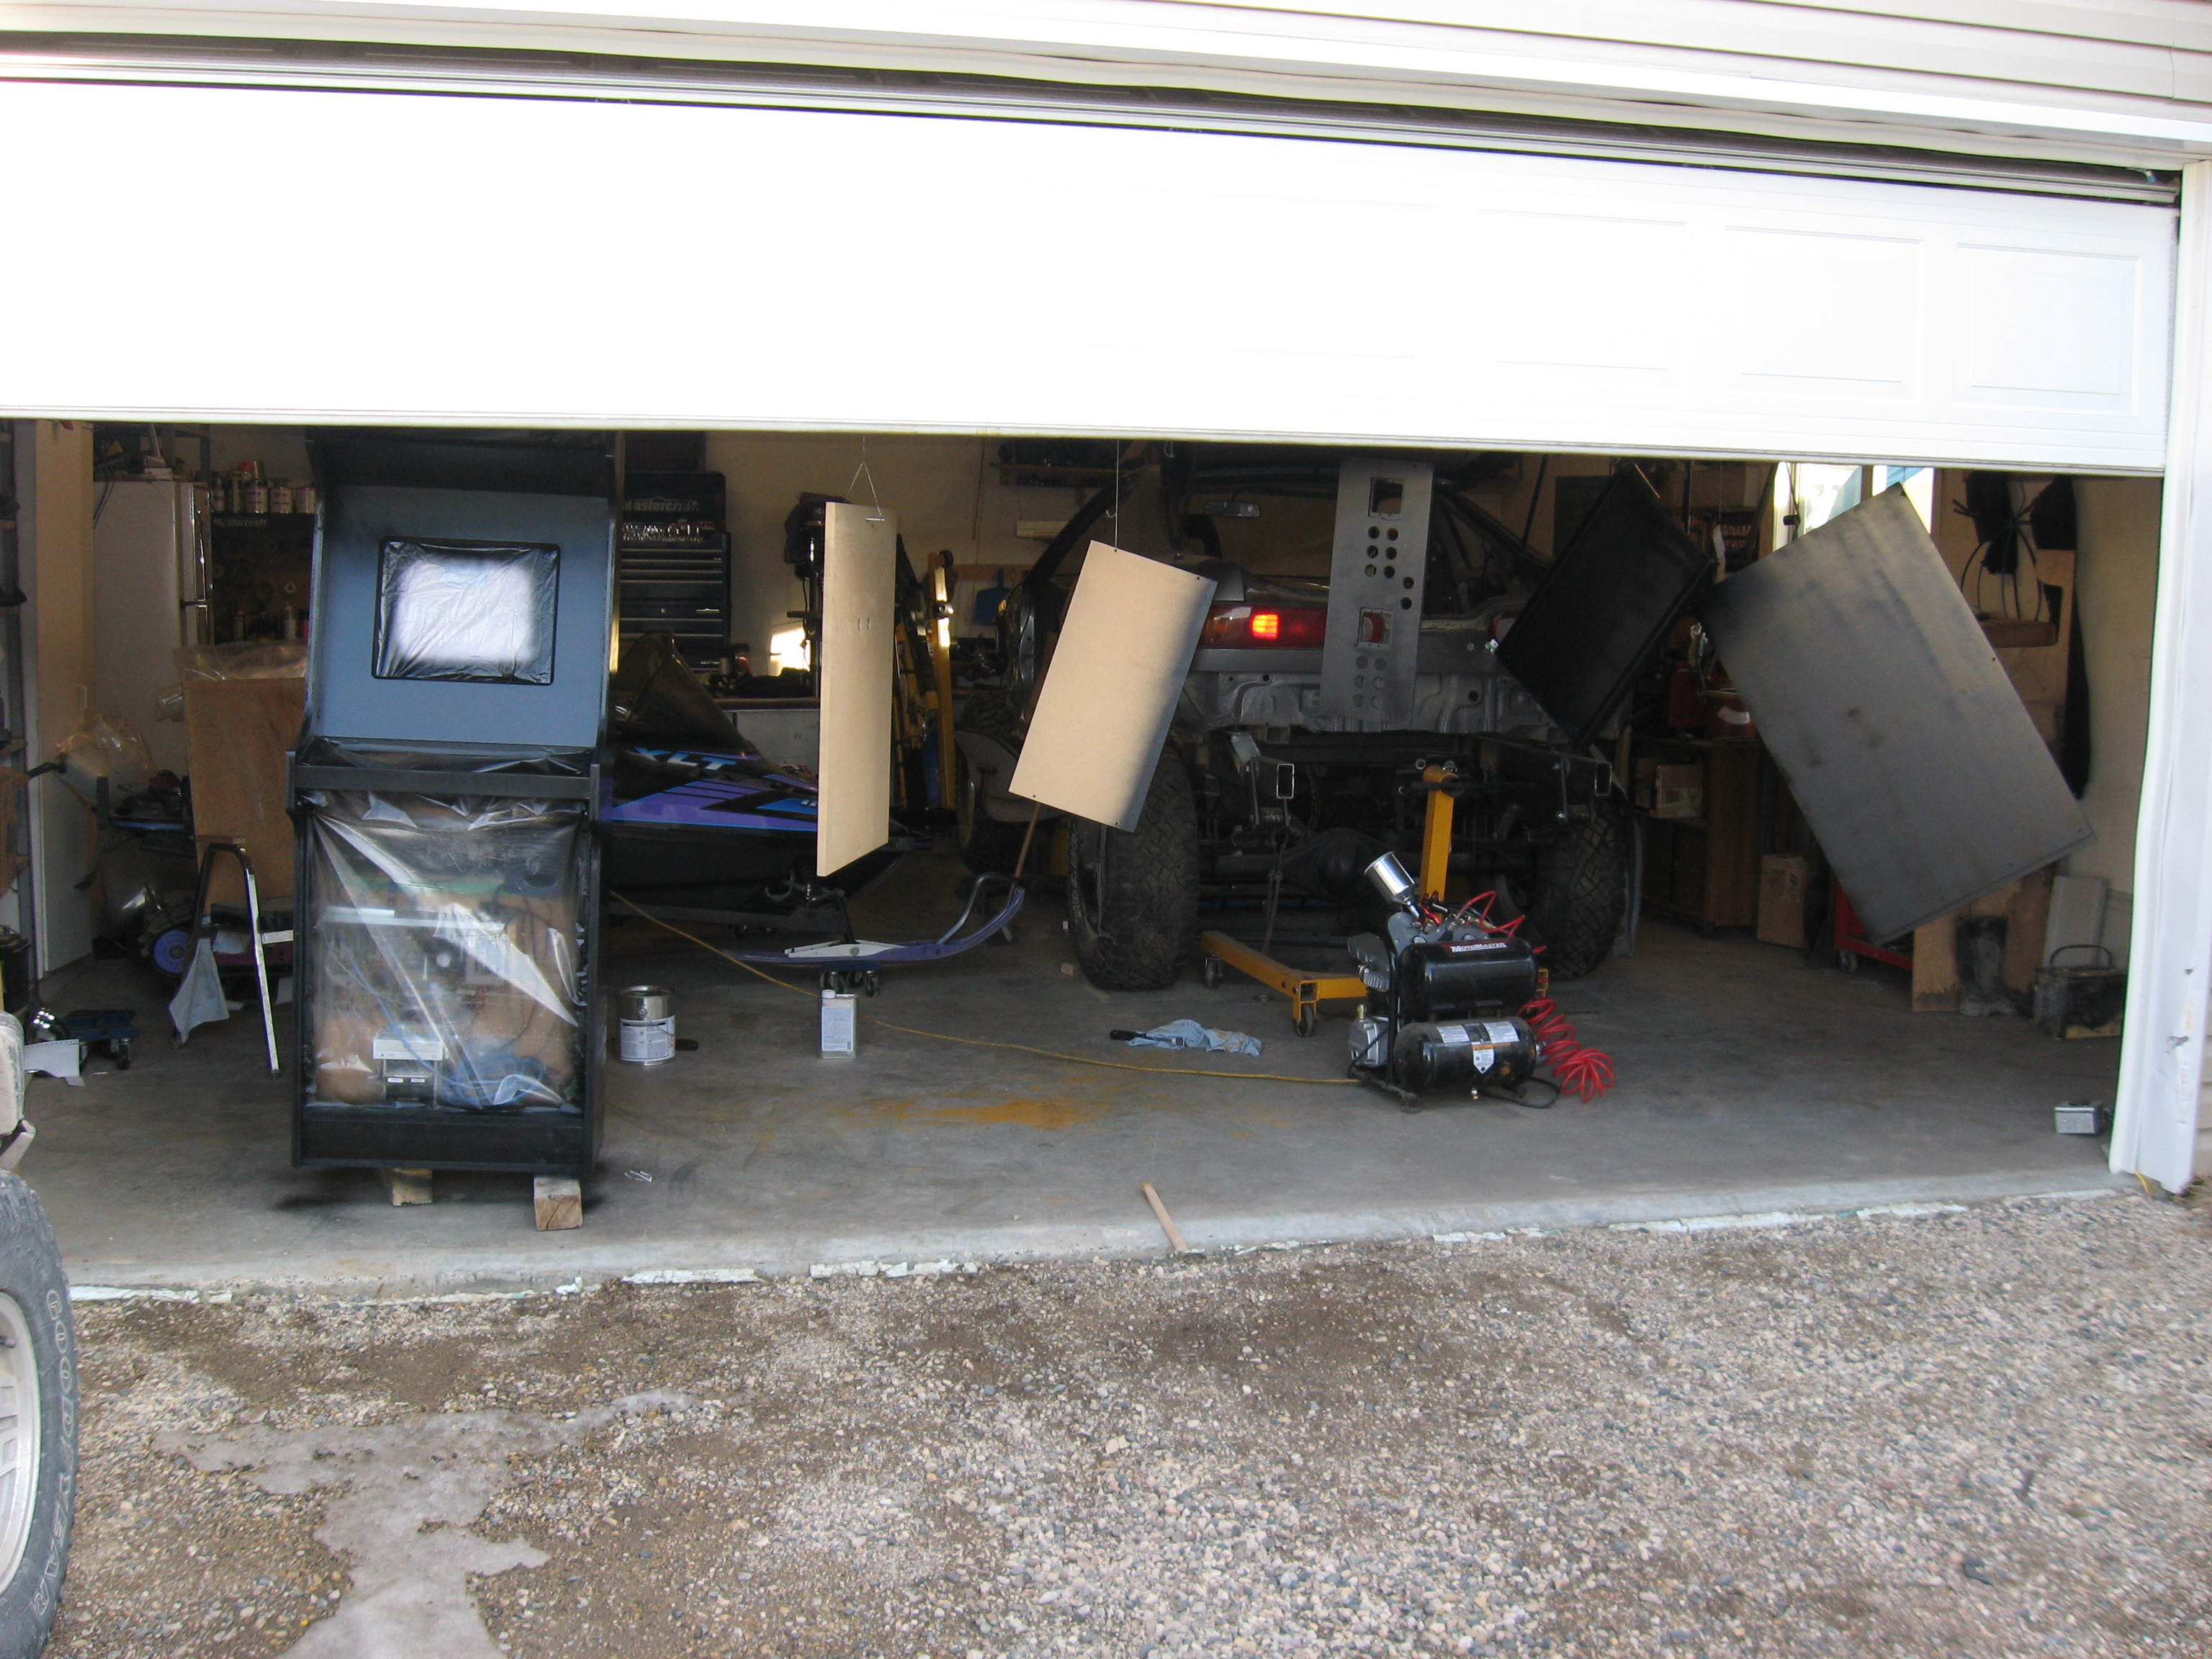 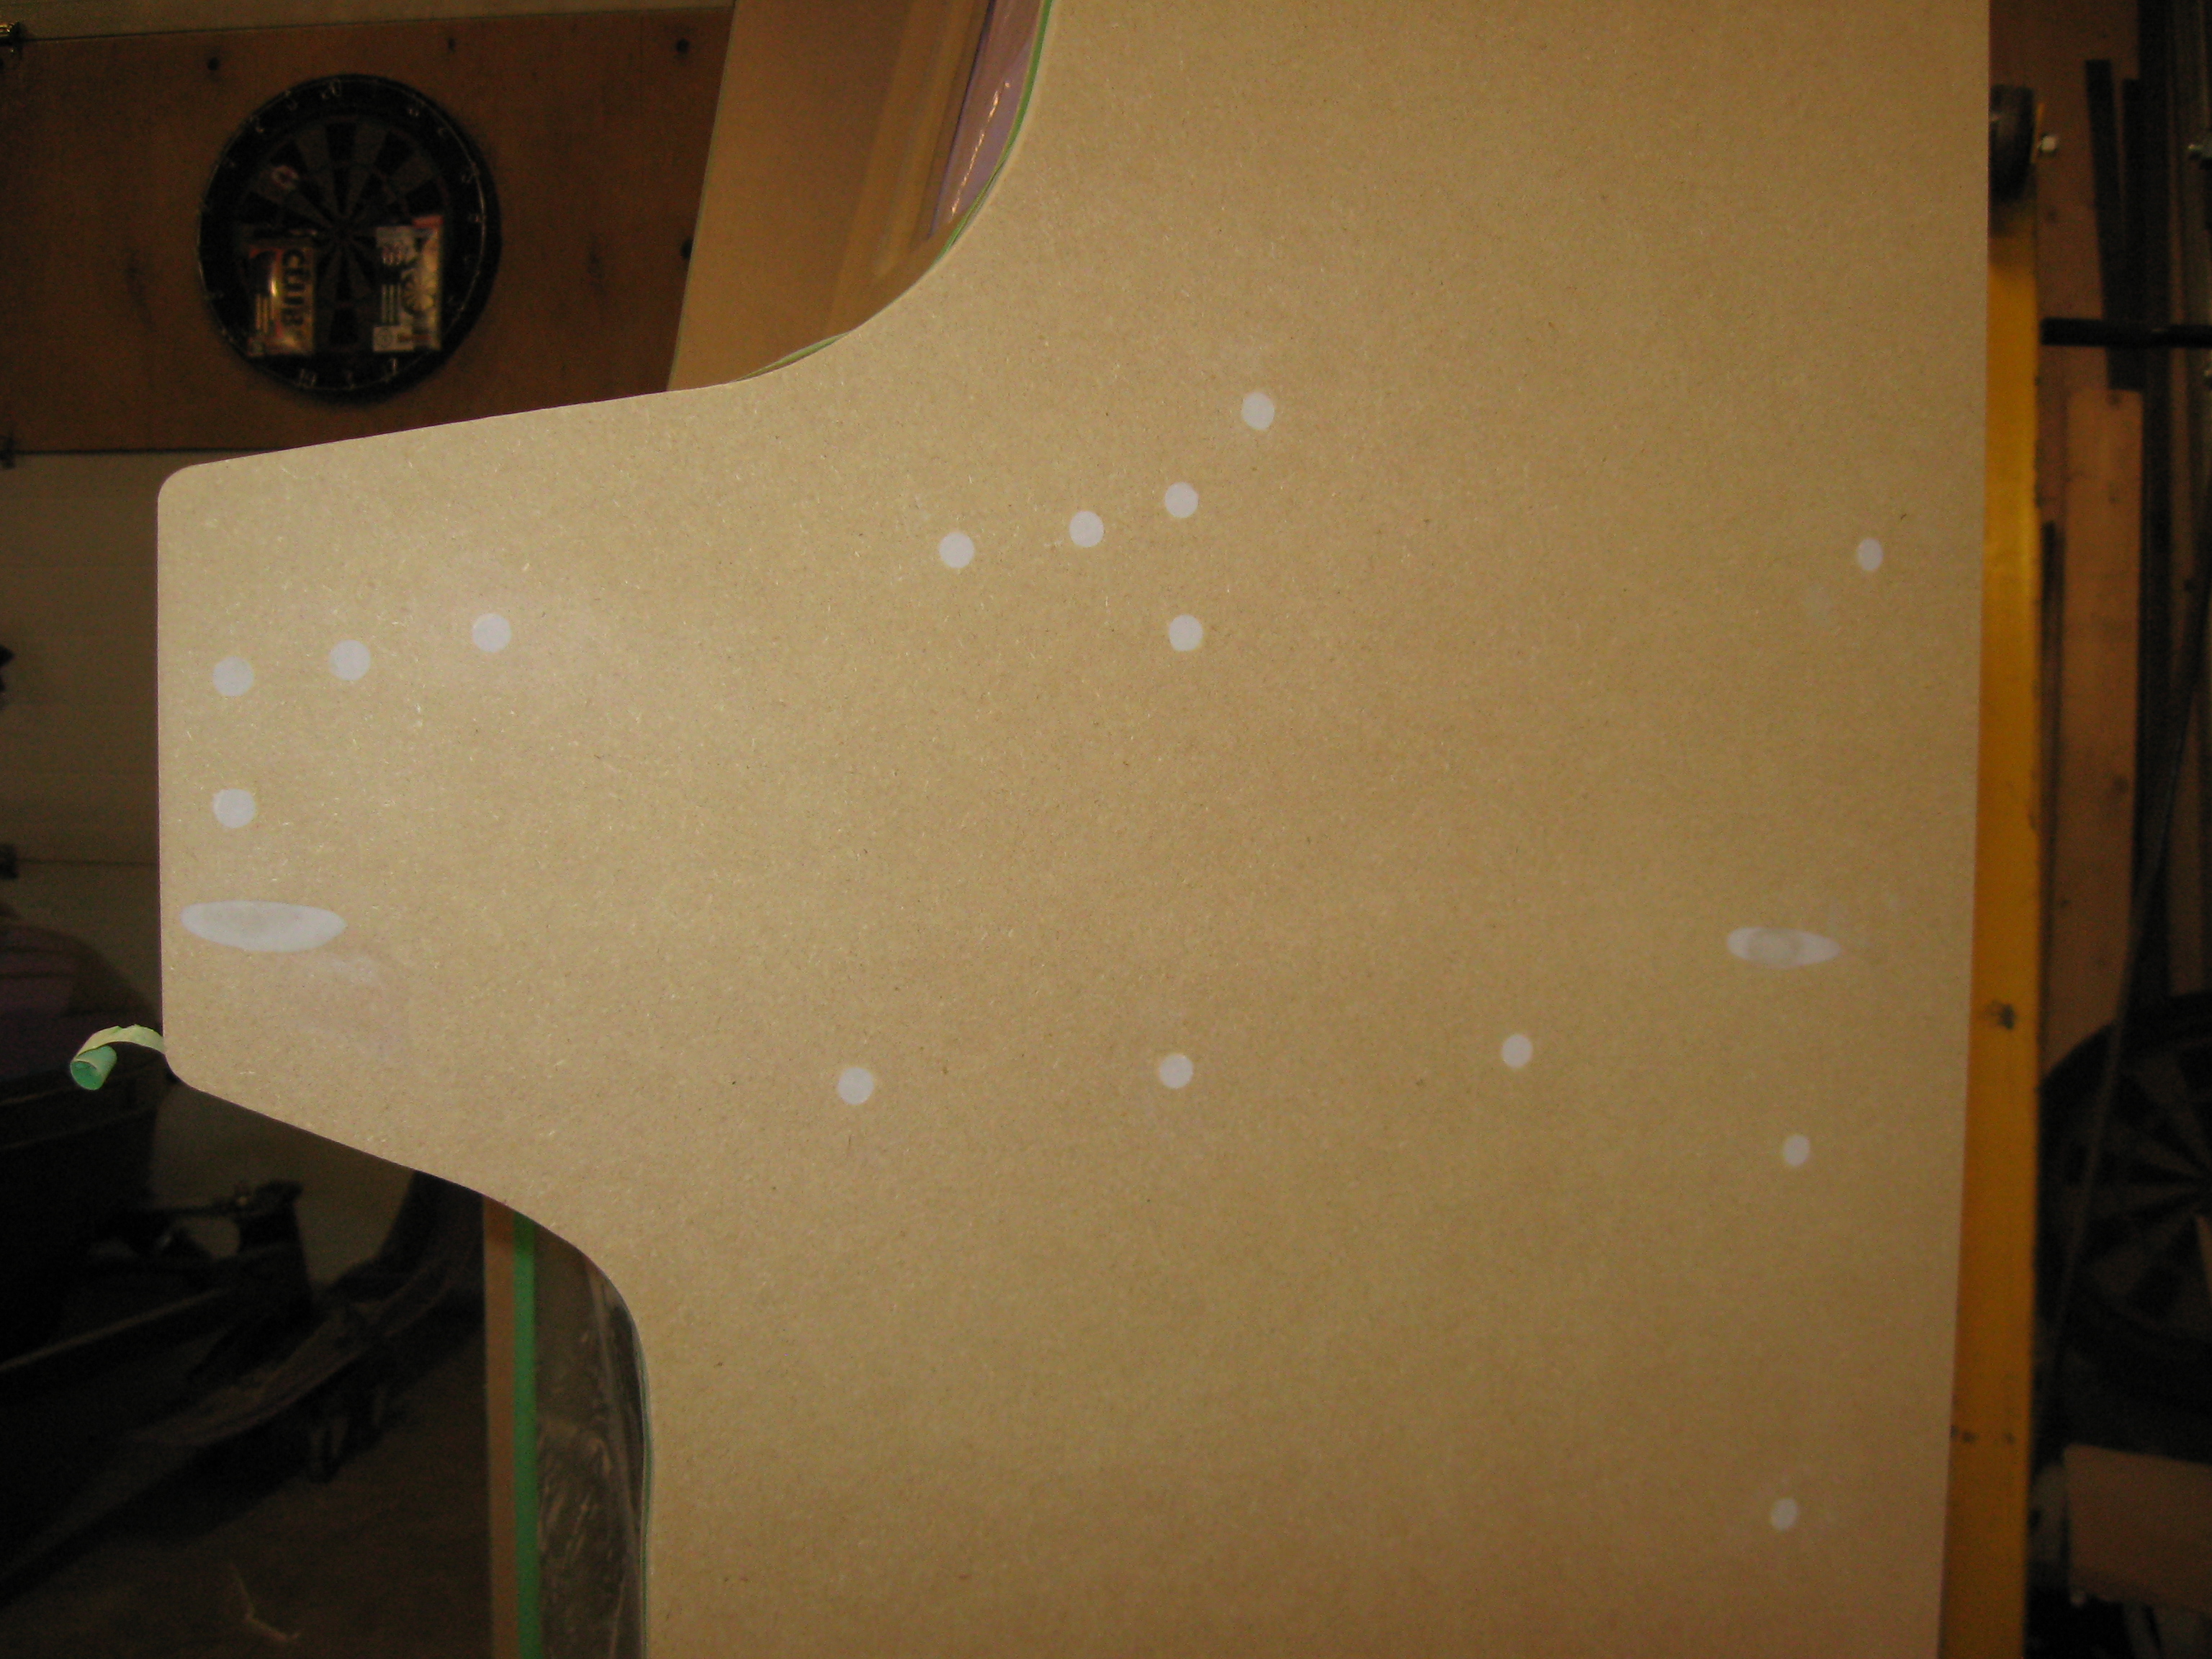 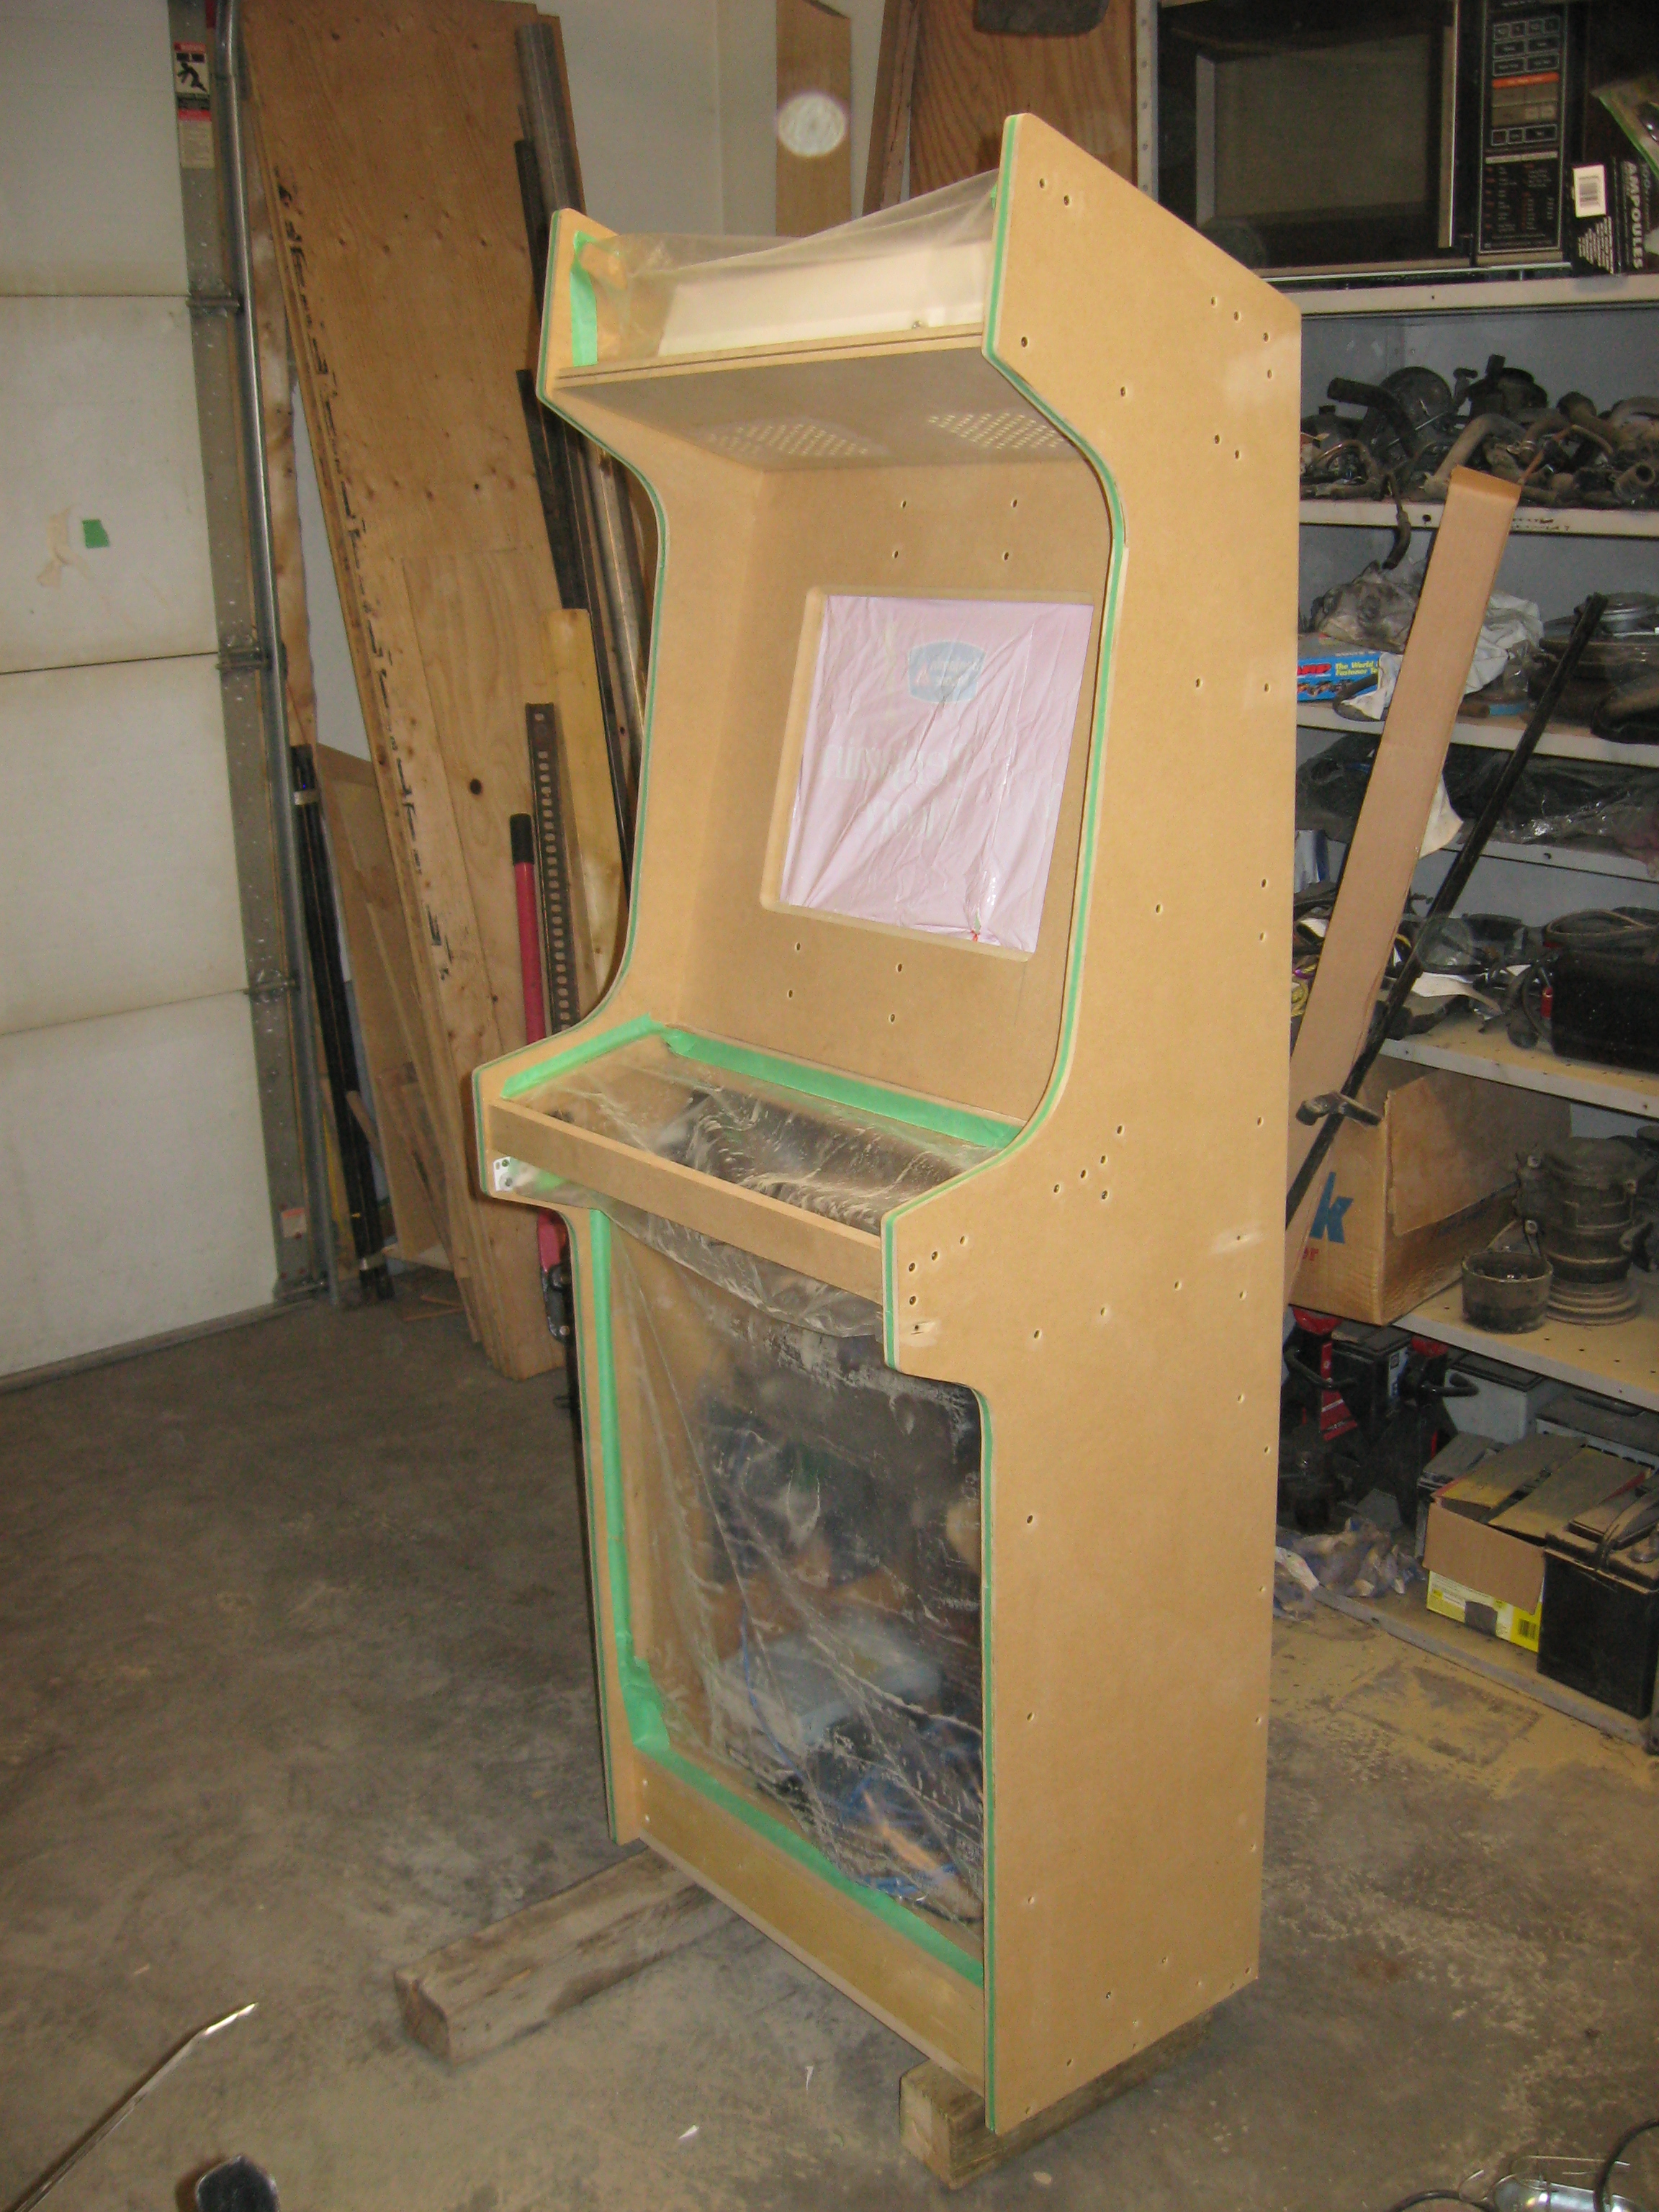
In the end I think it turned out well. What started as a fun project turned in to a fun hobby. The only bad thing is, now I spend too much time playing Donkey Kong, when I should be working on my car.  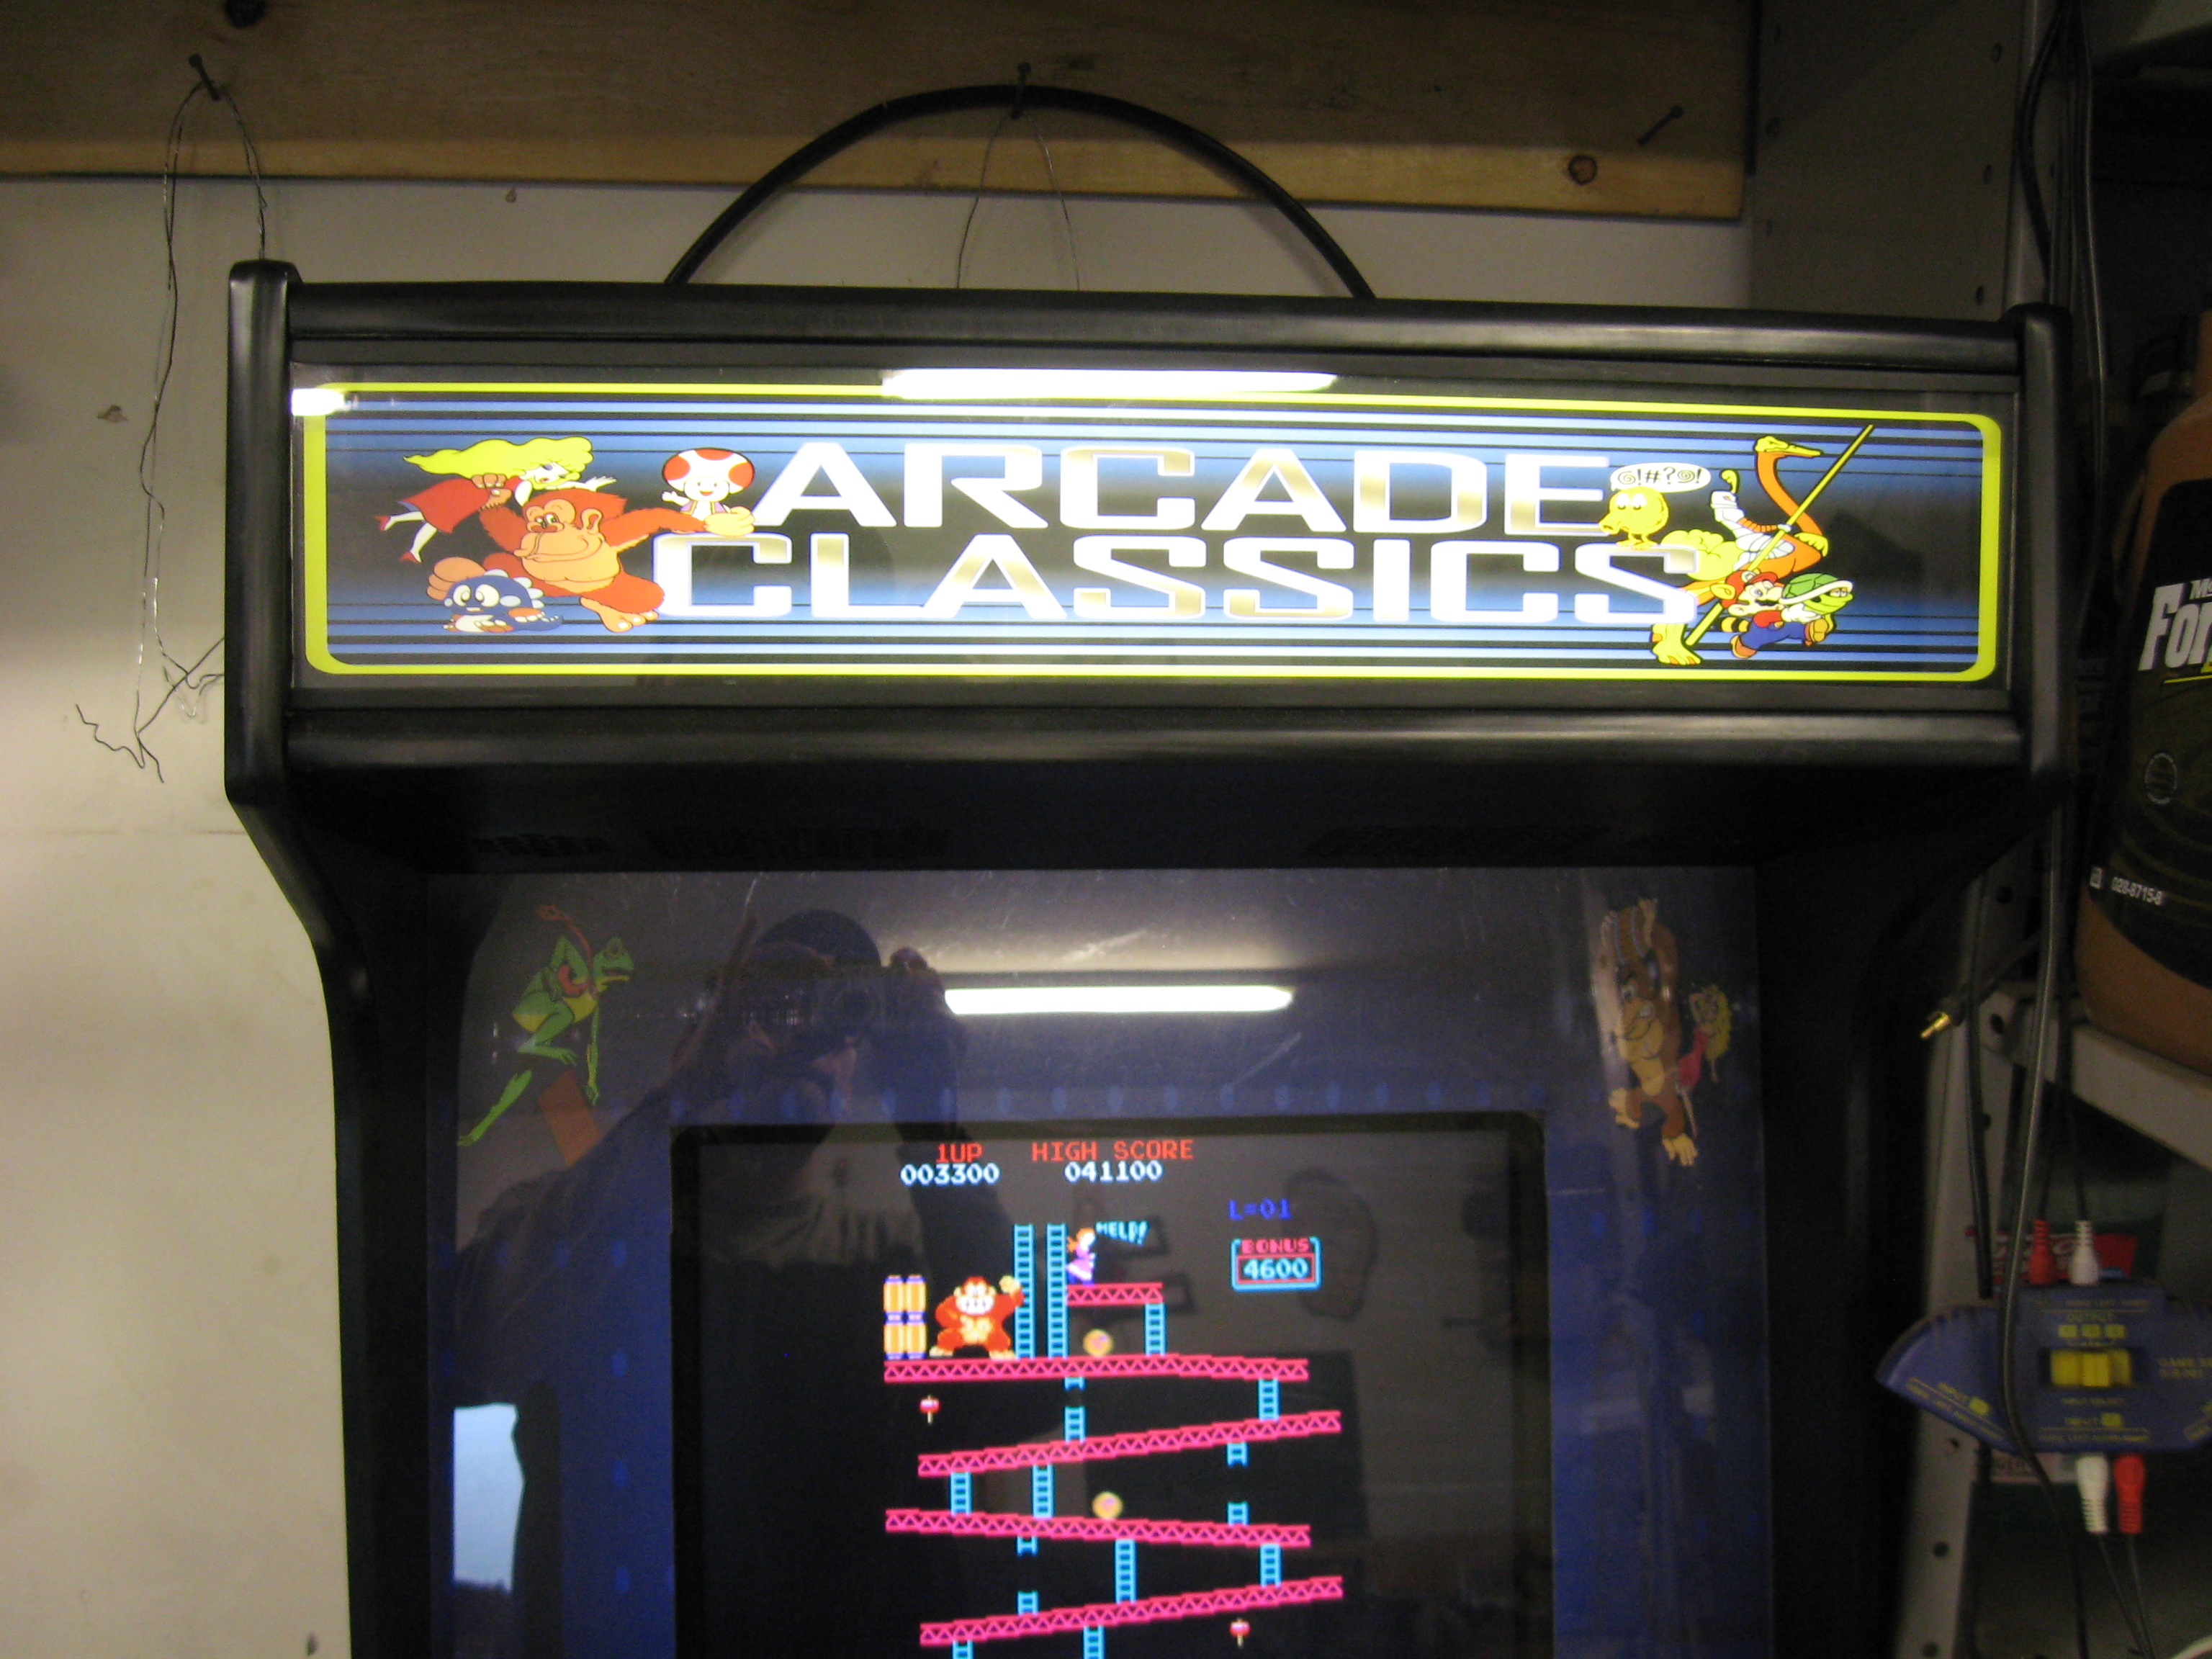 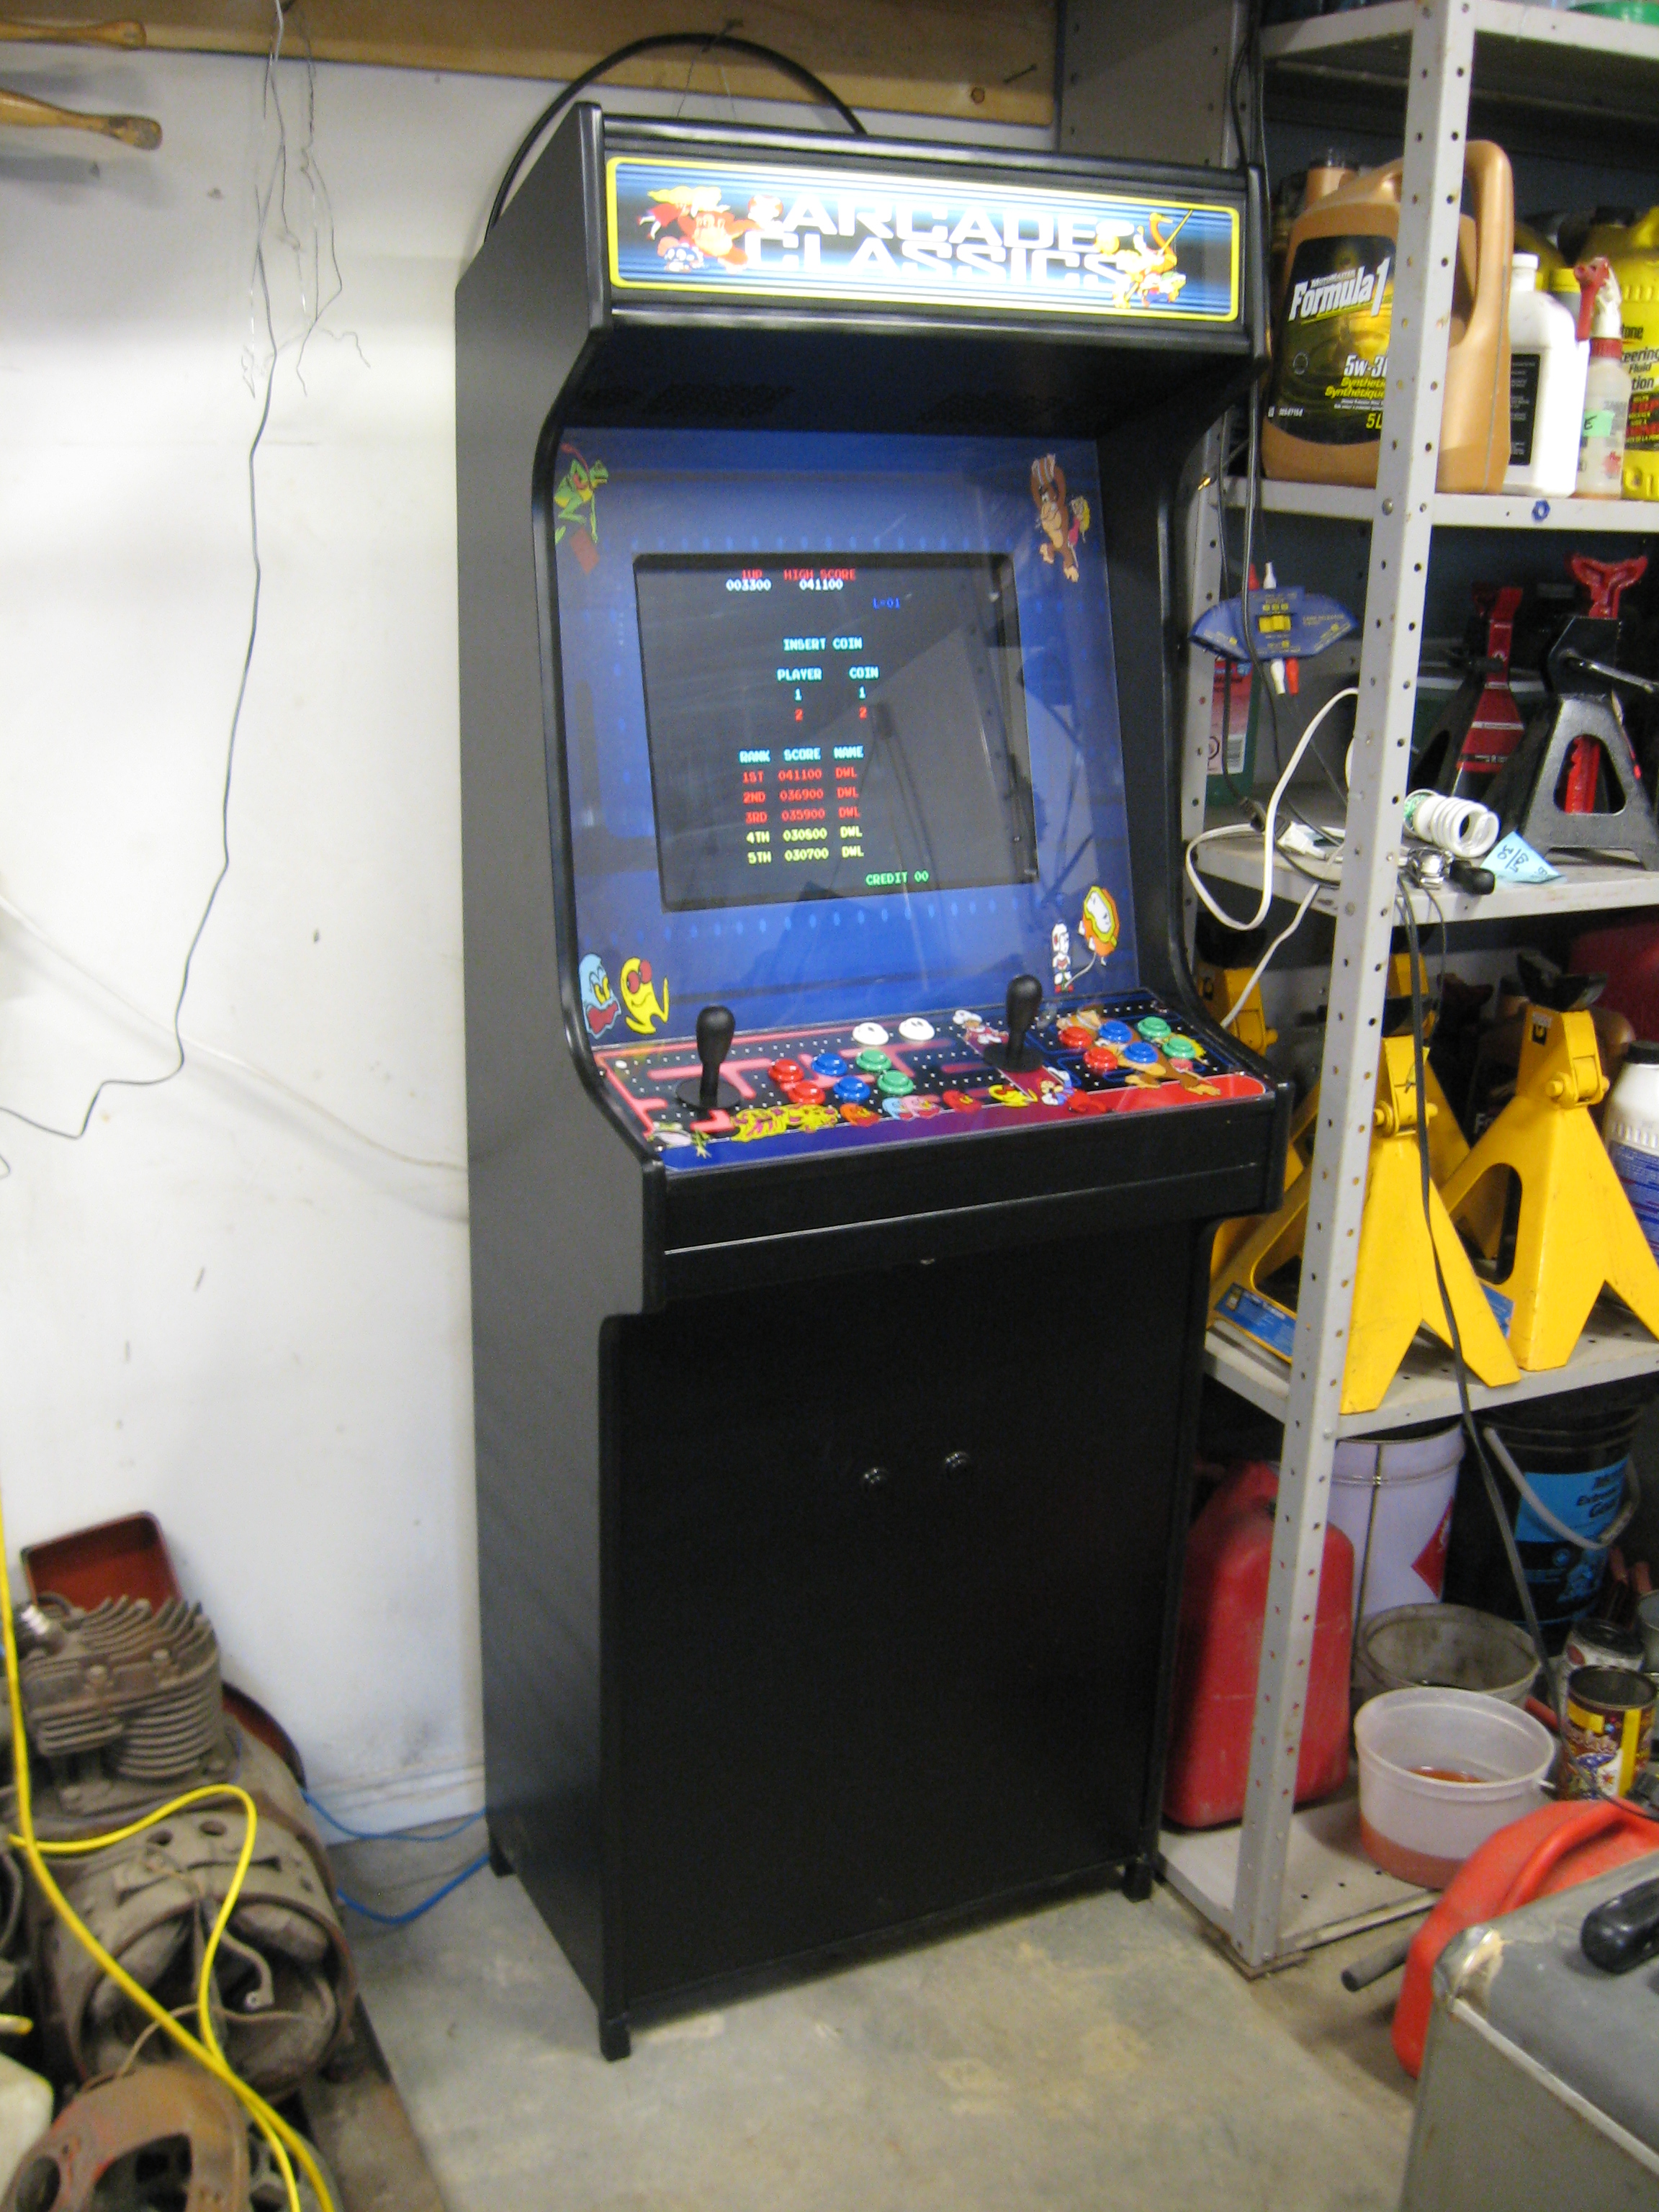
|

