
February 2011
Locked and Ready
Rear differential assembly
Putting together the rear diff and installing it was kind of fun. Parts had either been cleaned or were new. After I got the backing plates back from sand blasting I gave everything a couple of coats of flat black Tremclad paint. I got the housing back under the springs and bolted it in. I started the assembly by putting on the new wheel bearings. After the bearings had been in the freezer for a while and the bearing cup had been heated a little, the bearing slid right in with zero force. Then I installed the inner axle seals. Bolting in the e-locker differential was a multistage process. Because I used RTV sealer instead of a gasket, I had to hand tighten the bolts and then wait an hour for it to set before I could torque it down. 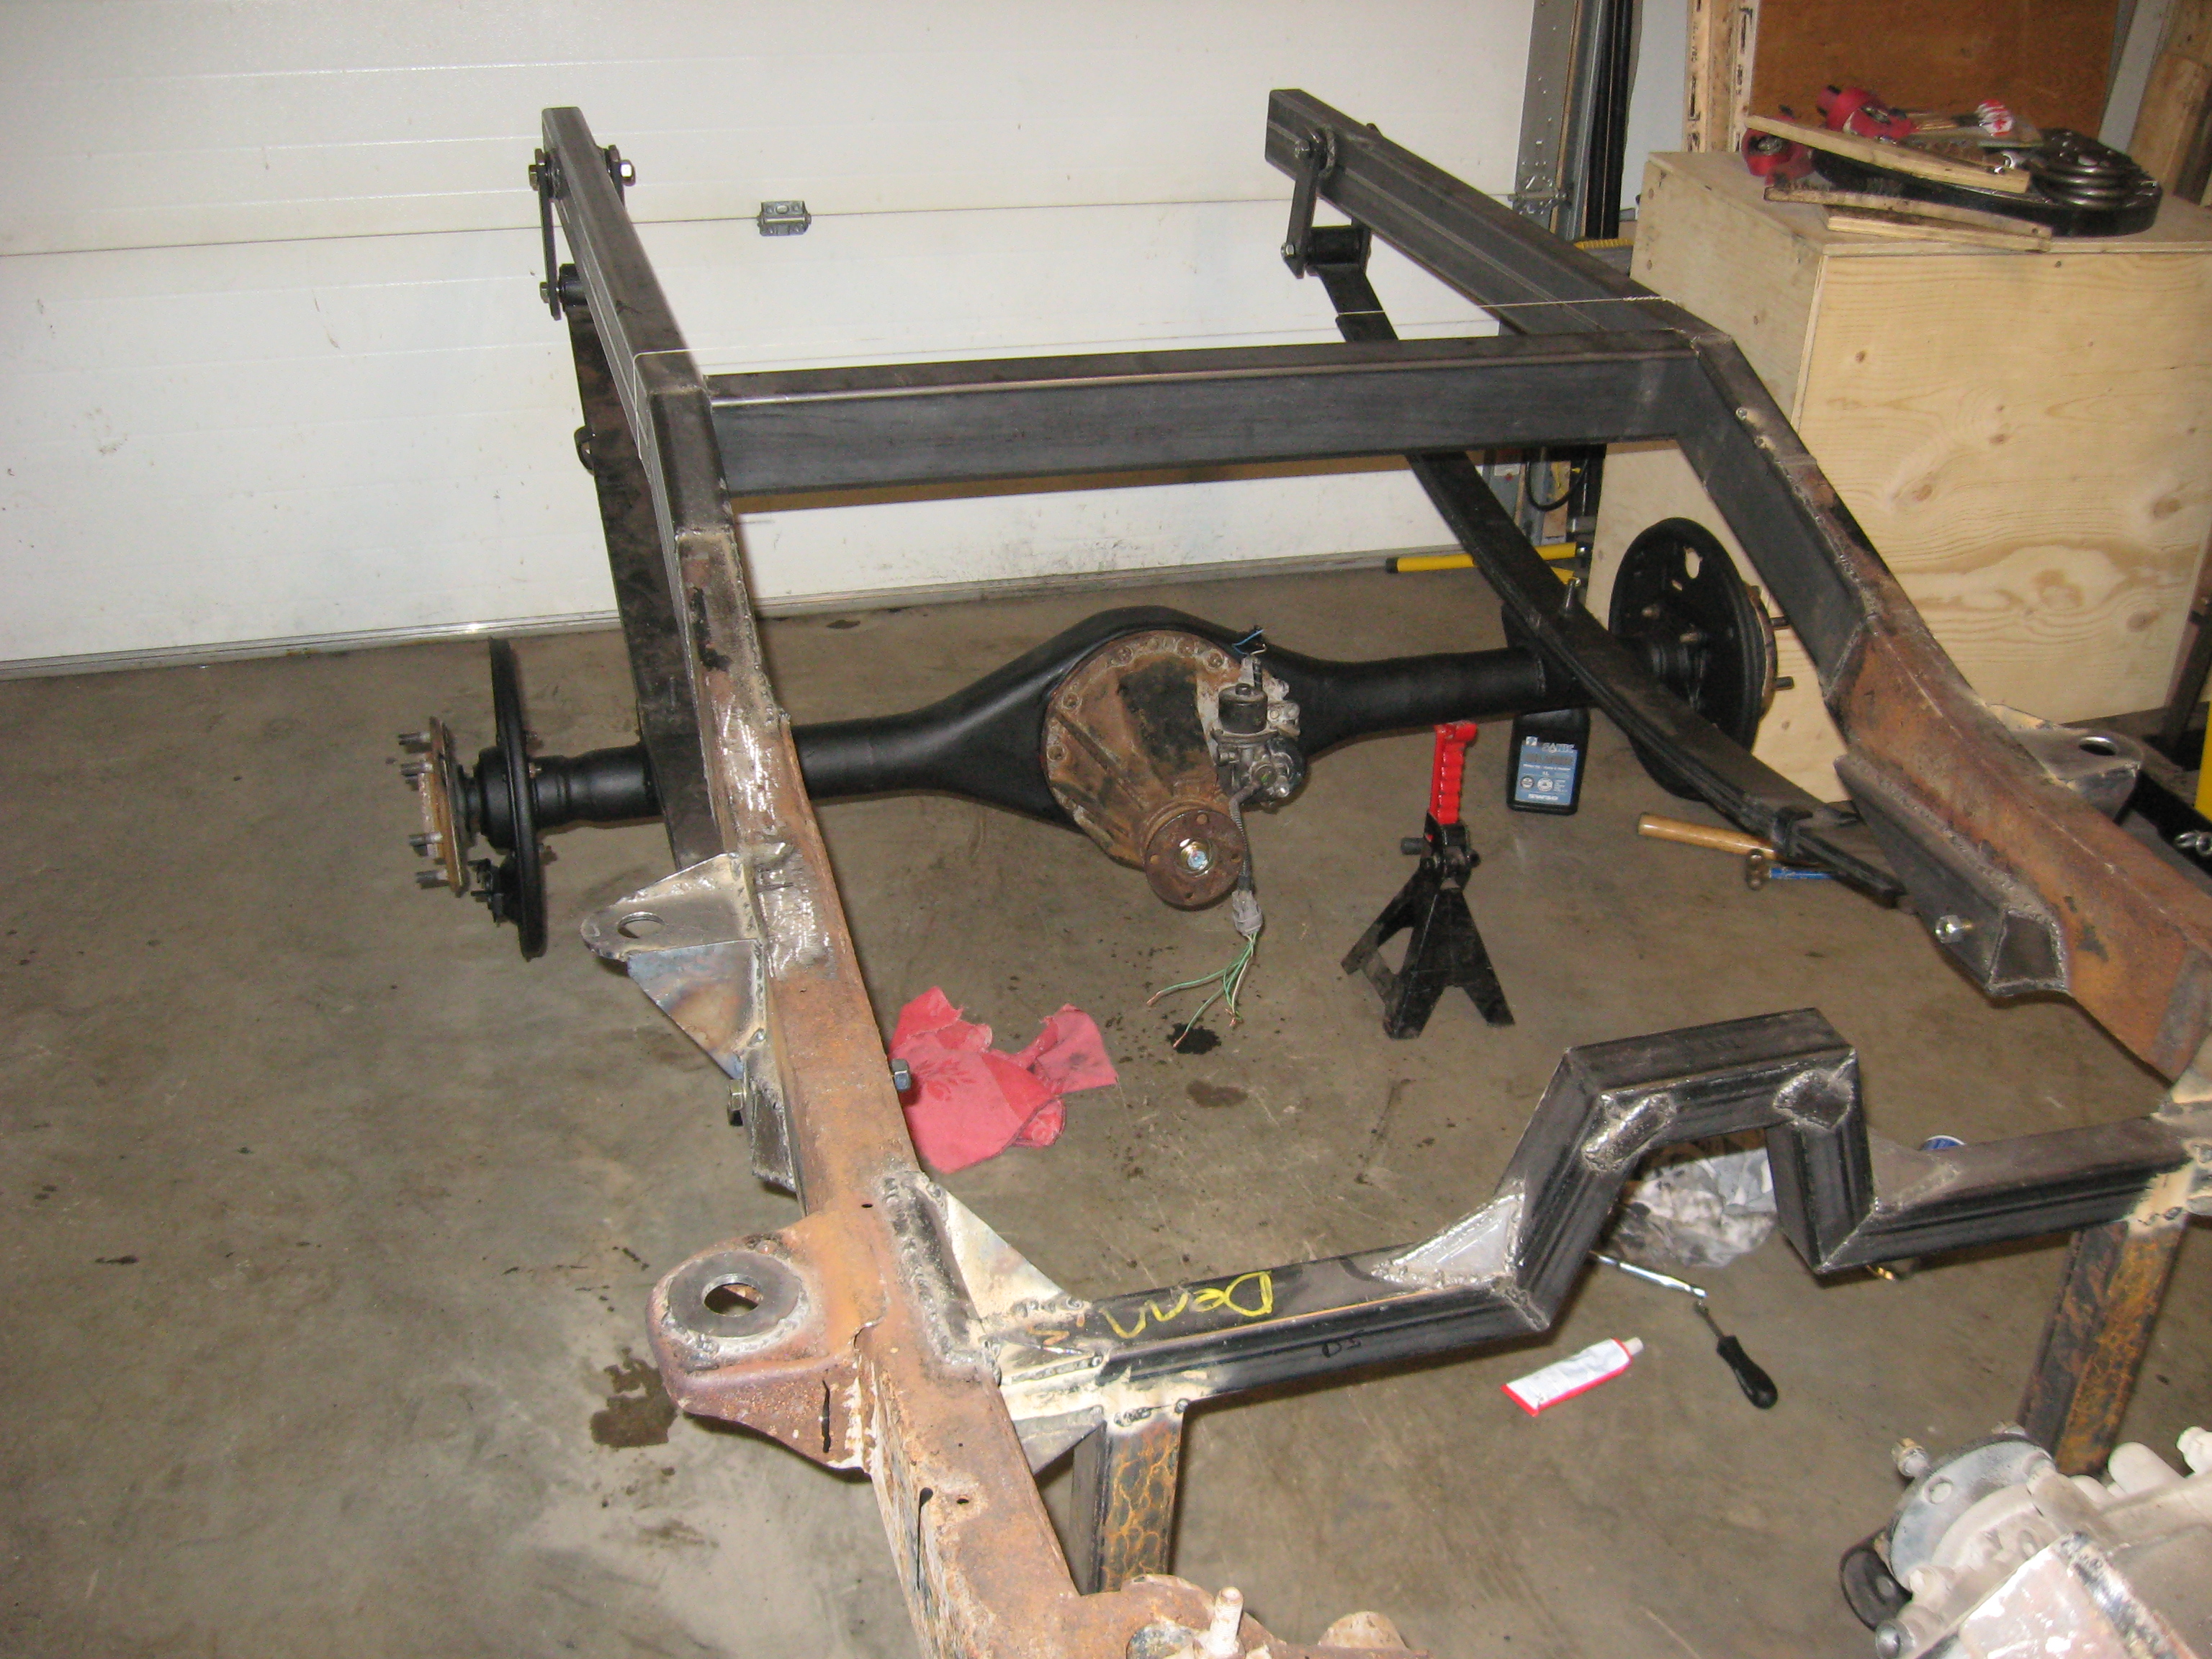 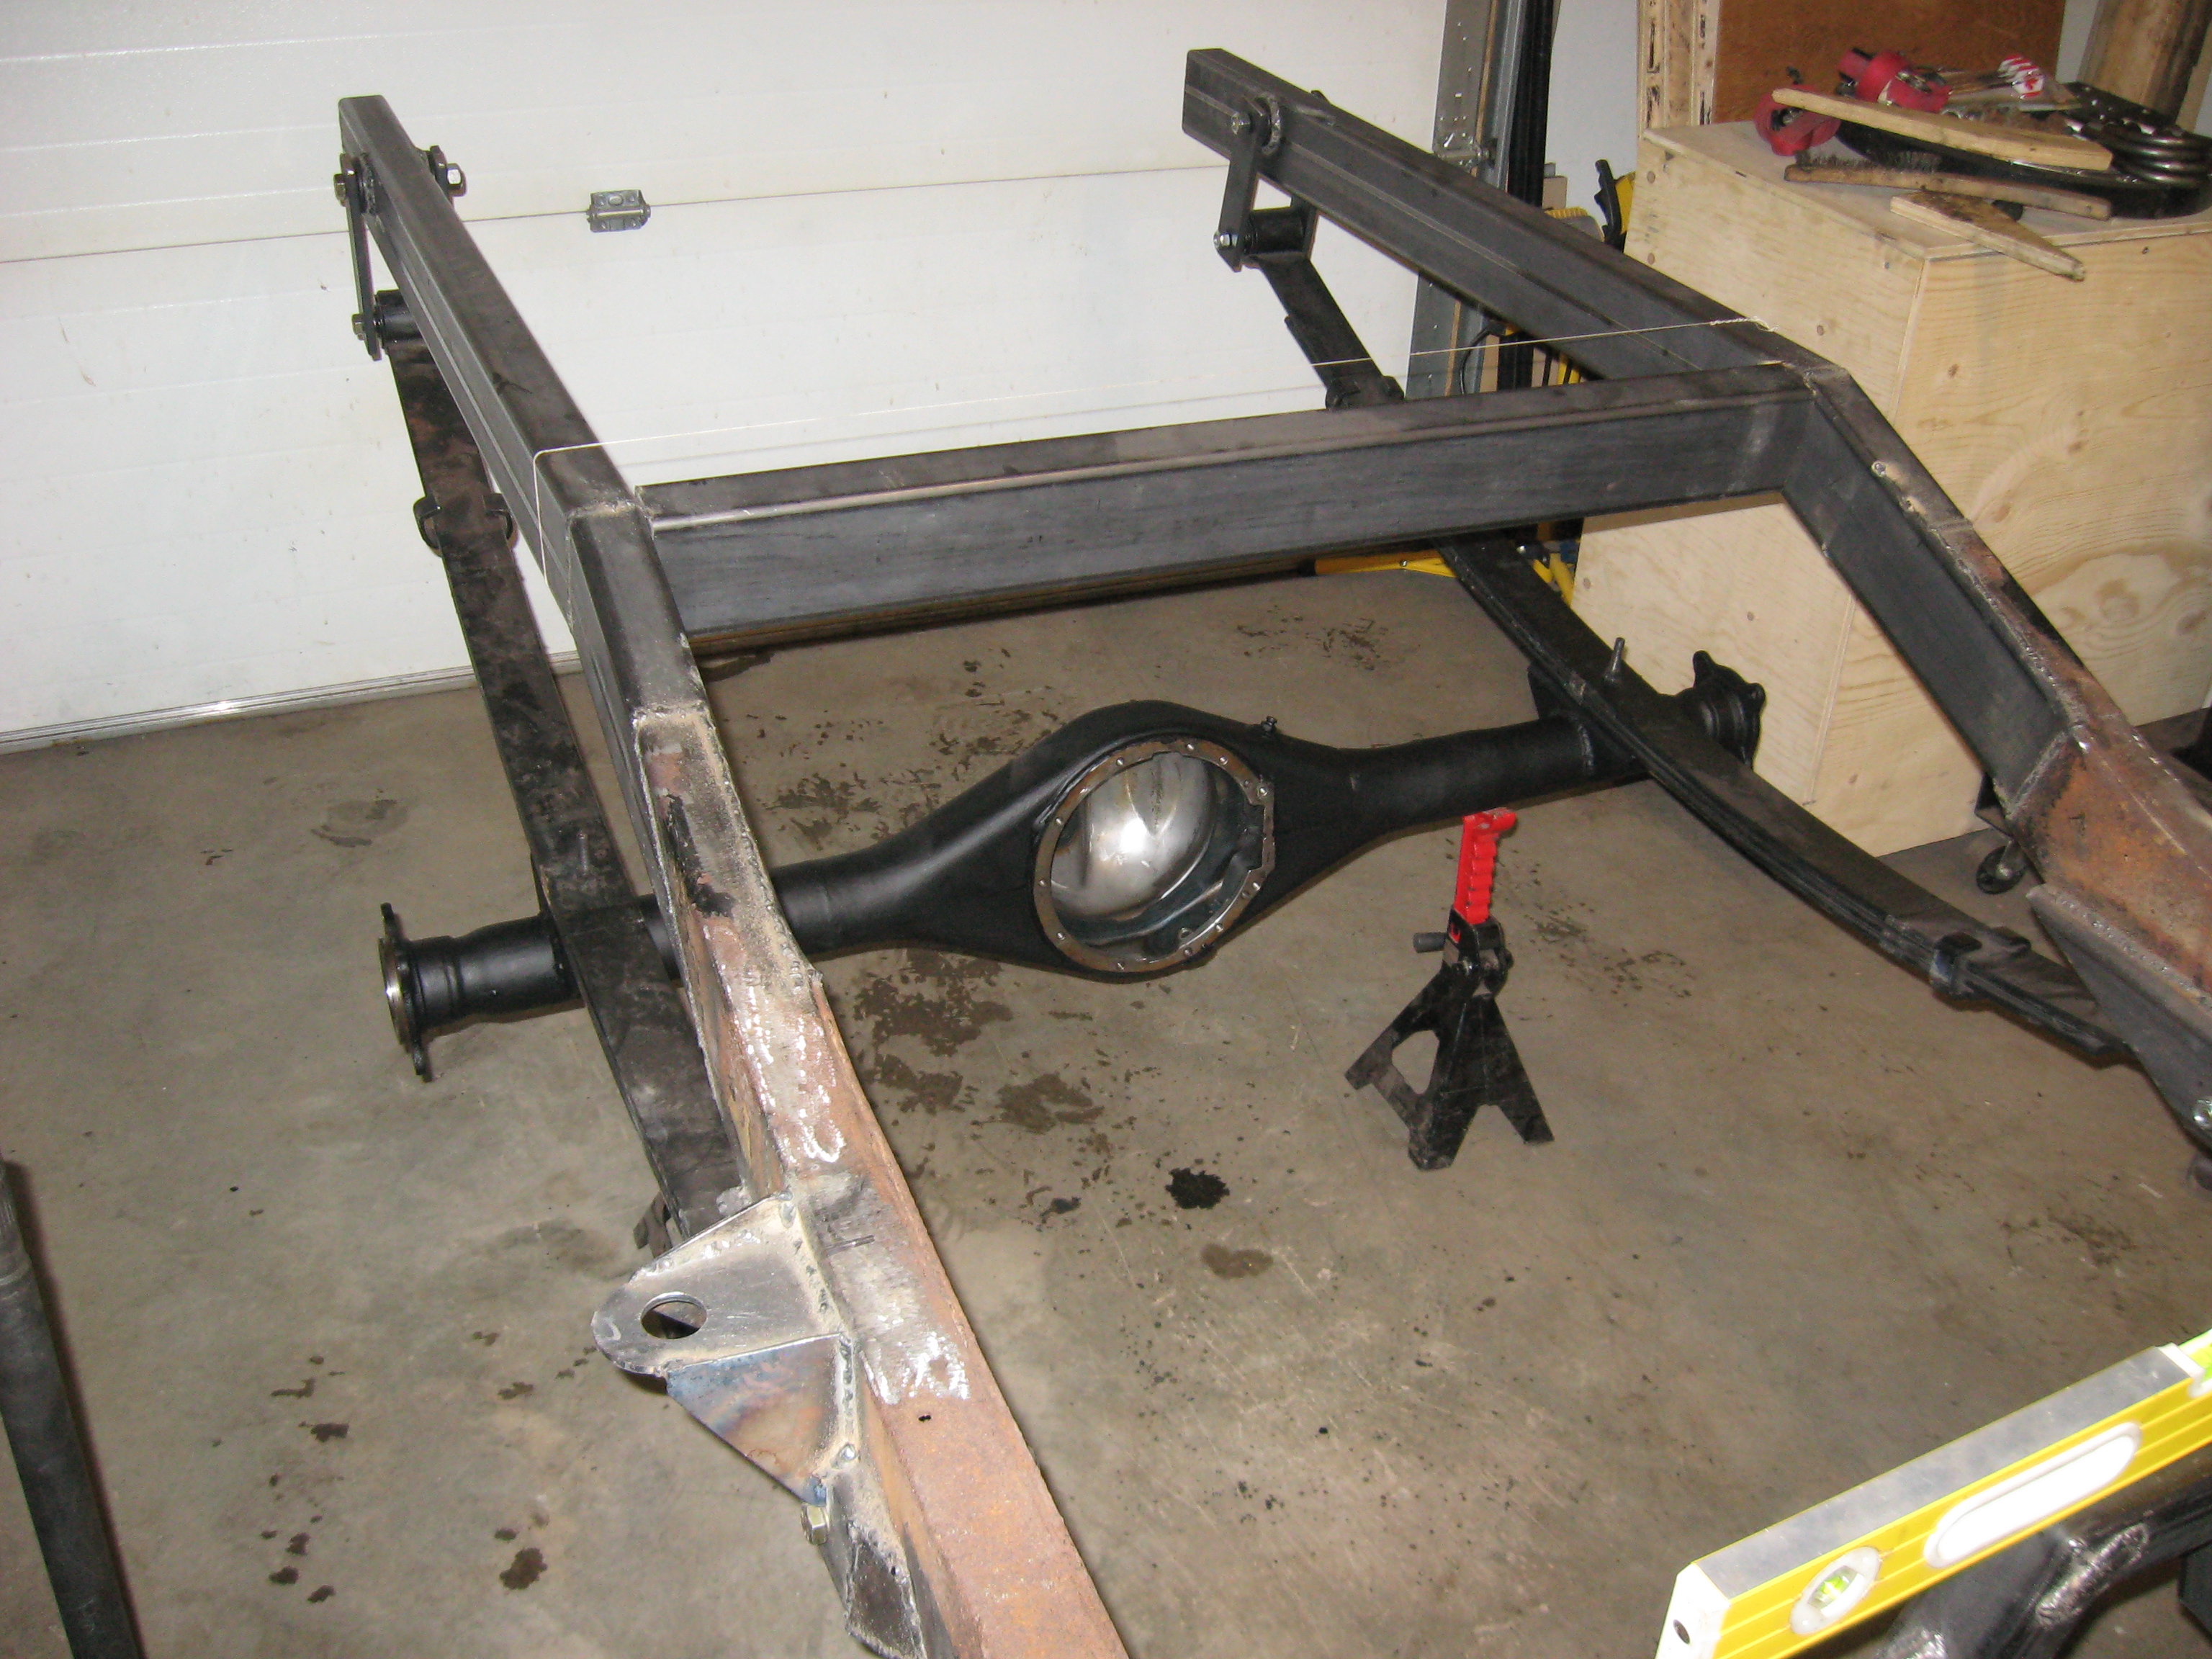 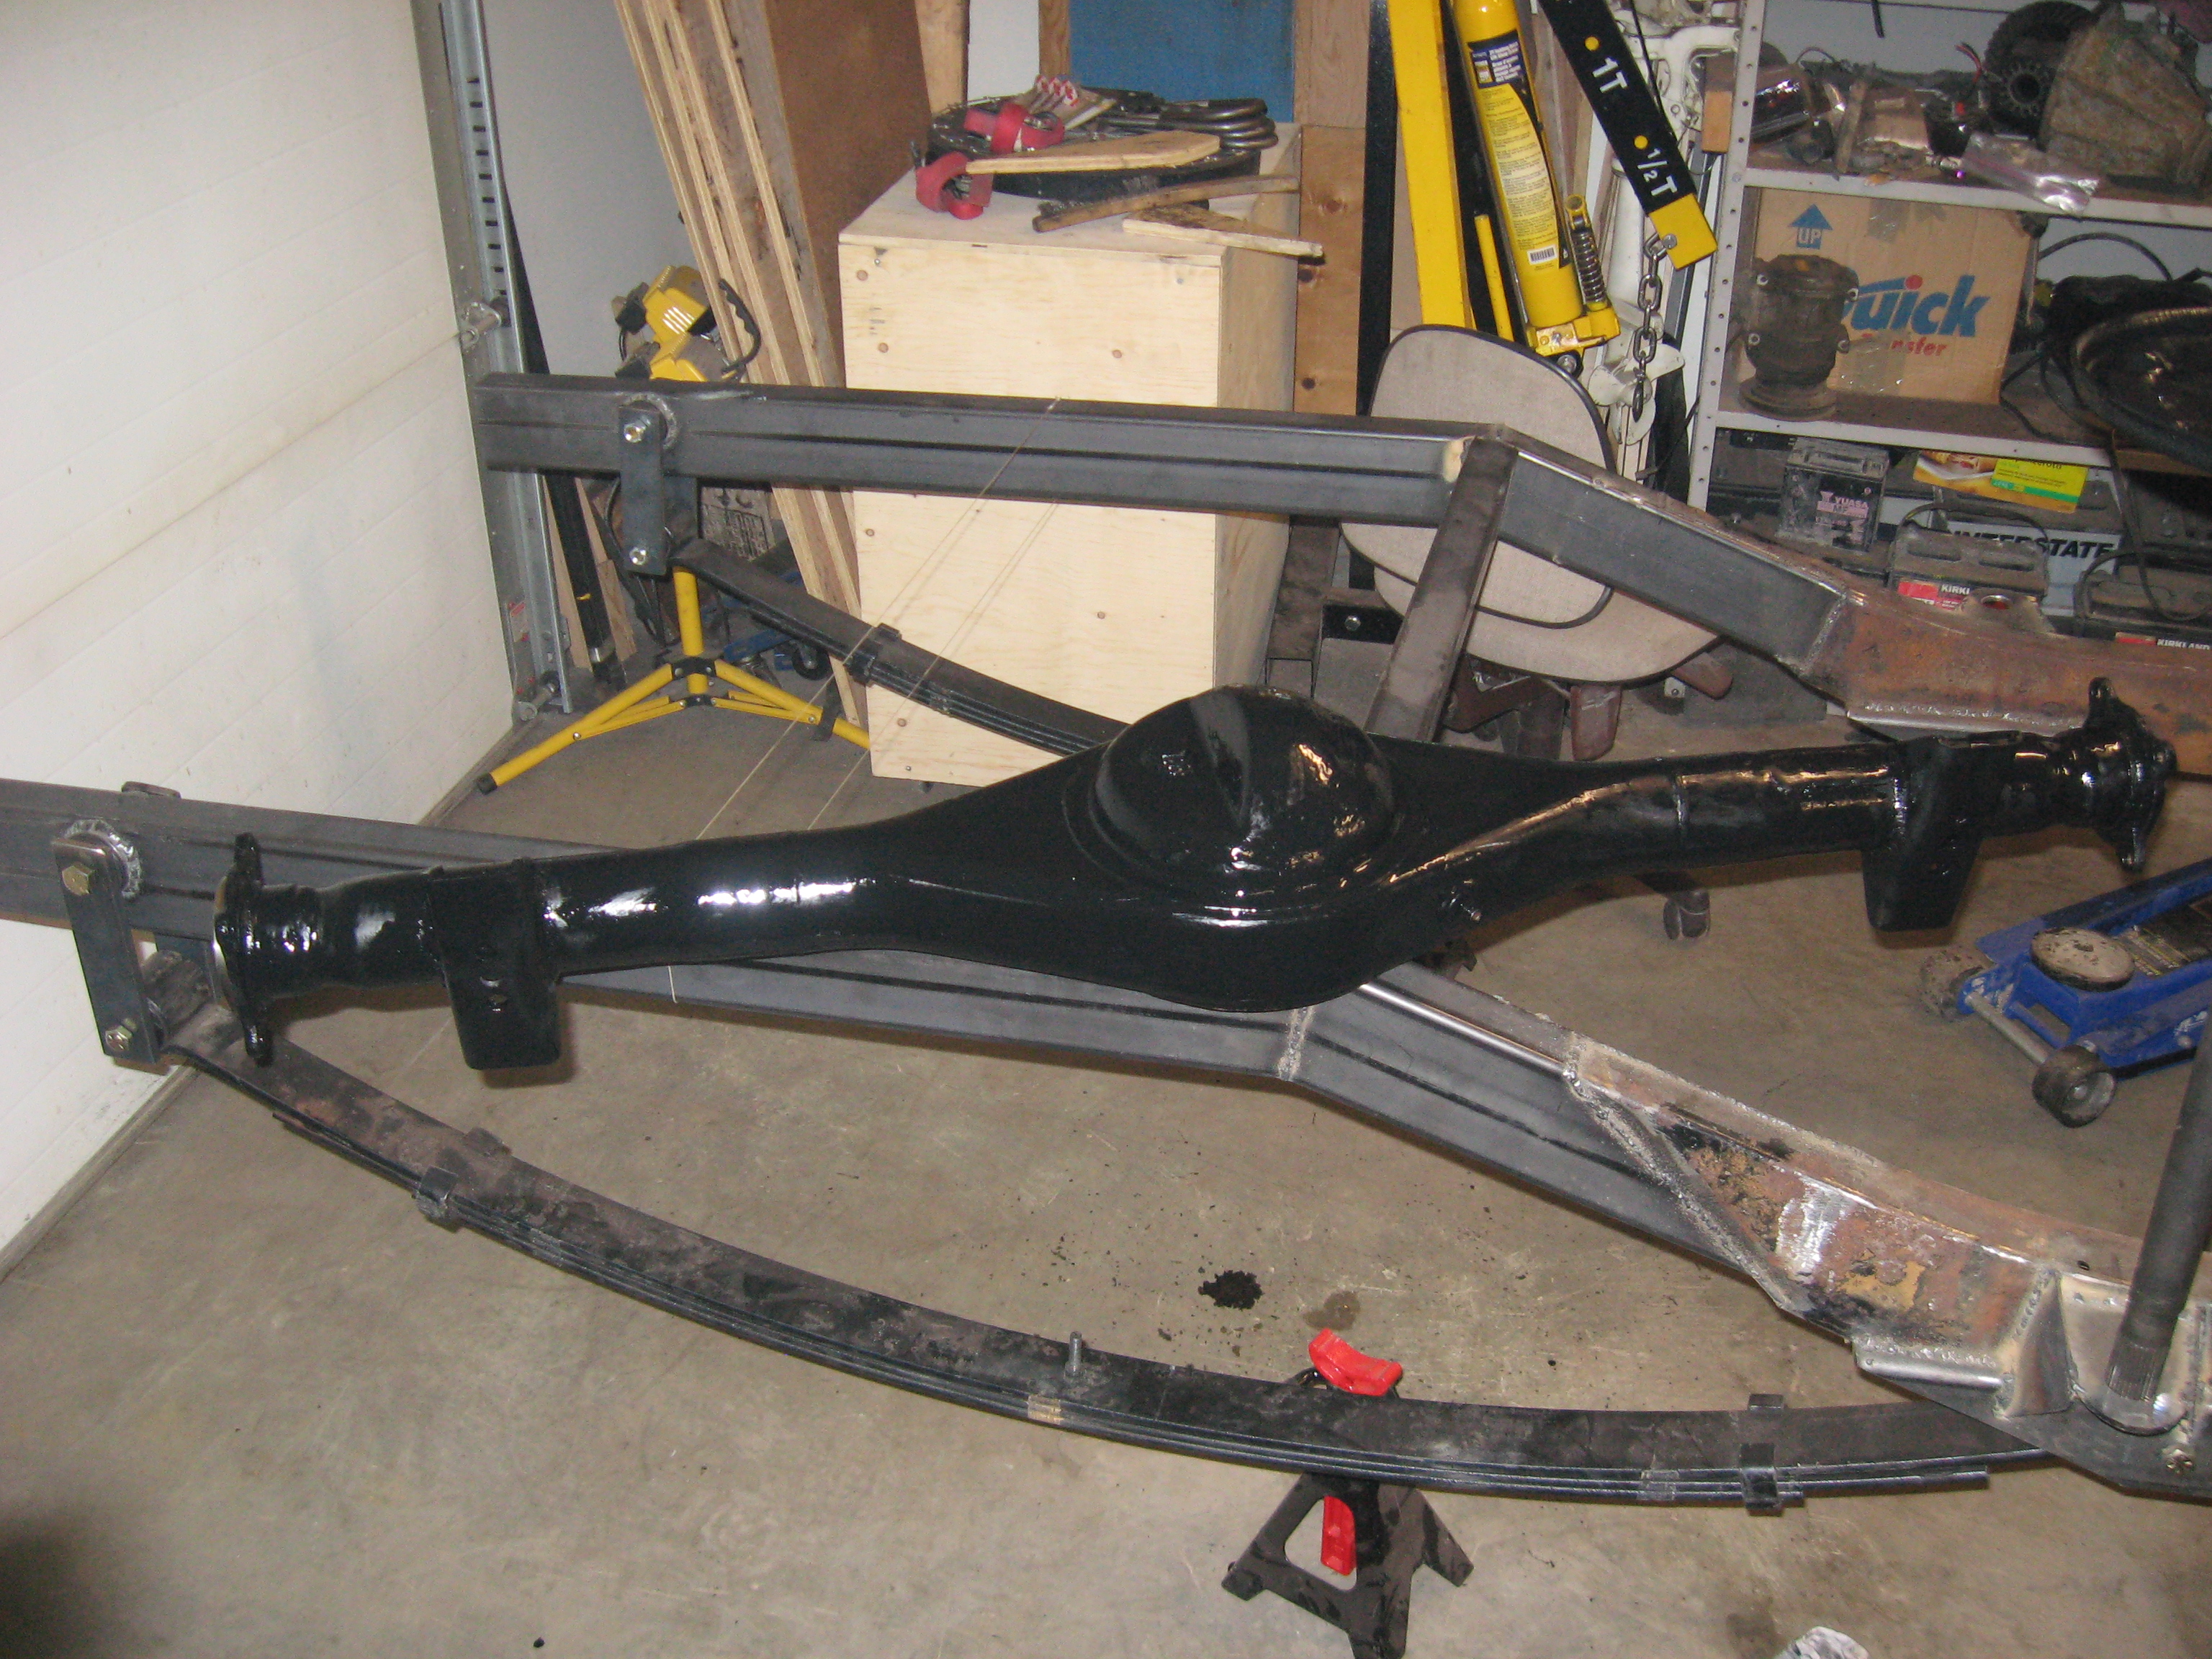
With the diff in I could slide the axles in to the housing. Then I reassembled the brakes with new wheel cylinders, shoes and drums. I'm using mostly premium parts from NAPA. I don't know how long they'll last, but if it's too short I'll buy genuine Toyota parts to replace them. After the brakes this I installed and painted the drive shaft. Everything turns freely with no binding. I tested the e-locker on the bench but still need to test it in the axle housing.  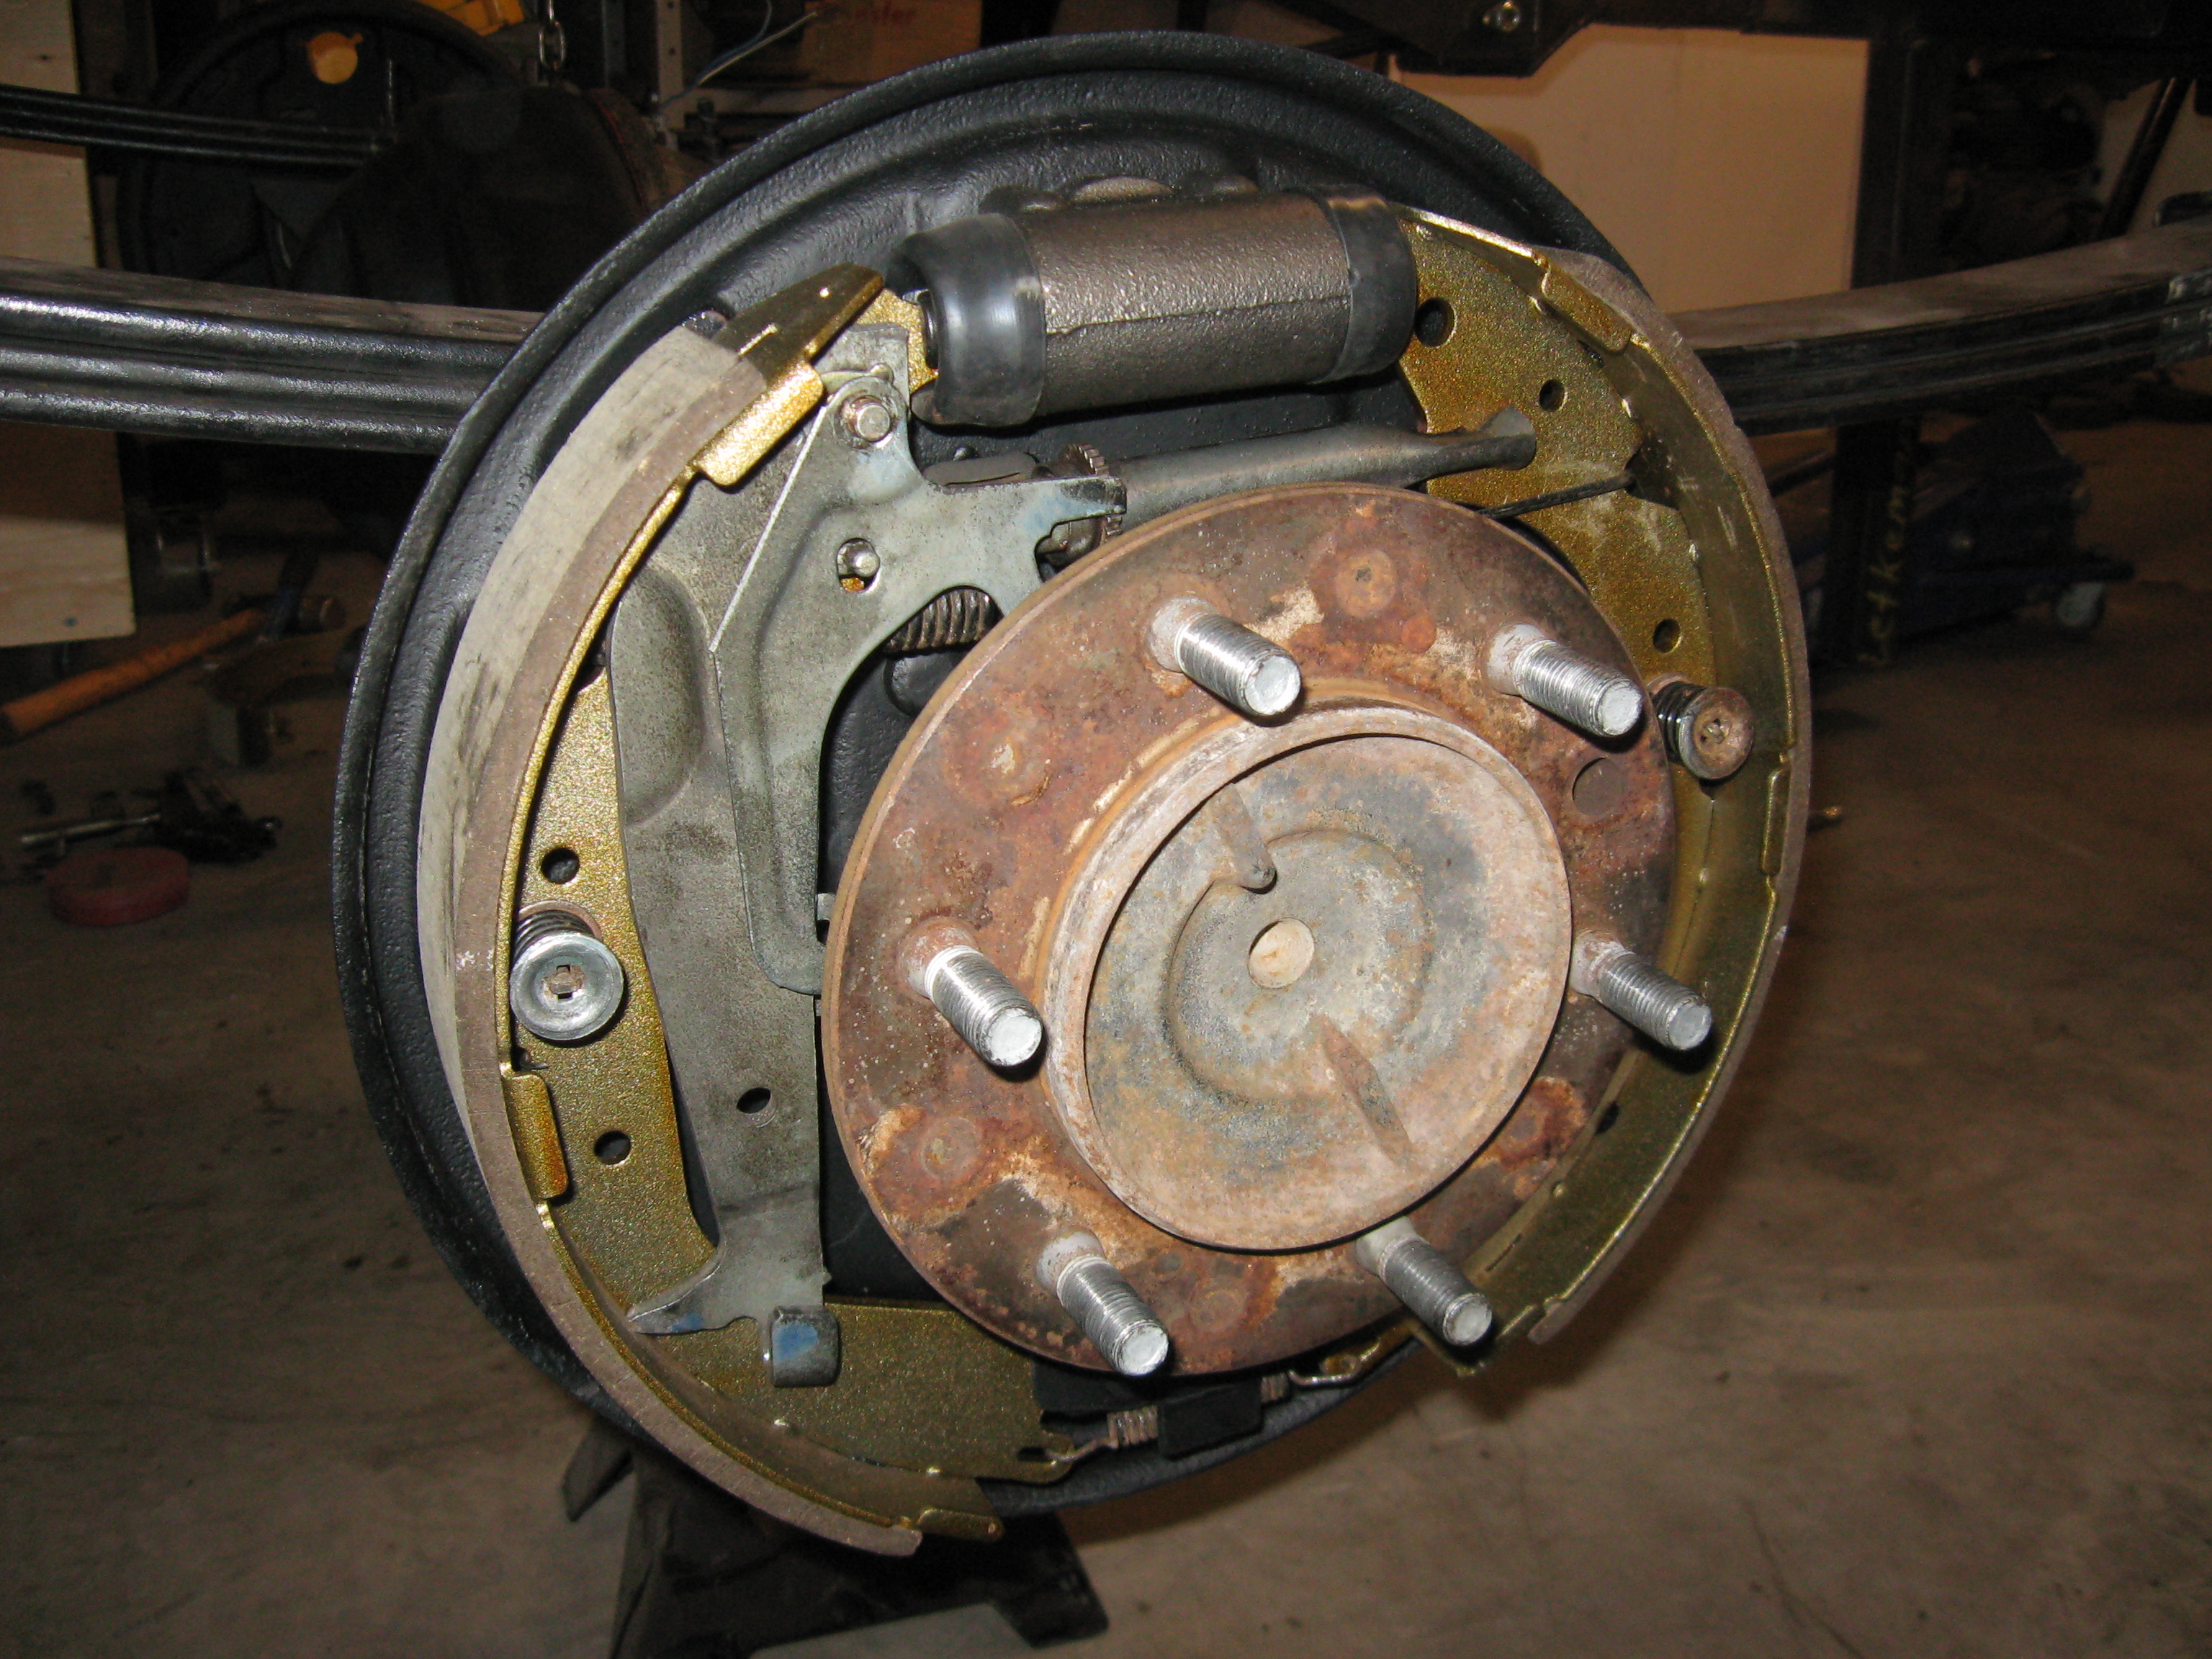 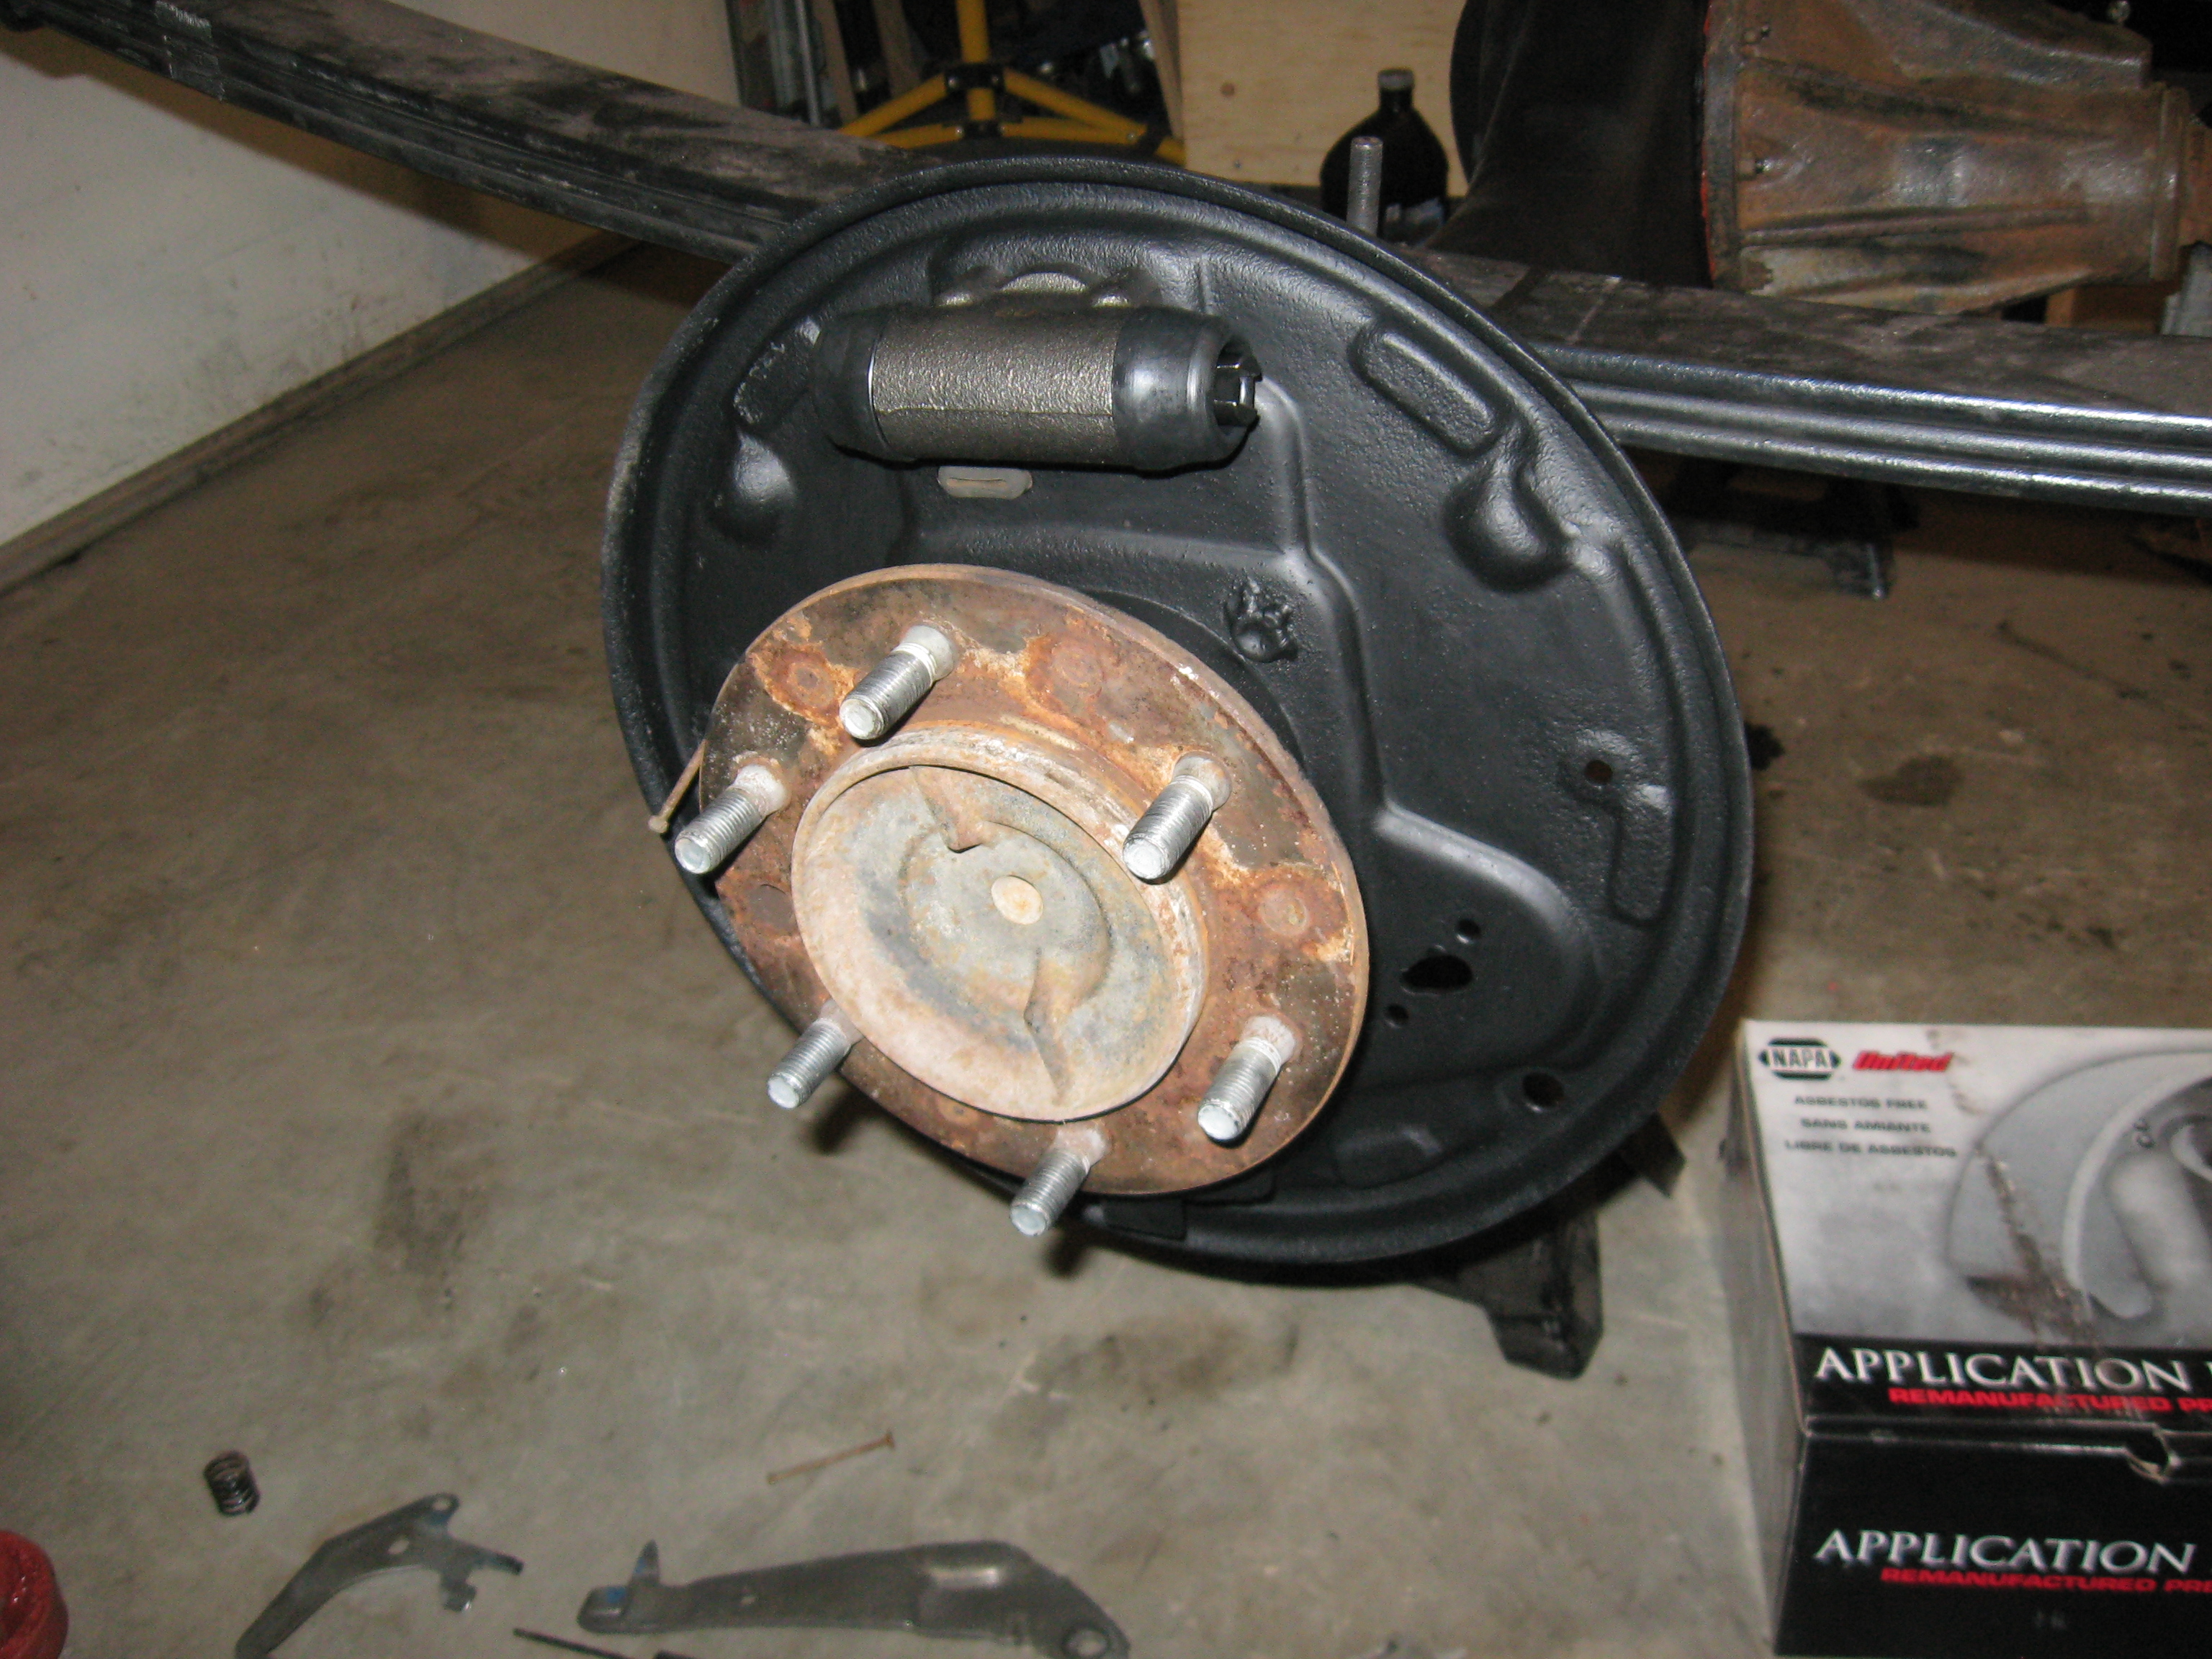
|

