
November 2010
The Creation of a Union
Building the adapter plate

The adapter plate was one piece that had to be made to exact measurement in order for everything to work. Because of this, I had originally decided to use the Acme Adapters one. Then after talking with my uncle, I figured I could make one on my own and save hundreds of dollars. I bought I piece of 1/4" steel, 12"x15" and got to work. I started by picking an edge to be my reference. Then I scribed two lines that were perpendicular to each other. I used the blueprint that Flash319 made and marked out all the holes with my digital calliper. Then I center punched and drilled the holes. After I couple of studs were welded in, I placed the plate on the Toyota bell housing and traced it so i knew where to trim most of the plate. For the inside cut out I just mocked it up to the engine and eye balled it as best I could. I think it worked out alright. The counter sinking I couldn't do myself because I didn't have the bit. I got a friend to do that part for me at his work. All I needed to do to the flywheel was drill six new holes. I made a jig out of a piece of 1/8" aluminium from Flash319's drawing. I used two bolts to hold the jig in place while I center punched the flywheel. Because my drill press was too small I drilled the holes with my little mill. 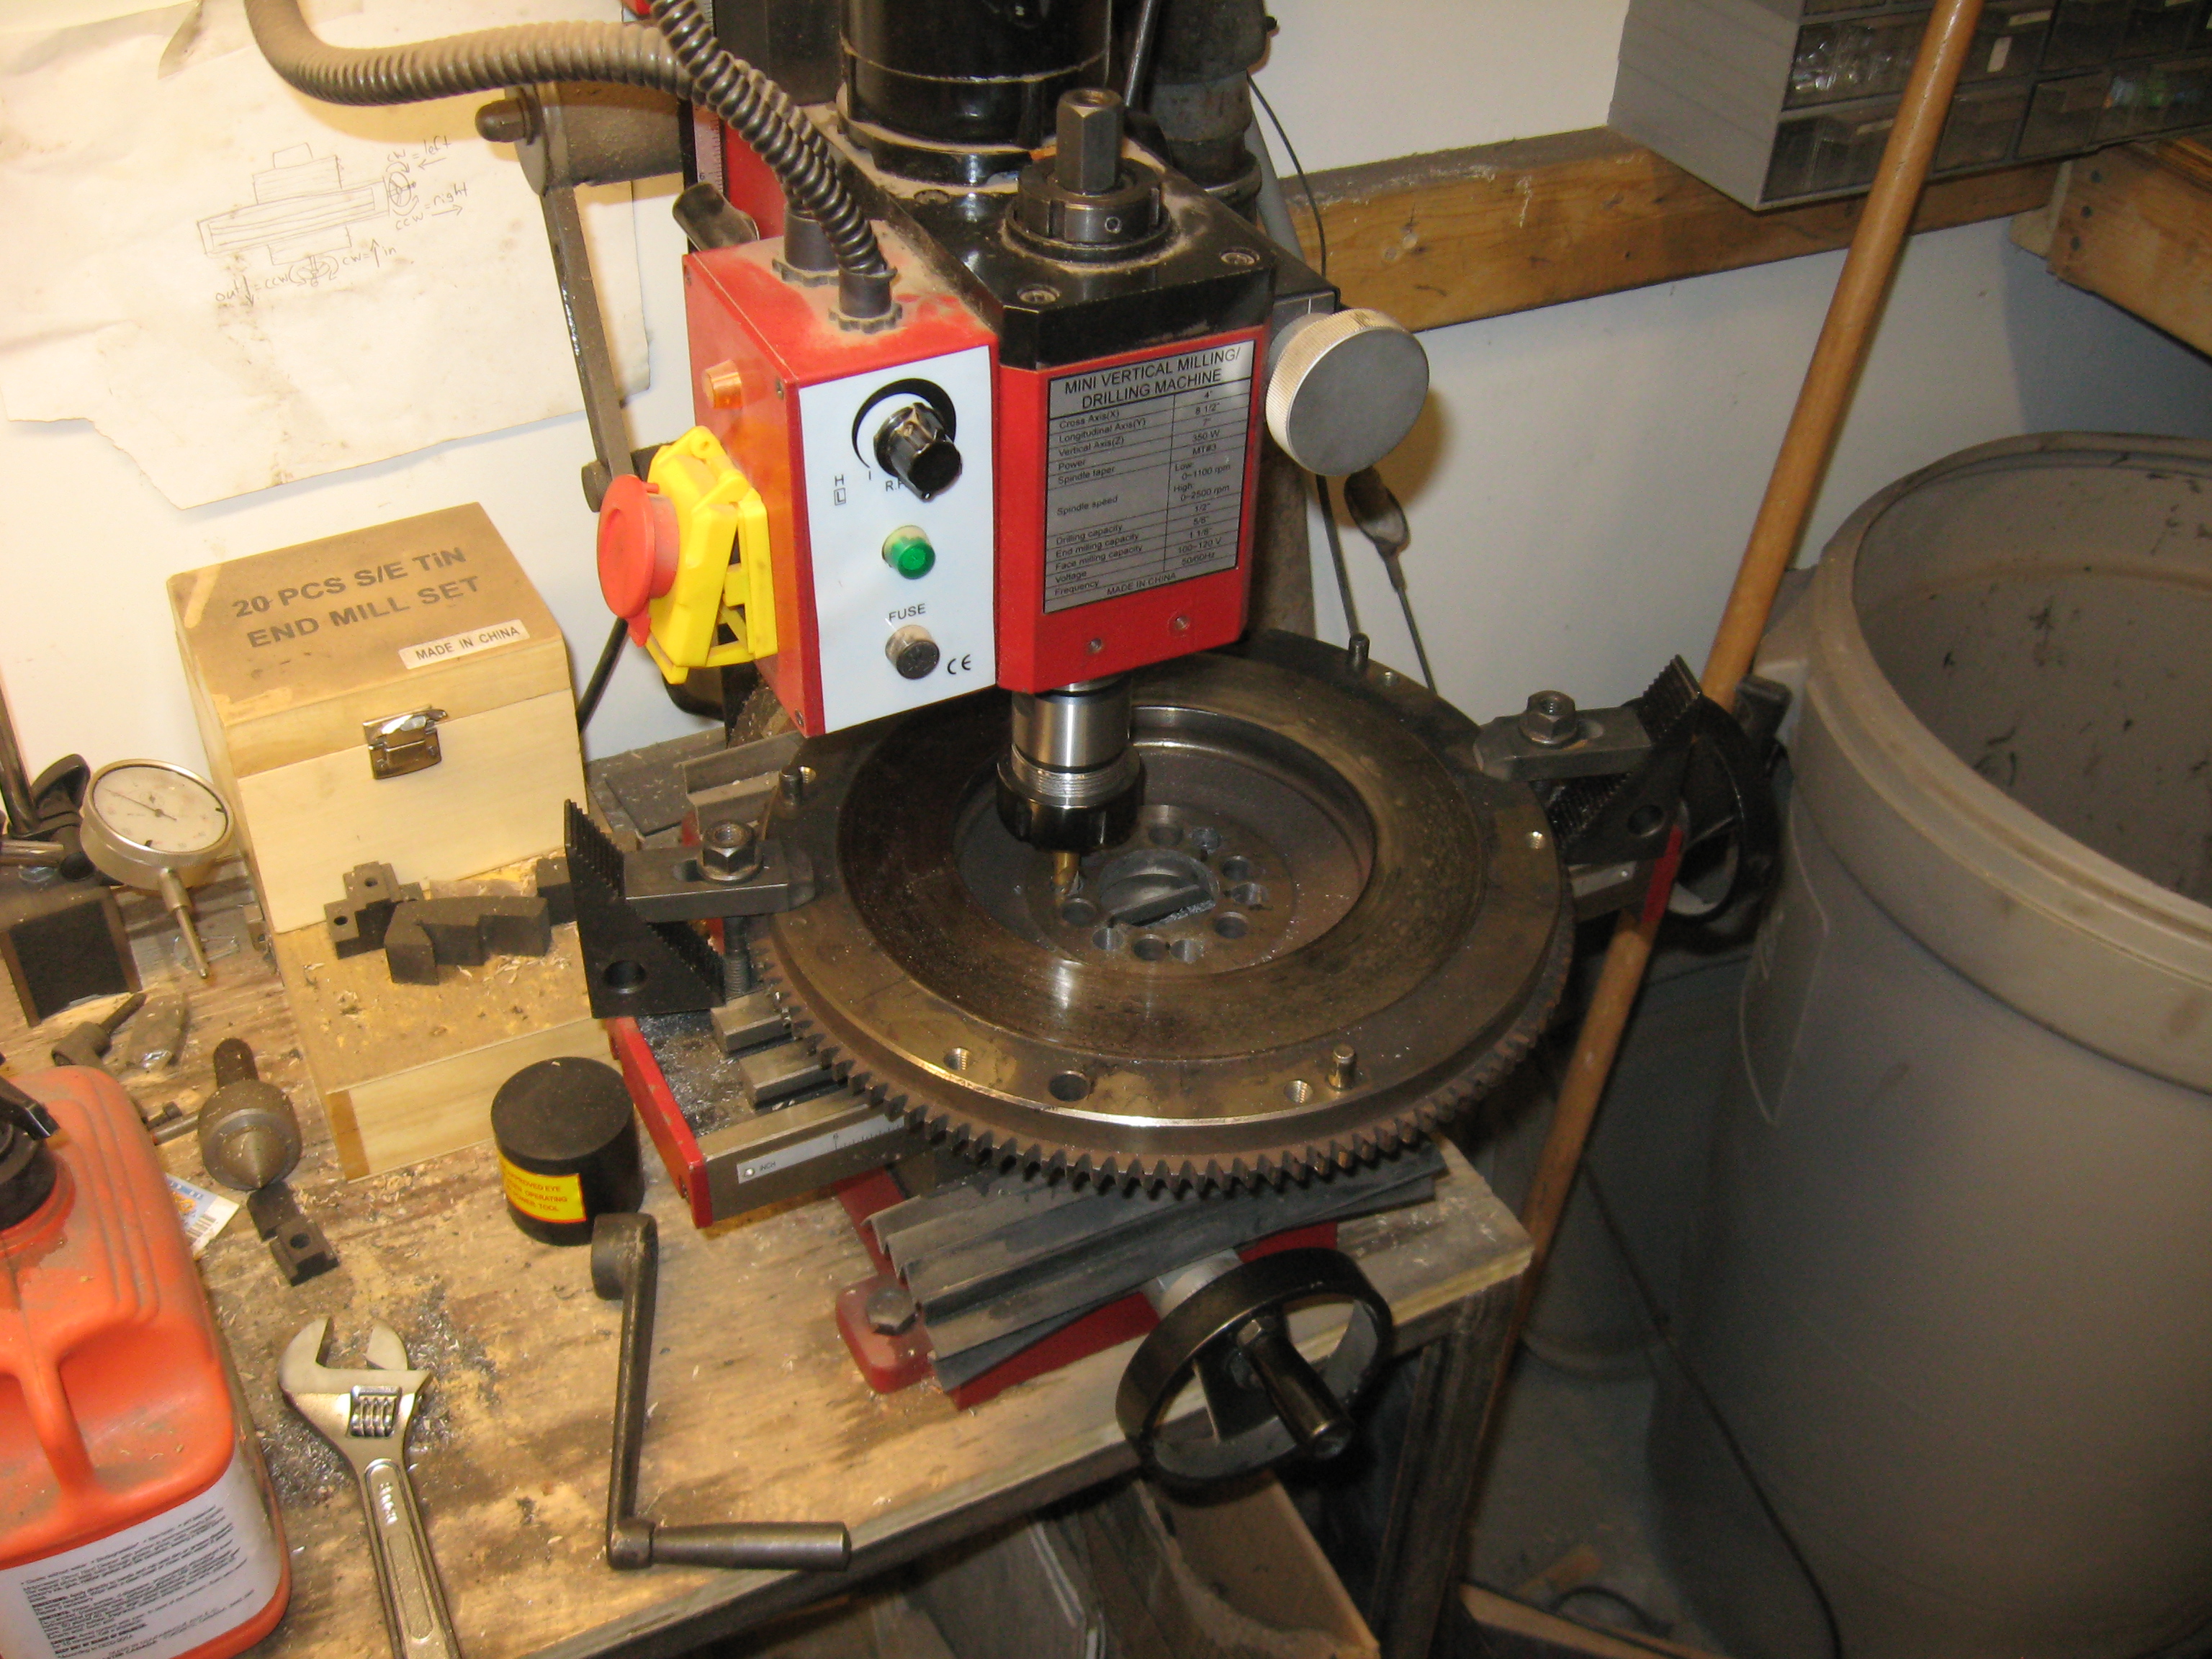 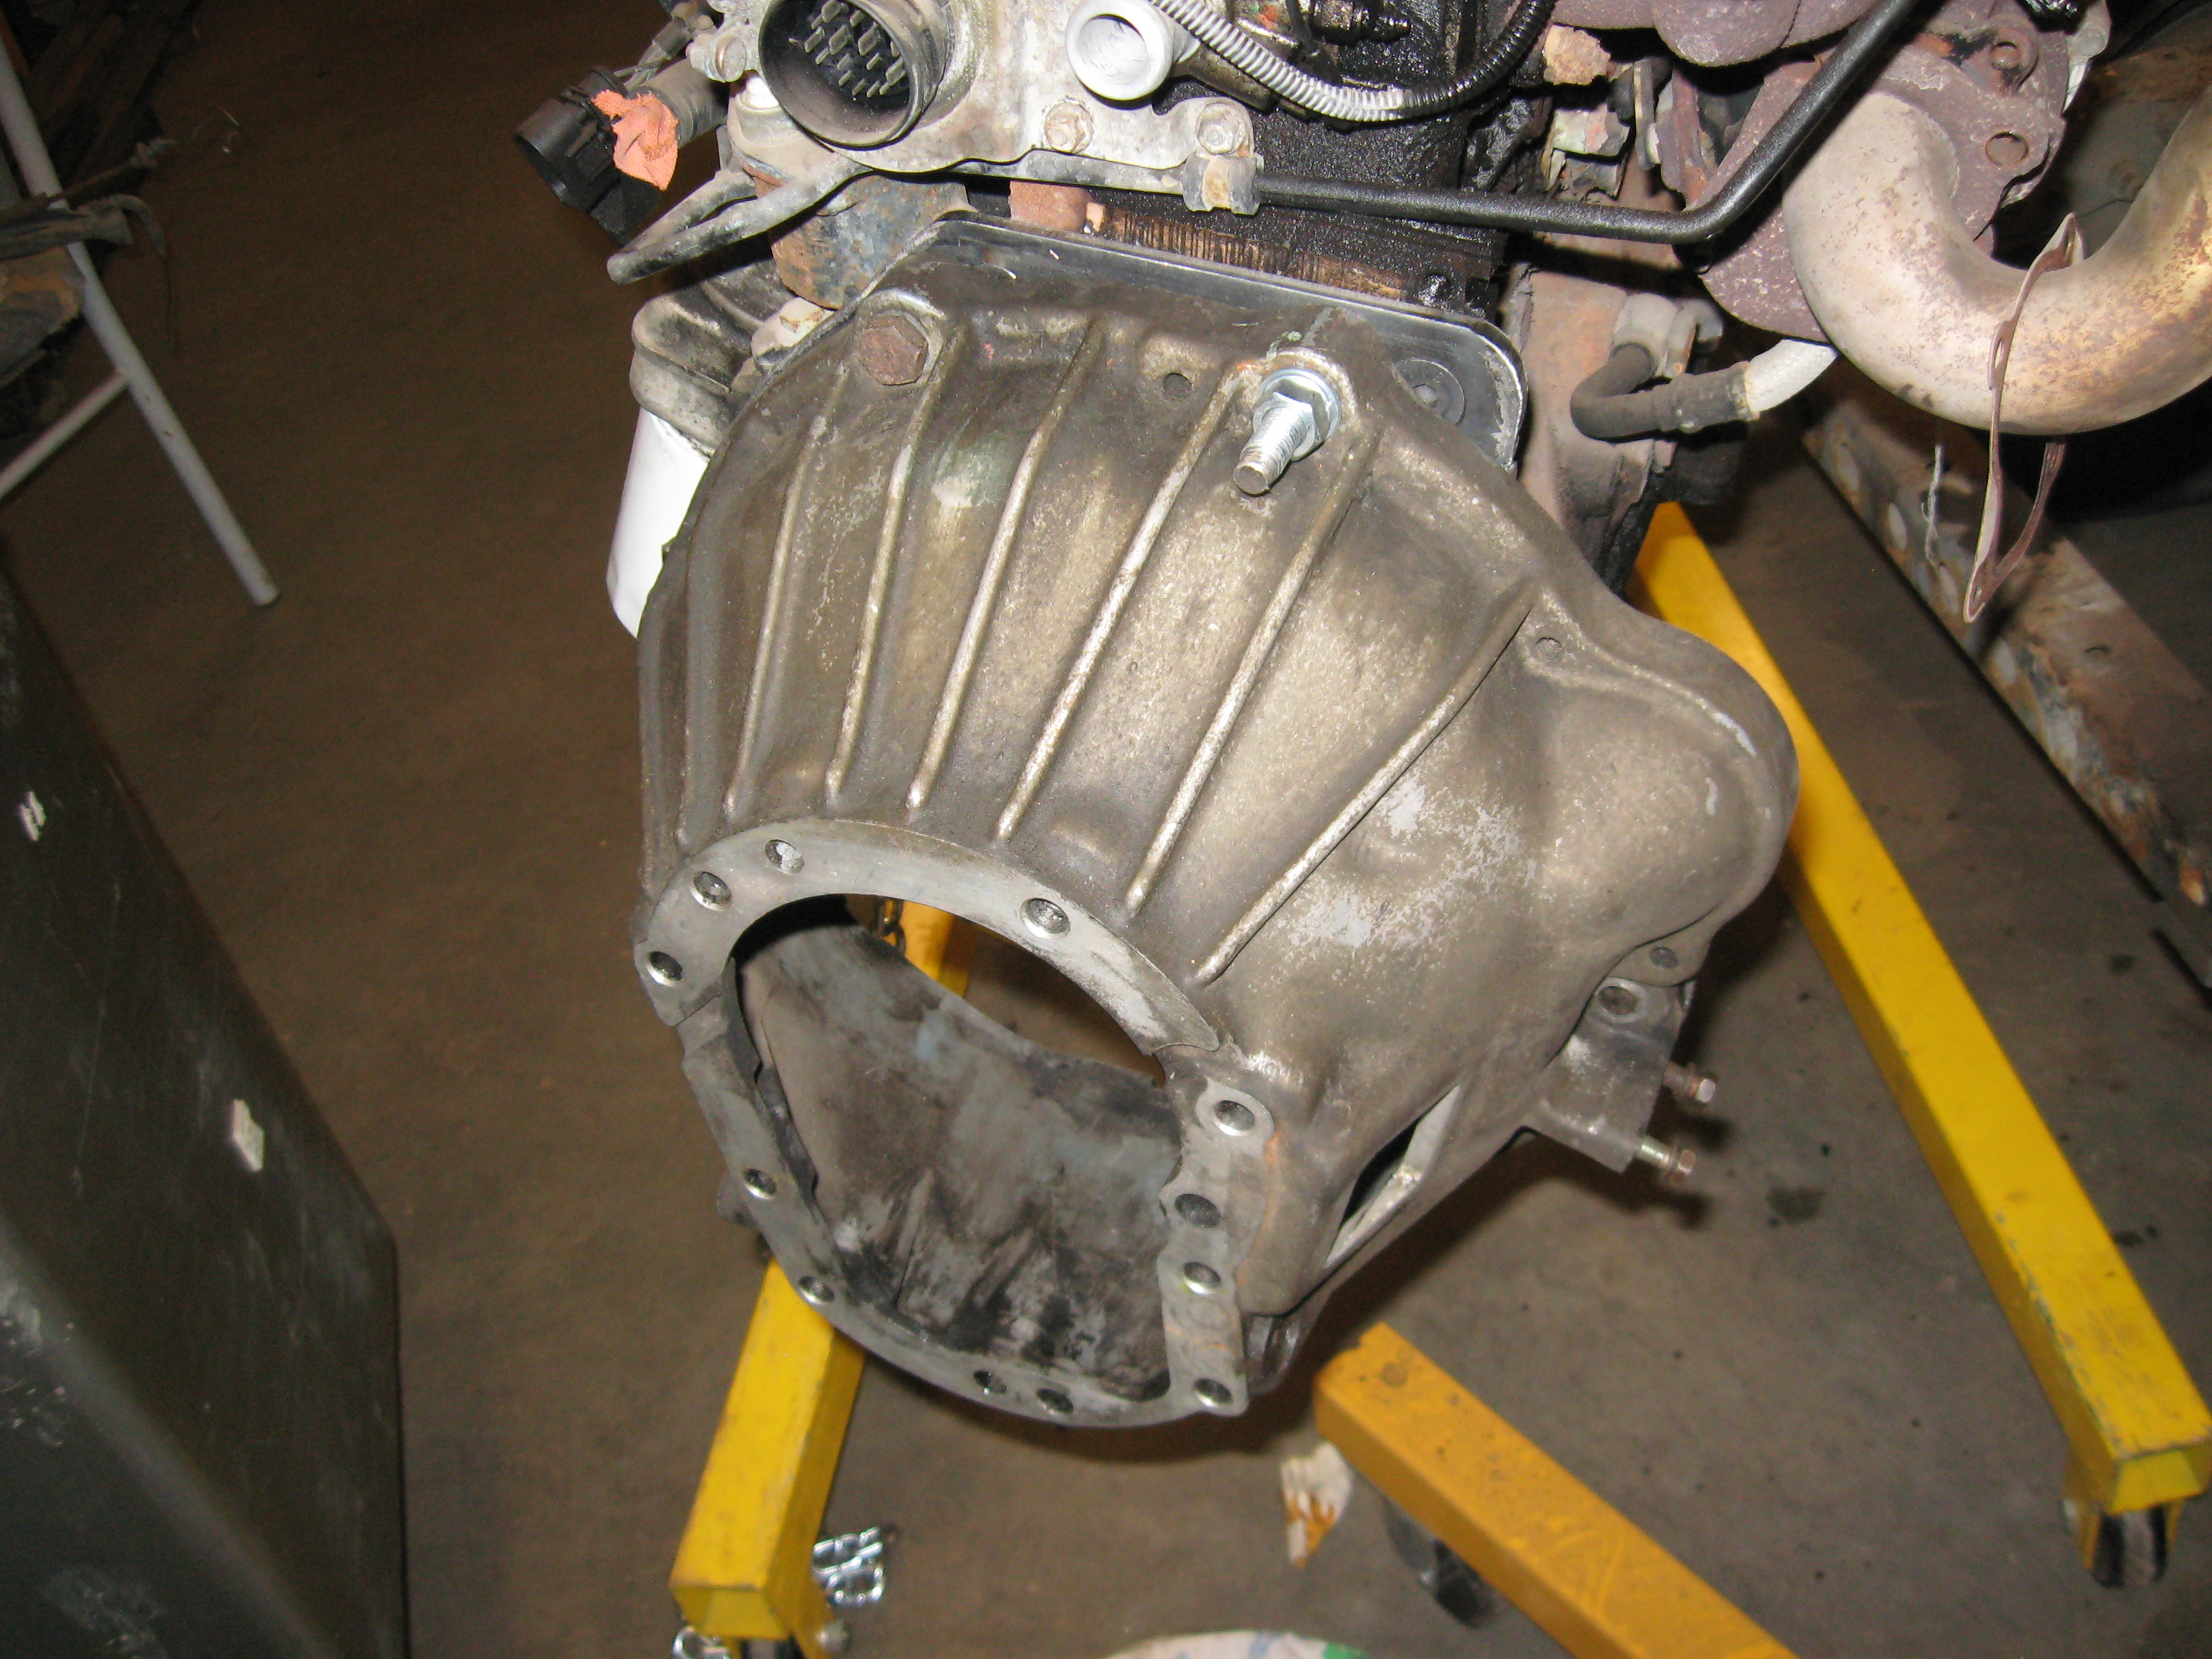 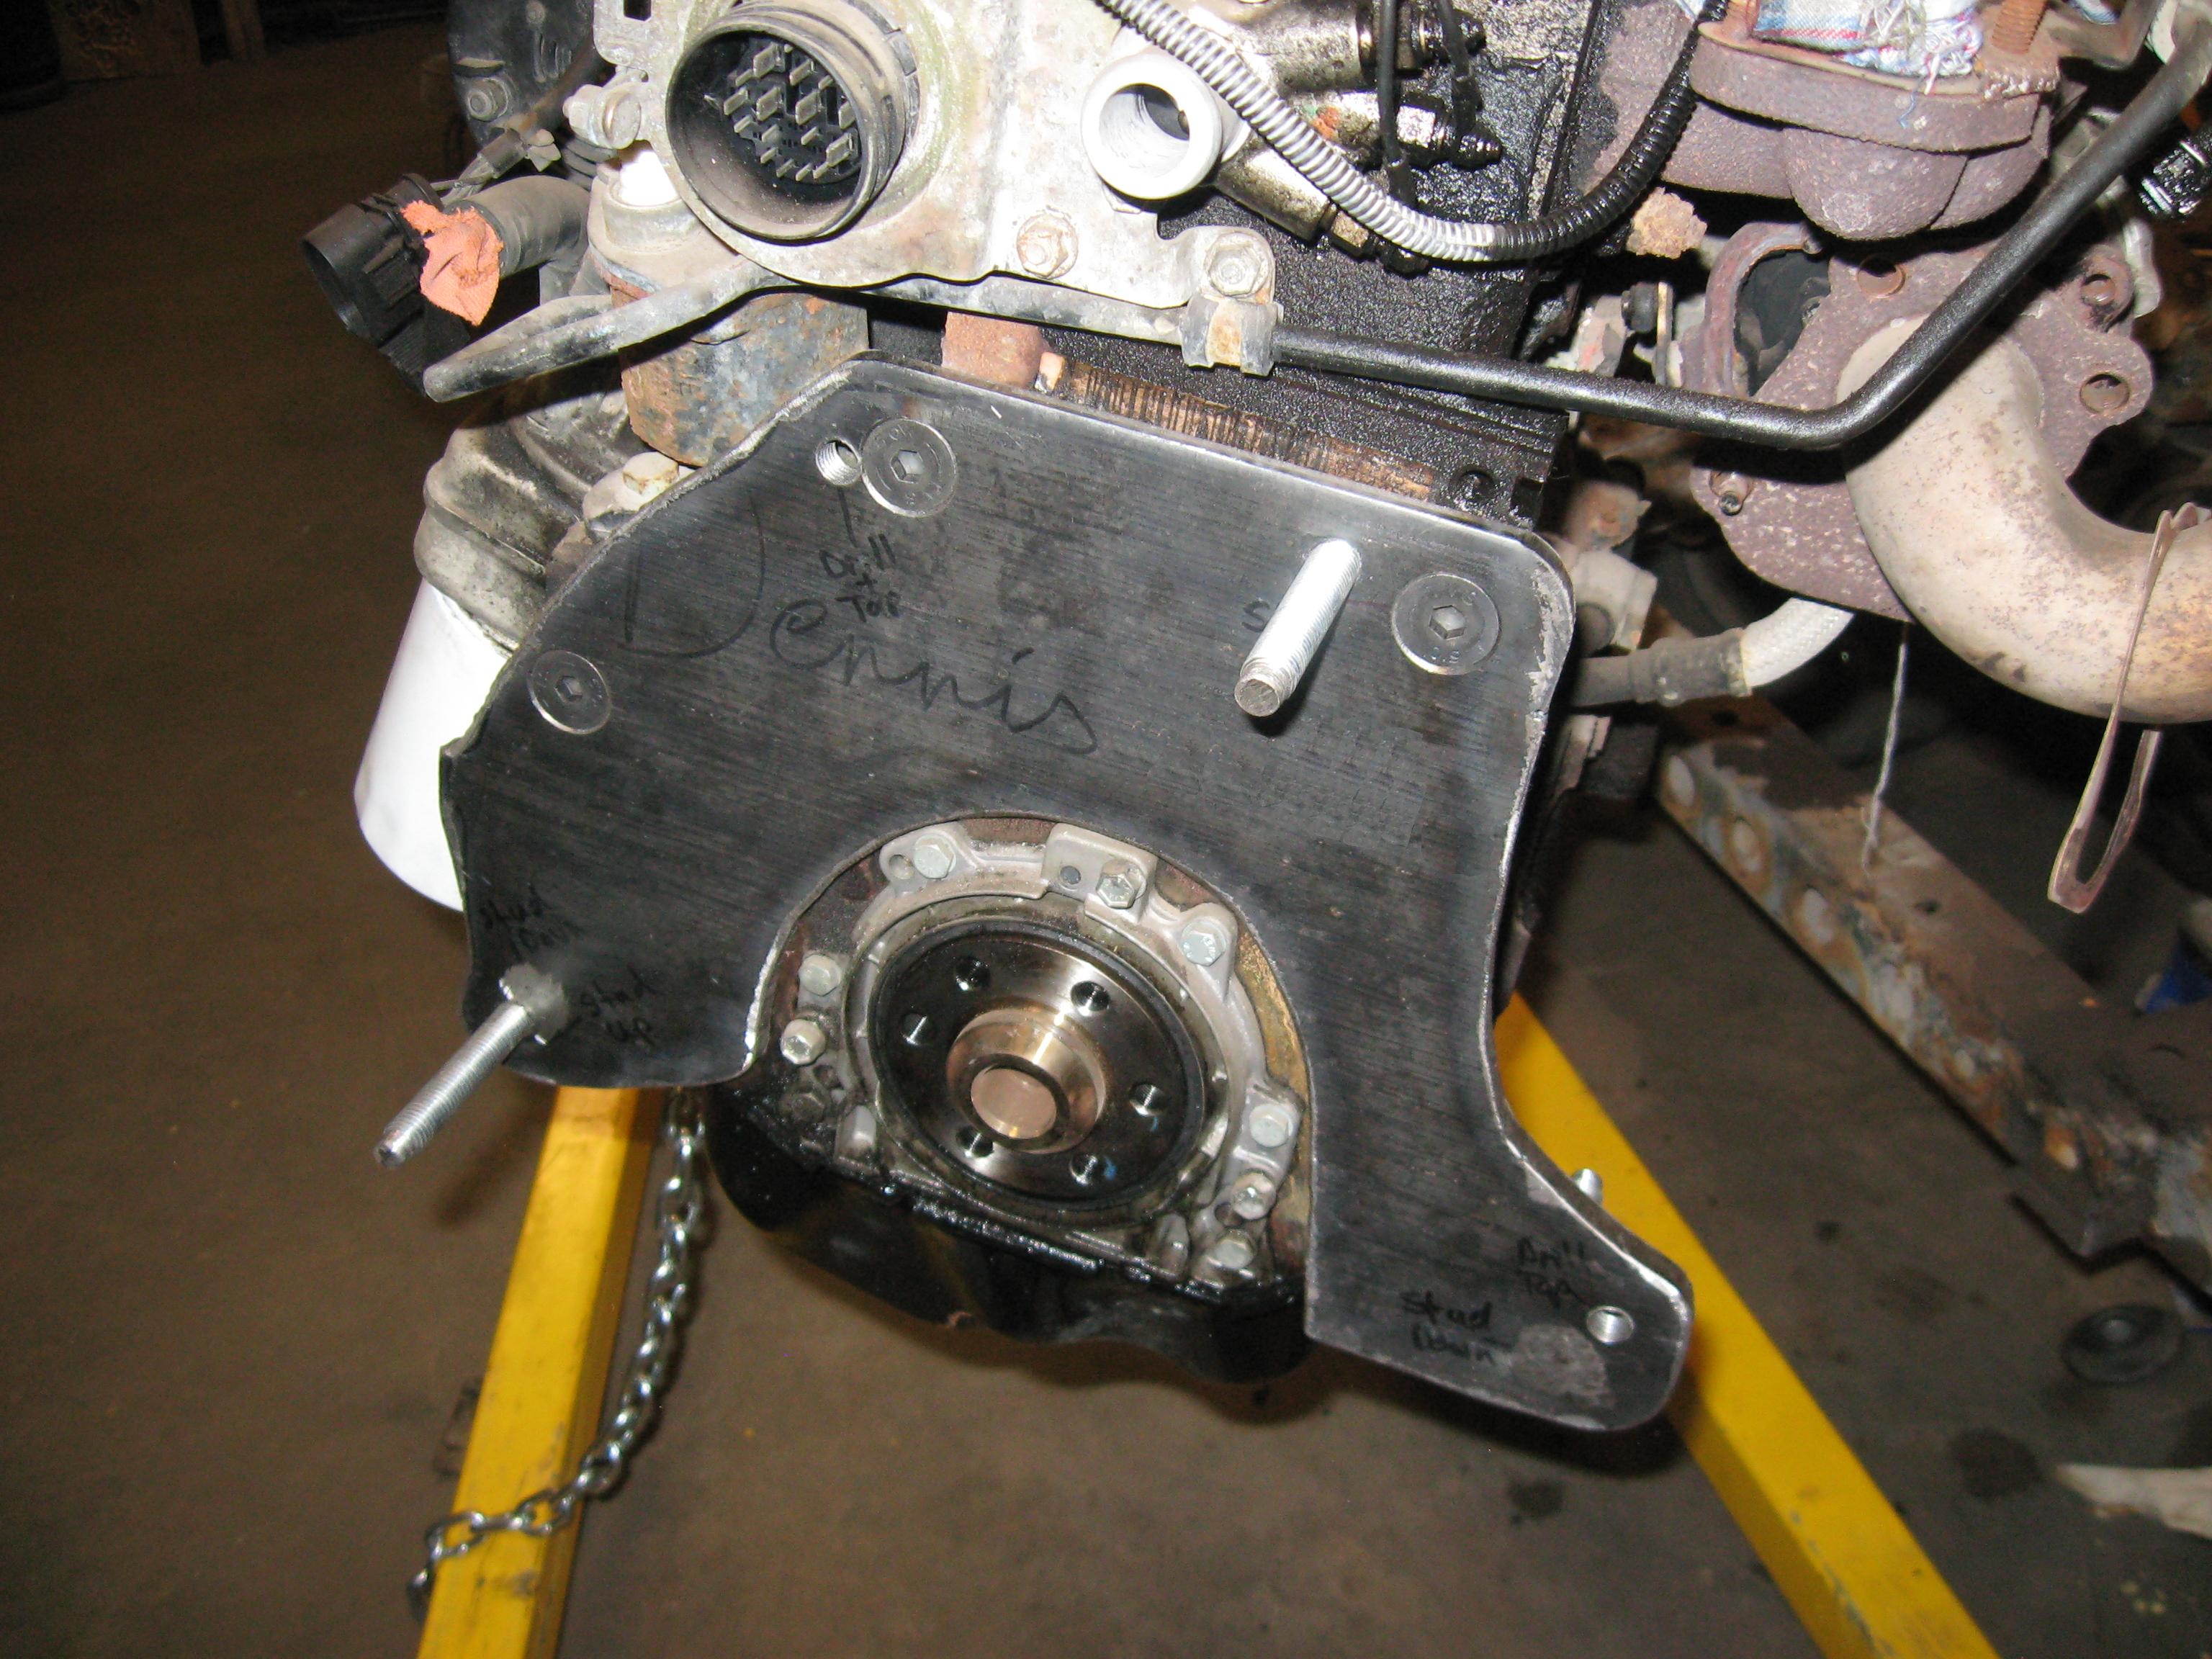
Locally I couldn't find a brass bushing that was the size that I needed. I couldn't even find one that was oversized for my application. Because of this I had to make one out of two. The outside one was 7/8”OD by 5/8”ID, and the inside one was 3/4"OD by 3/8"ID. I turned the big one down to .825" to fit inside the VW crank, I turned the small one down to .630" to press inside the big bushing, then I bored out the small one to .470" (12mm) for the Toyota input shaft. It's nice having a little lathe for things like this.  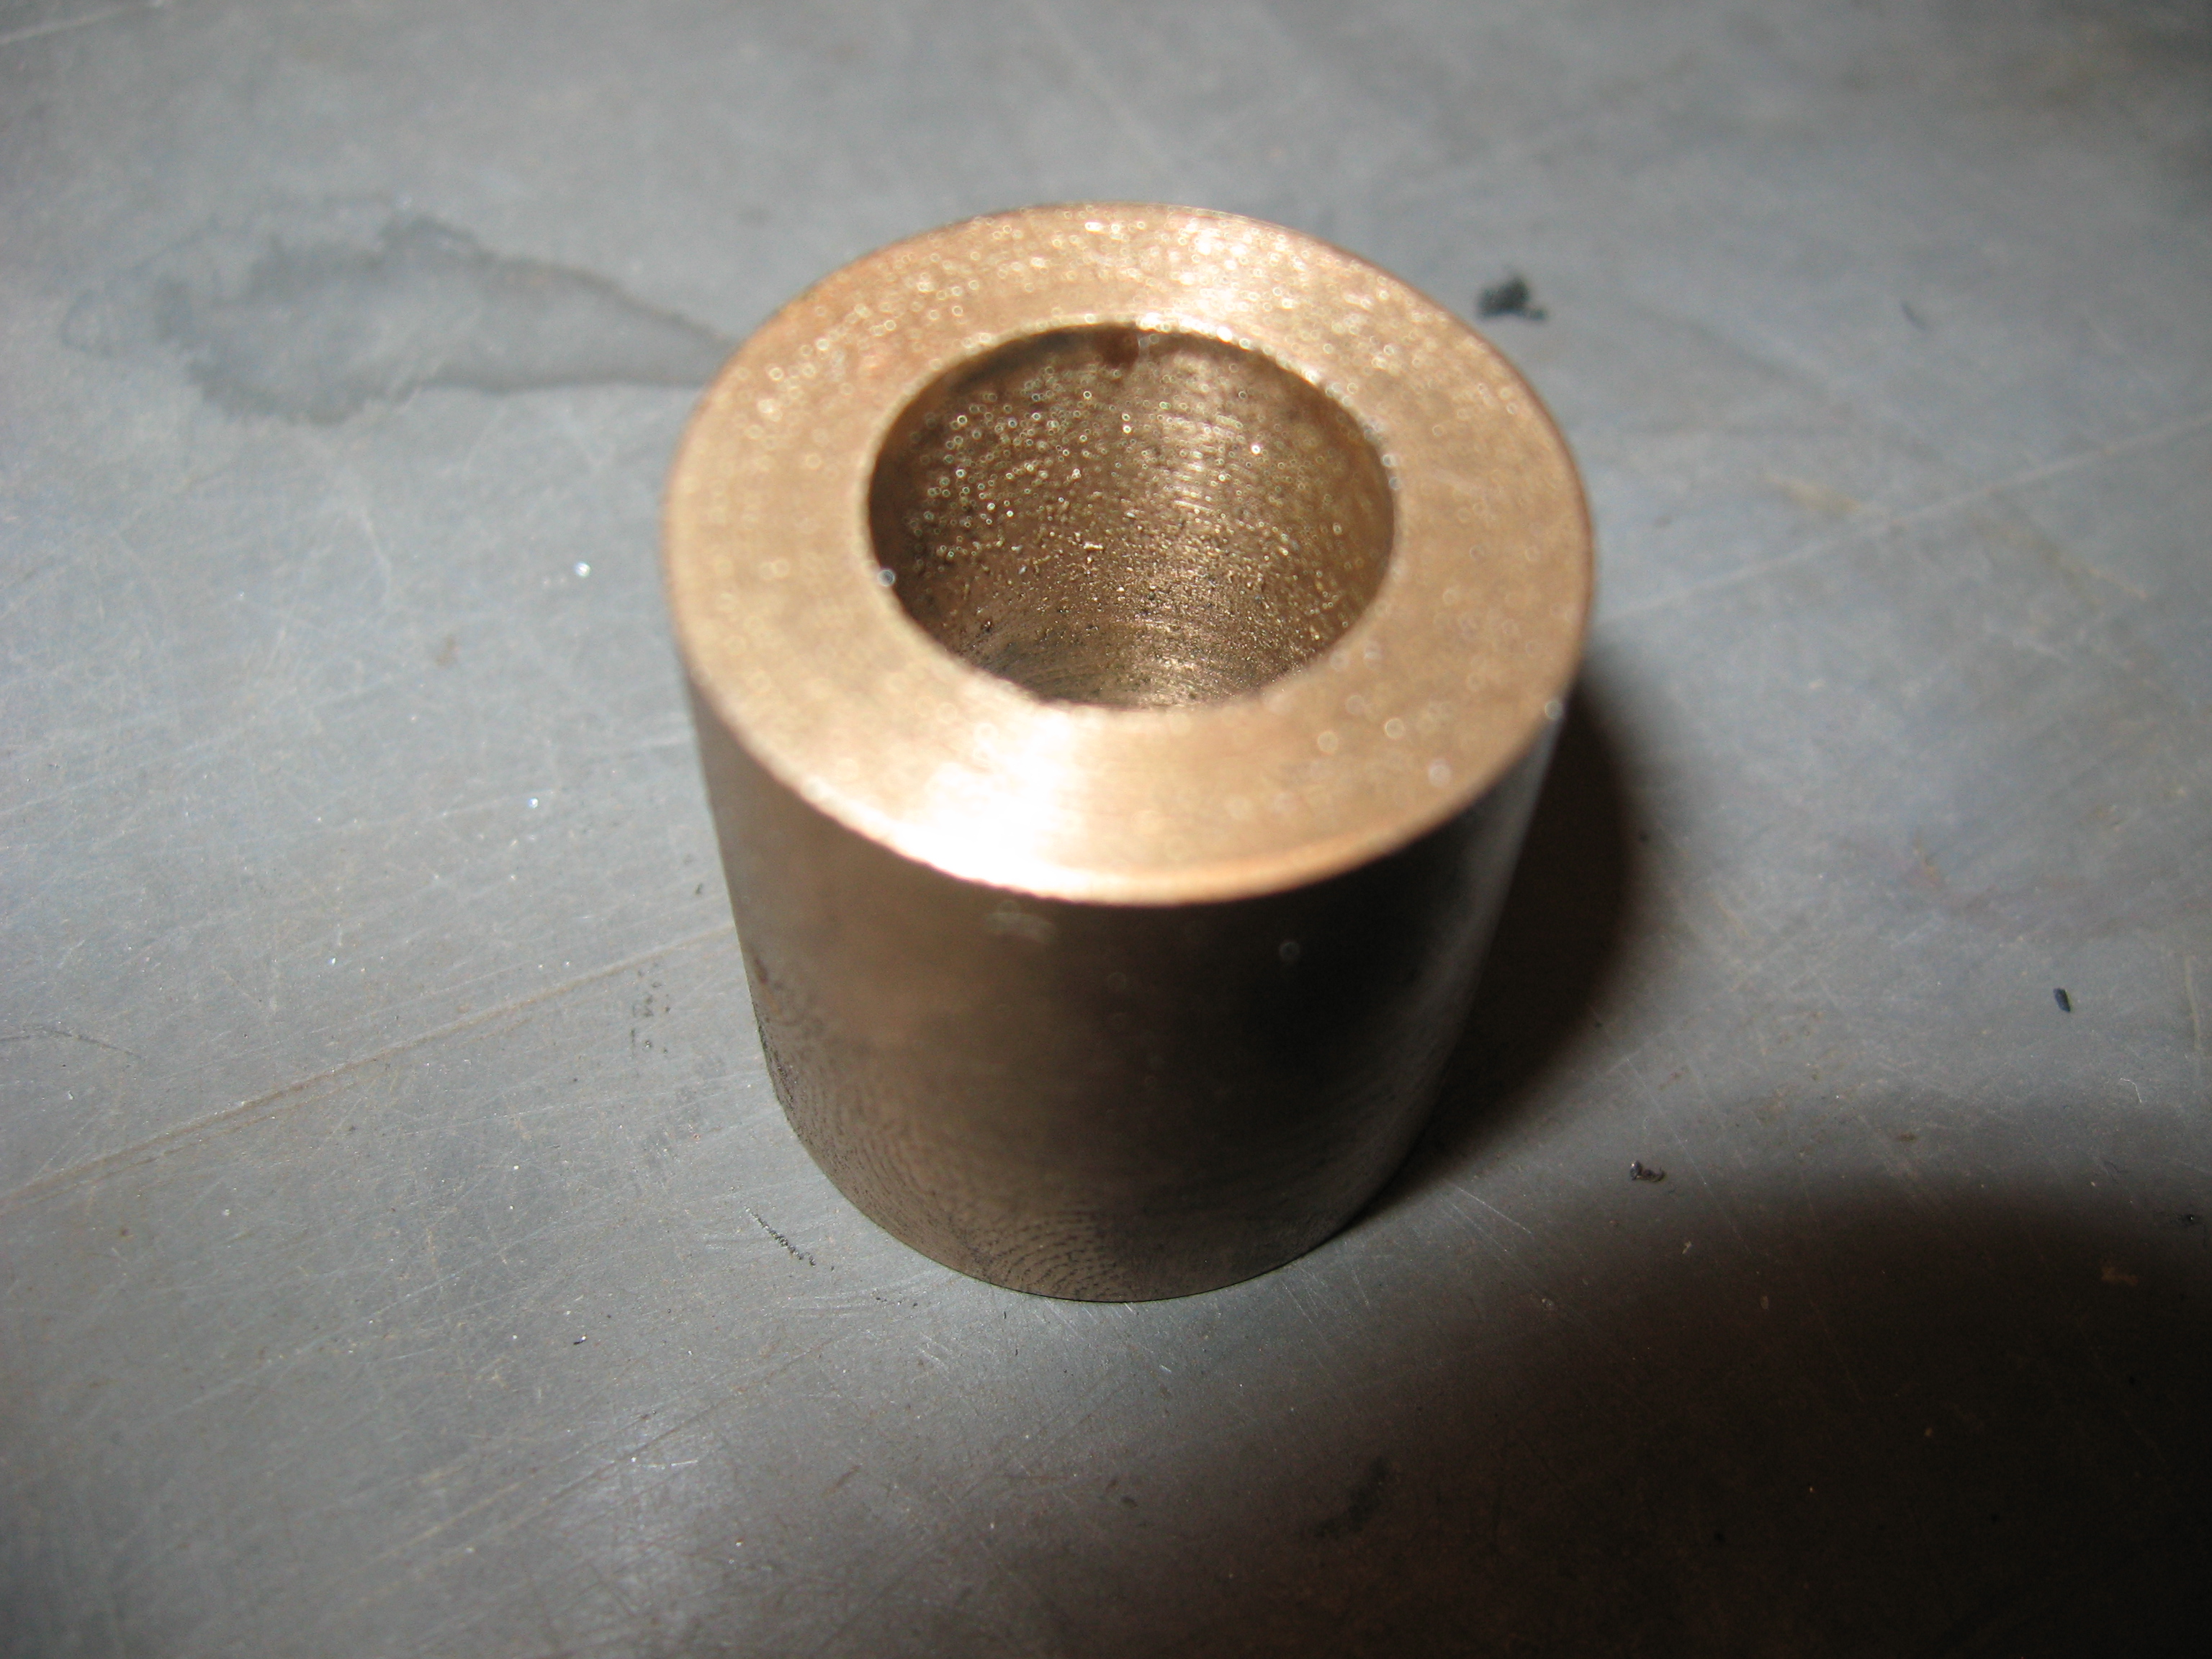
The metric flat head bolts I had to get from a fastener store. The rest are just ones that I had kickin' around. It was at this time that I thought it might be a good idea to have a TDC reference for when I wanted to do a timing belt change. Unfortunately the transmission was in storage and I didn't feel like dragging it out just to check TDC. So I took a piece of aluminium and drill two holes in it for the two top bell housing bolts. Then I bolted it to the bell housing and marked TDC on the aluminium. I used the jig and VW flywheel to find TDC. Then I marked it on the front crank pulley as shown in the picture (bottom right pic). 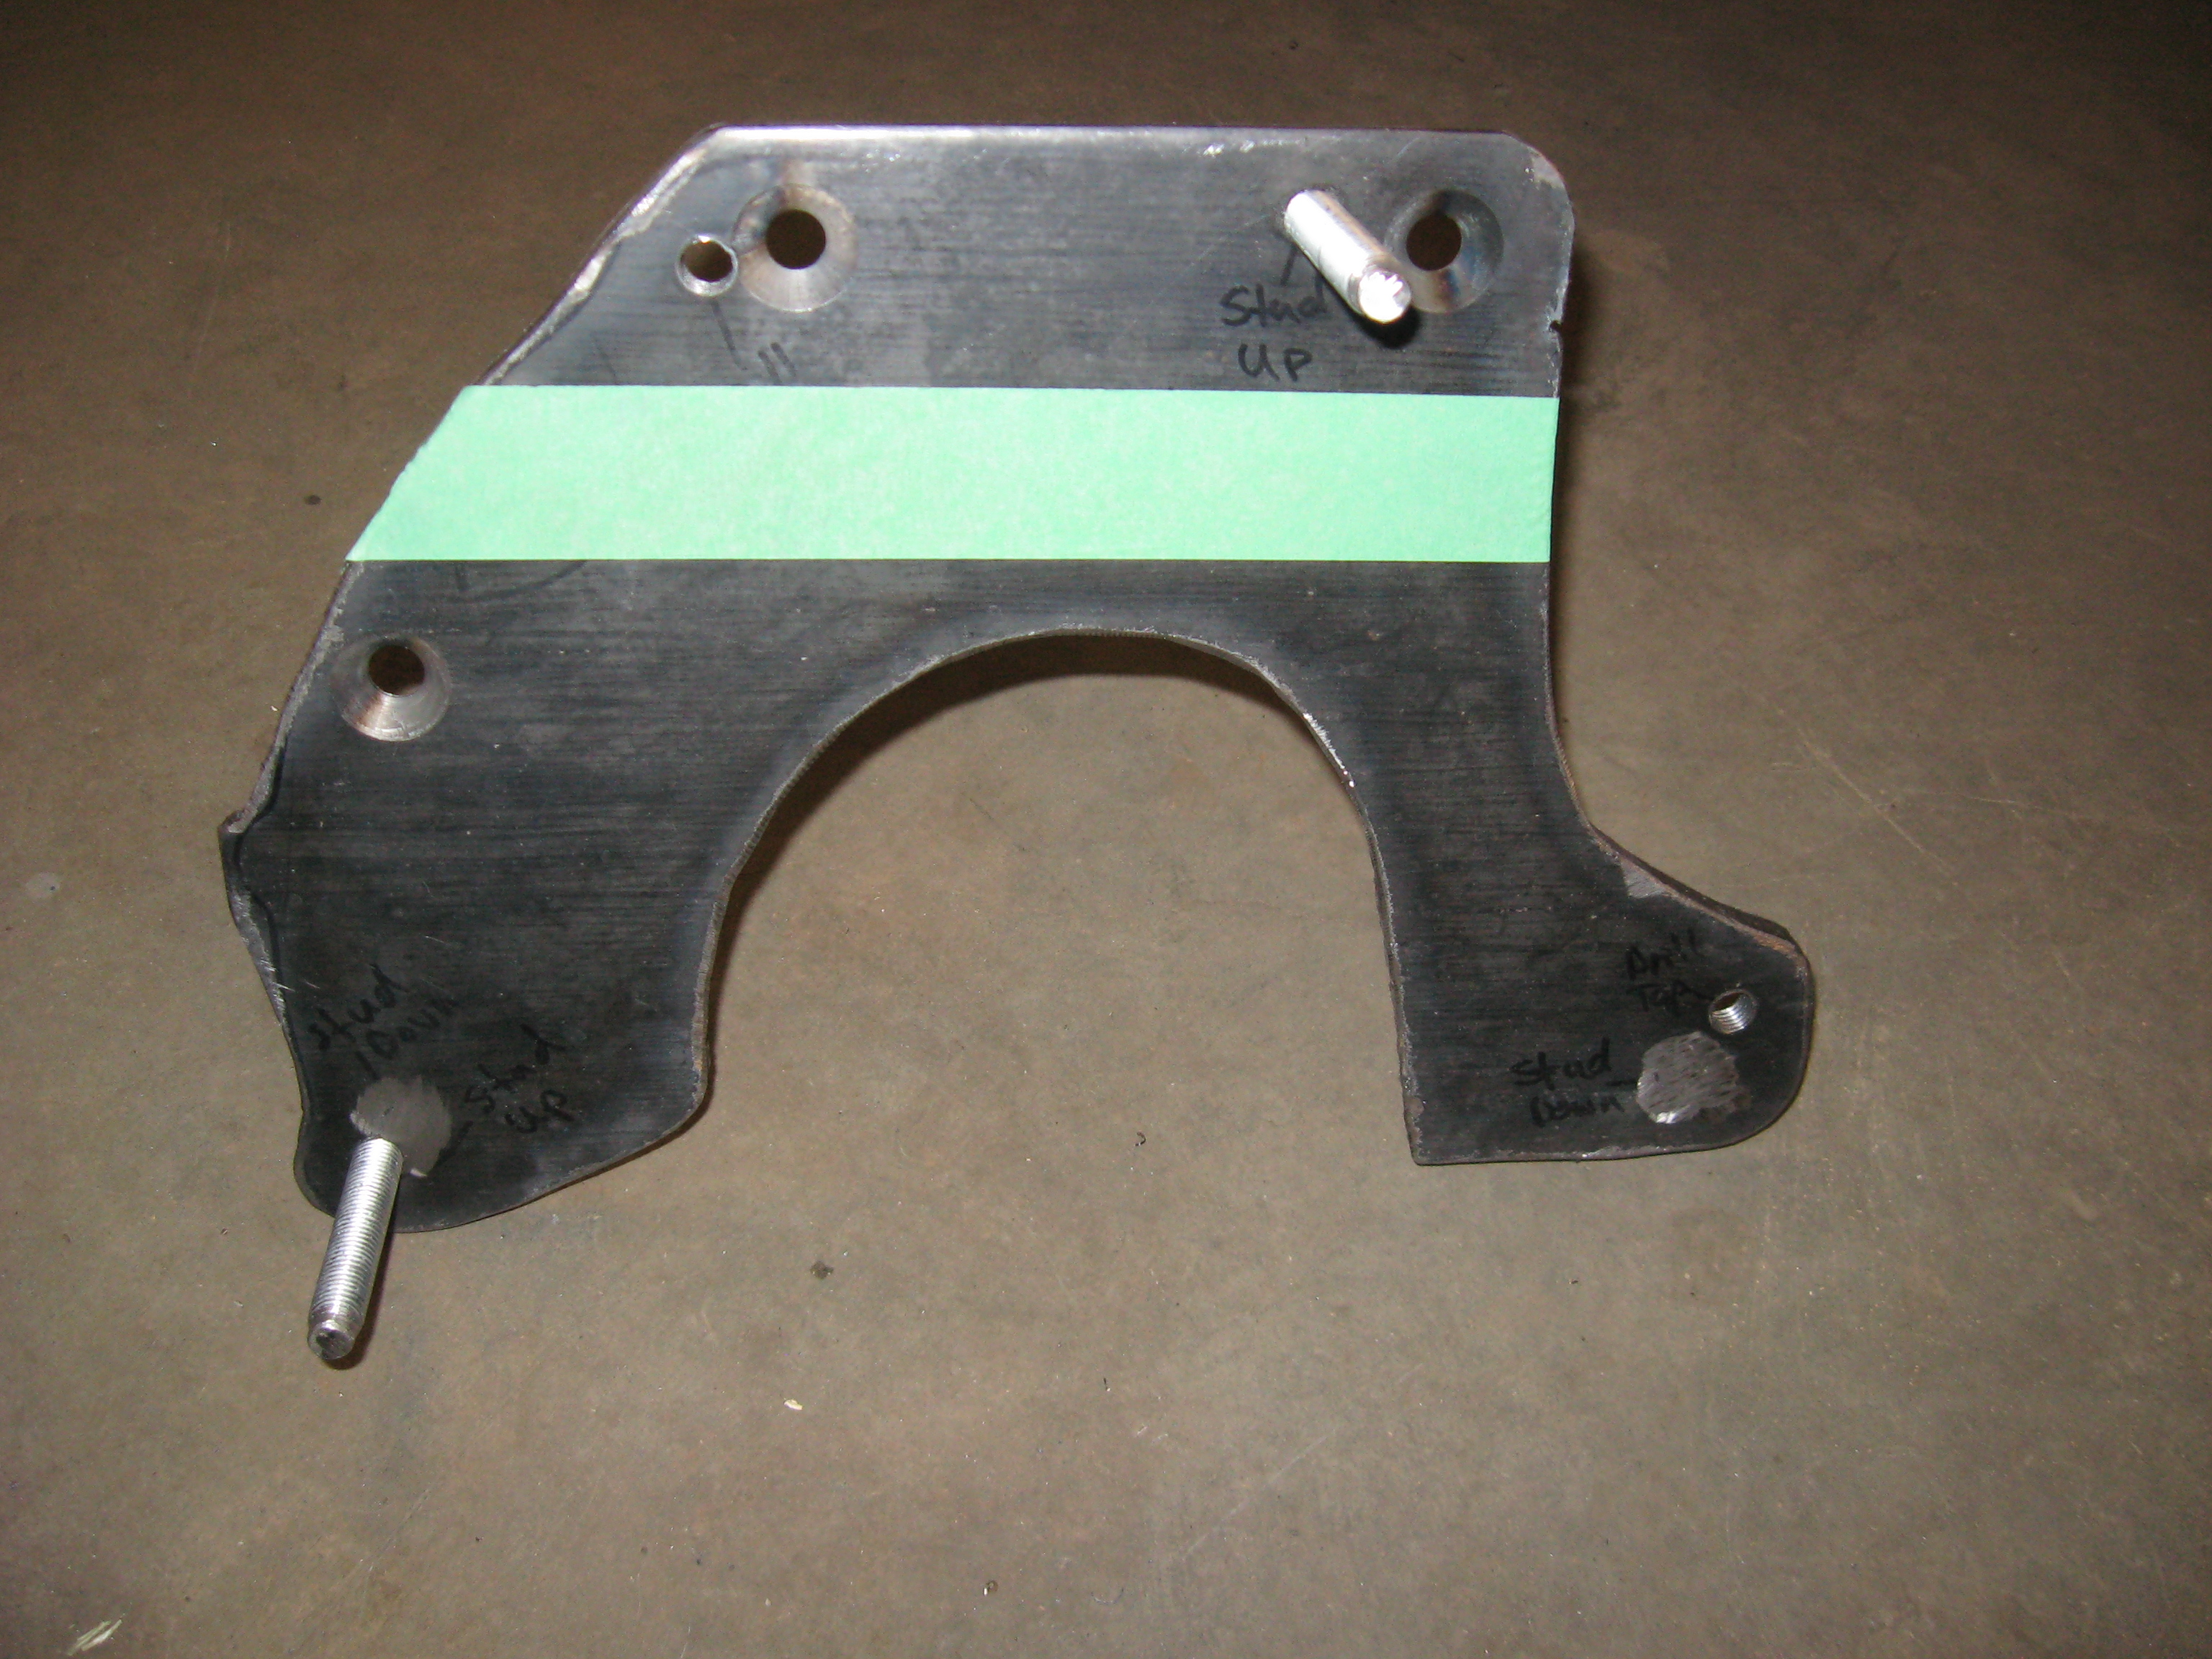 
|

