
October 2010
From a Rusted Clutter to Shiny and Clean
Rear leaf spring conversion, Part 2: Axle mods
When I started this project I knew that I wanted to have a selectable locker in the rear differential. I found only two options, Toyota electric locker, or ARB air locker. I decided to go with the Toyota because I wasn't planning on running on-board air and the cost of the e-locker was cheaper ($250 at wreakers). I considered coverting to disc brakes in the back, but after weighing the pros and cons I settled to keep the drums. I could keep my normal e-brake and the drums wouldn't collect rocks on a gravel road. 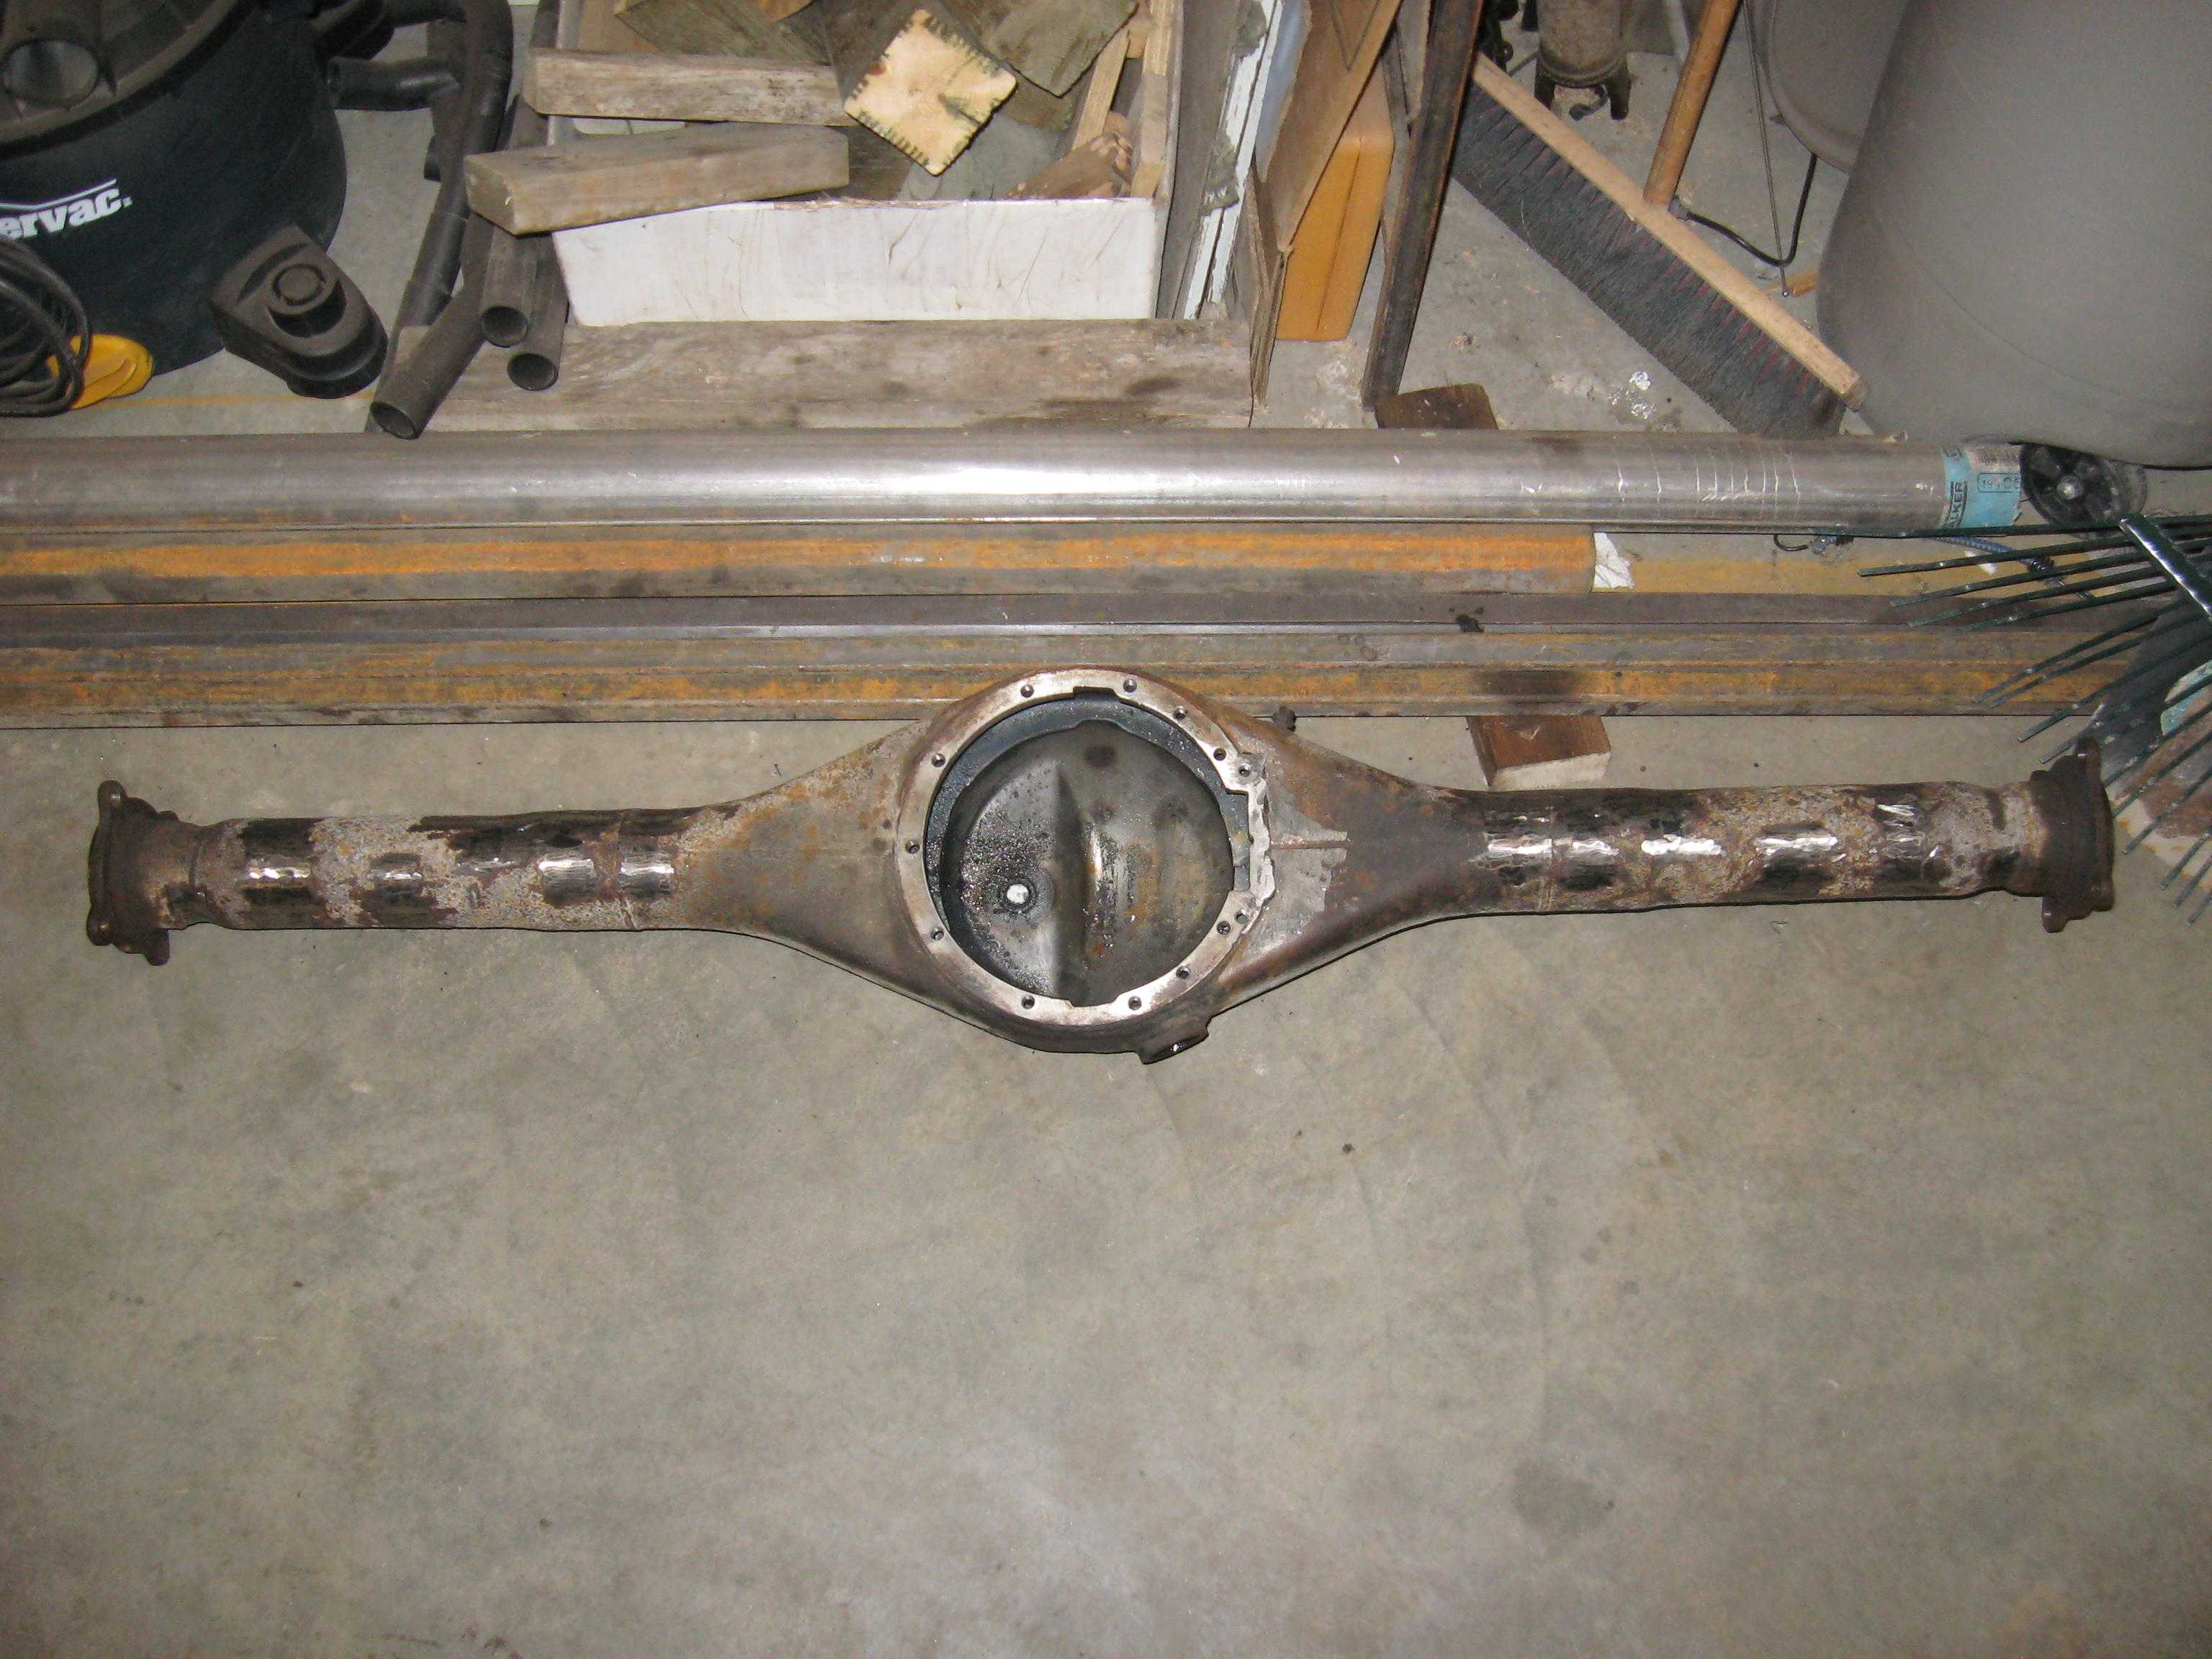 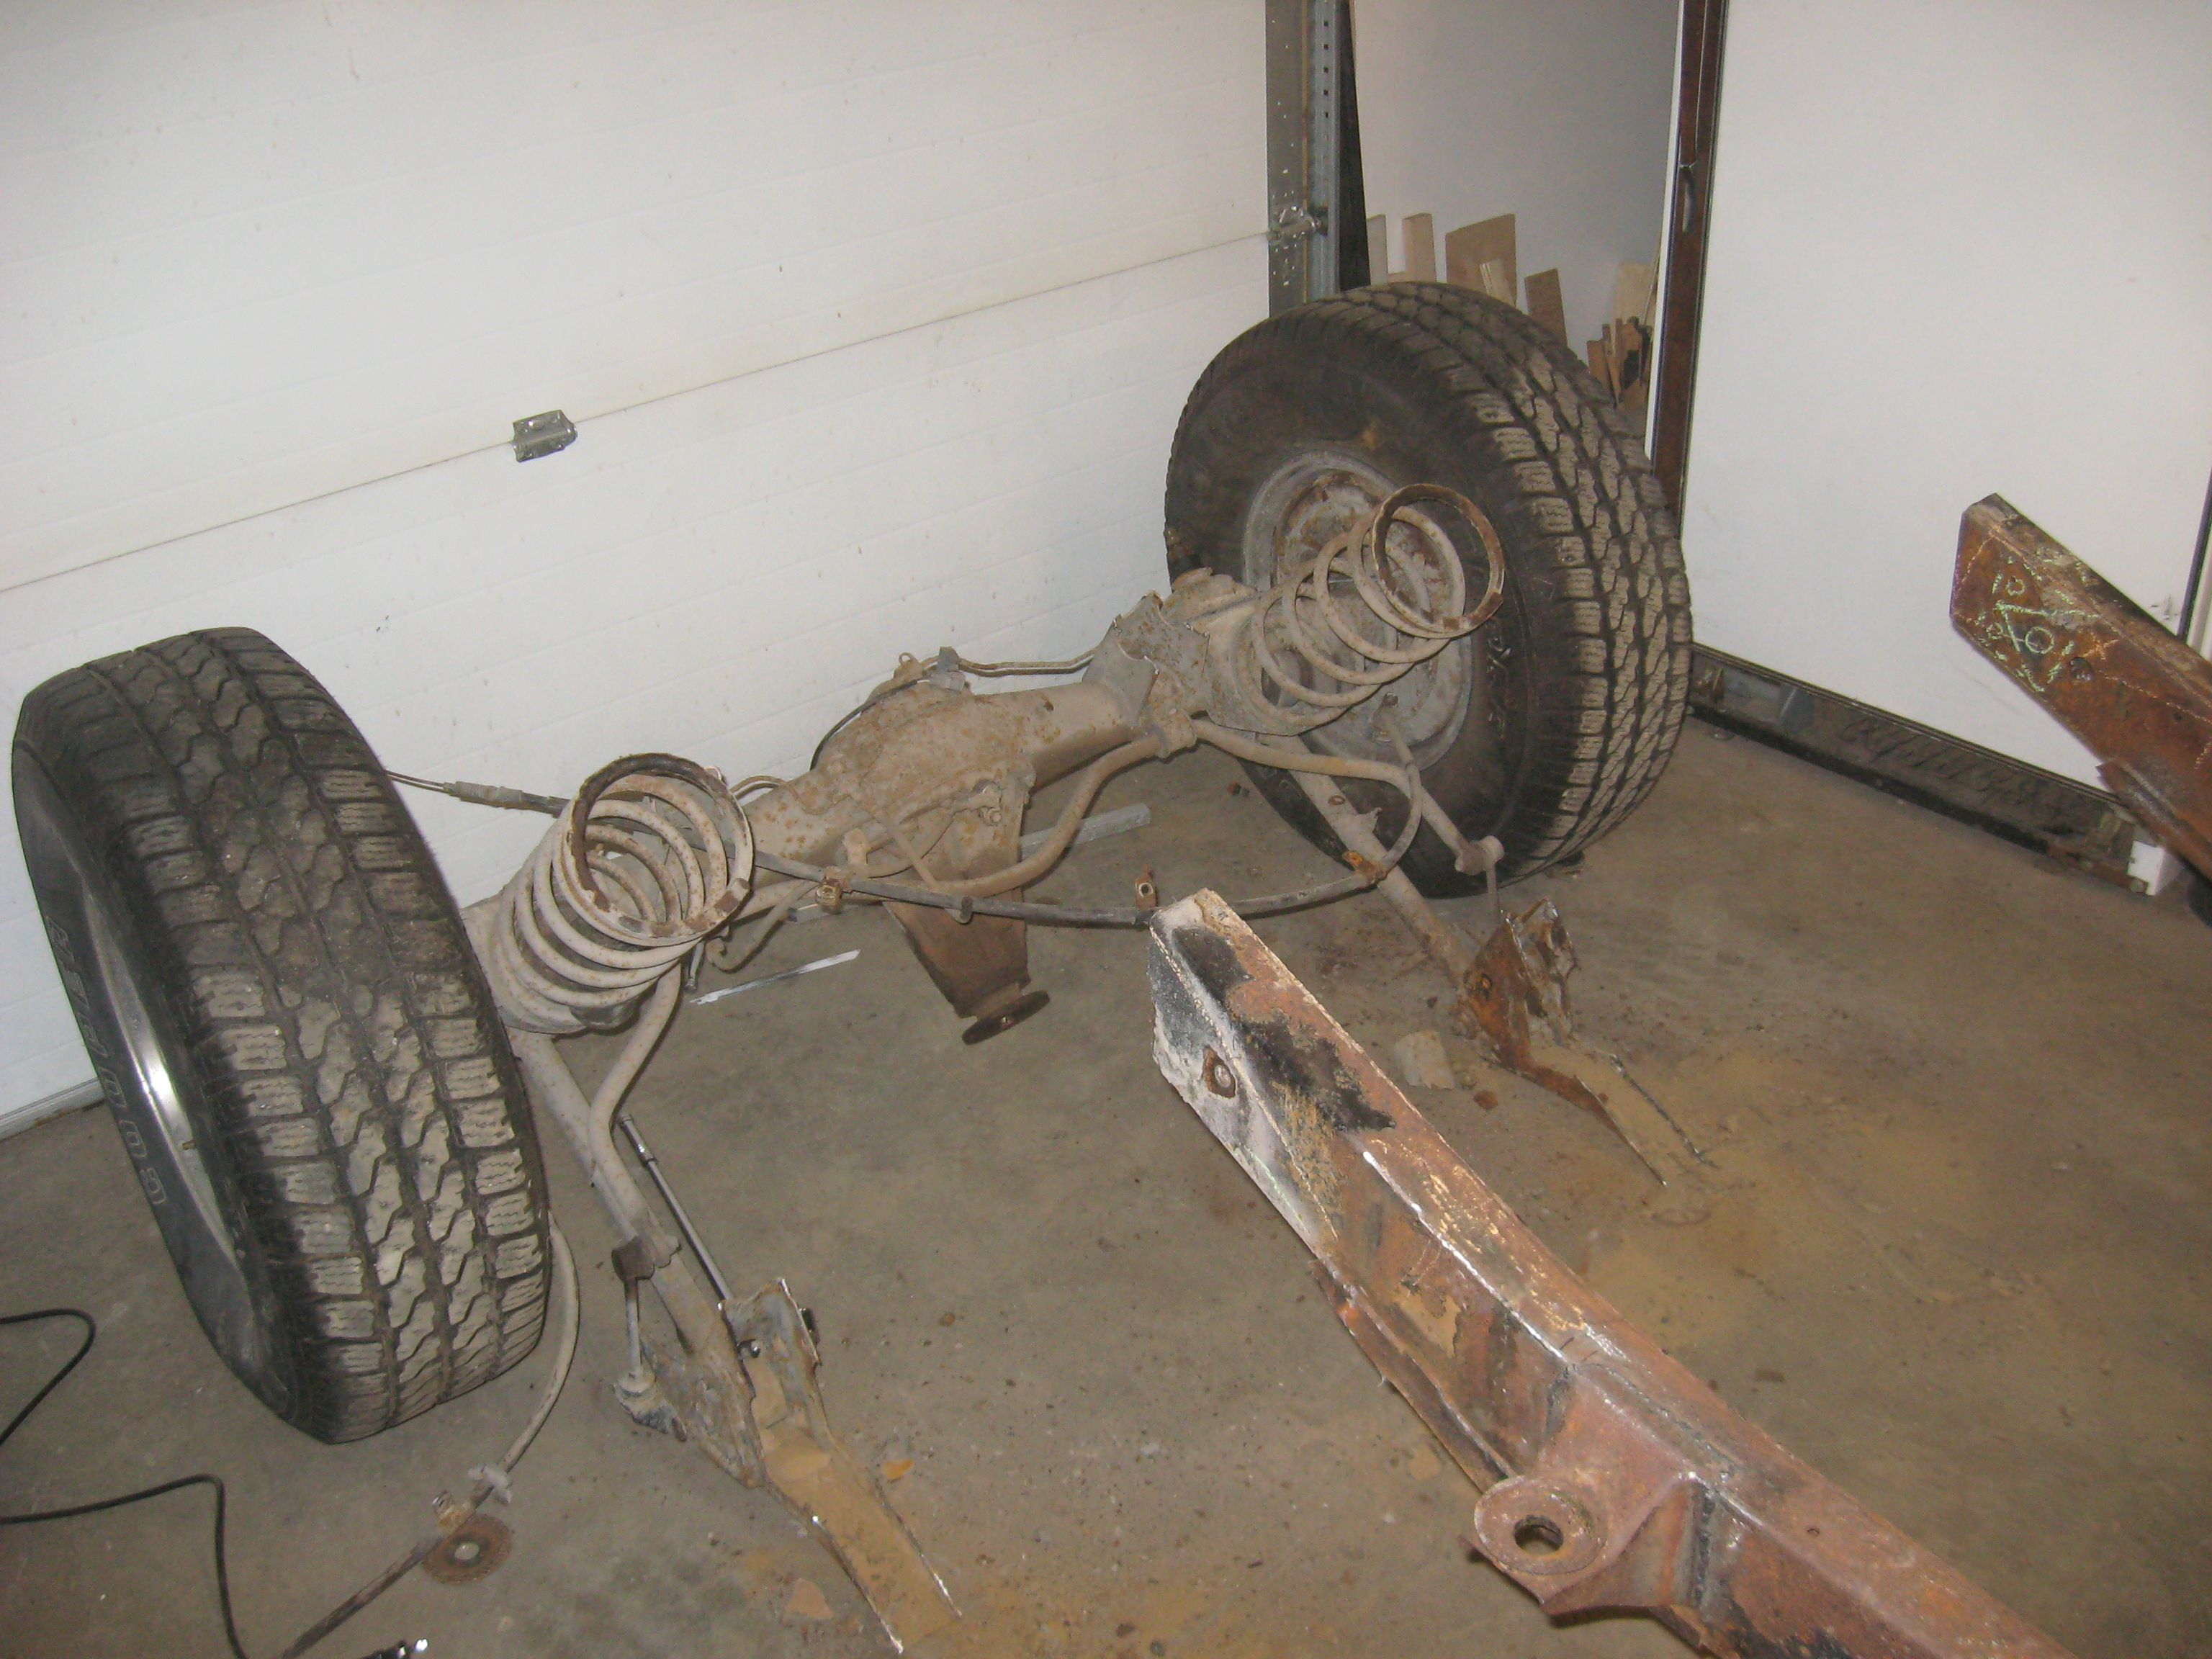
I started by cutting off the rear part of the frame about 10" behind the lower link mounts. I wanted to leave myself lots of material to work with for the frame splice. The lower link mounts were cut at the frame to separate the two parts. Then I removed the panhard rod and cut the upper link mounts at the axle. Now came the laboured job of cleaning up this 4Runner axle to prepare it for leaf springs. I spent hours cutting off brackets and grinding off welds. I tried to move around so as to not heat up and warp the housing. After all the suspension brackets were removed, I disassembled the removed the brakes and axles. It was during this time that my grinder thought it would be a good idea to give me a bite. I always wear protective equipment, but leather gloves don't stop a grinding disc. I received a nice gash to my left index finder that ended my work for that day. The pictures are in the gallery if you like to look at cuts and blood. 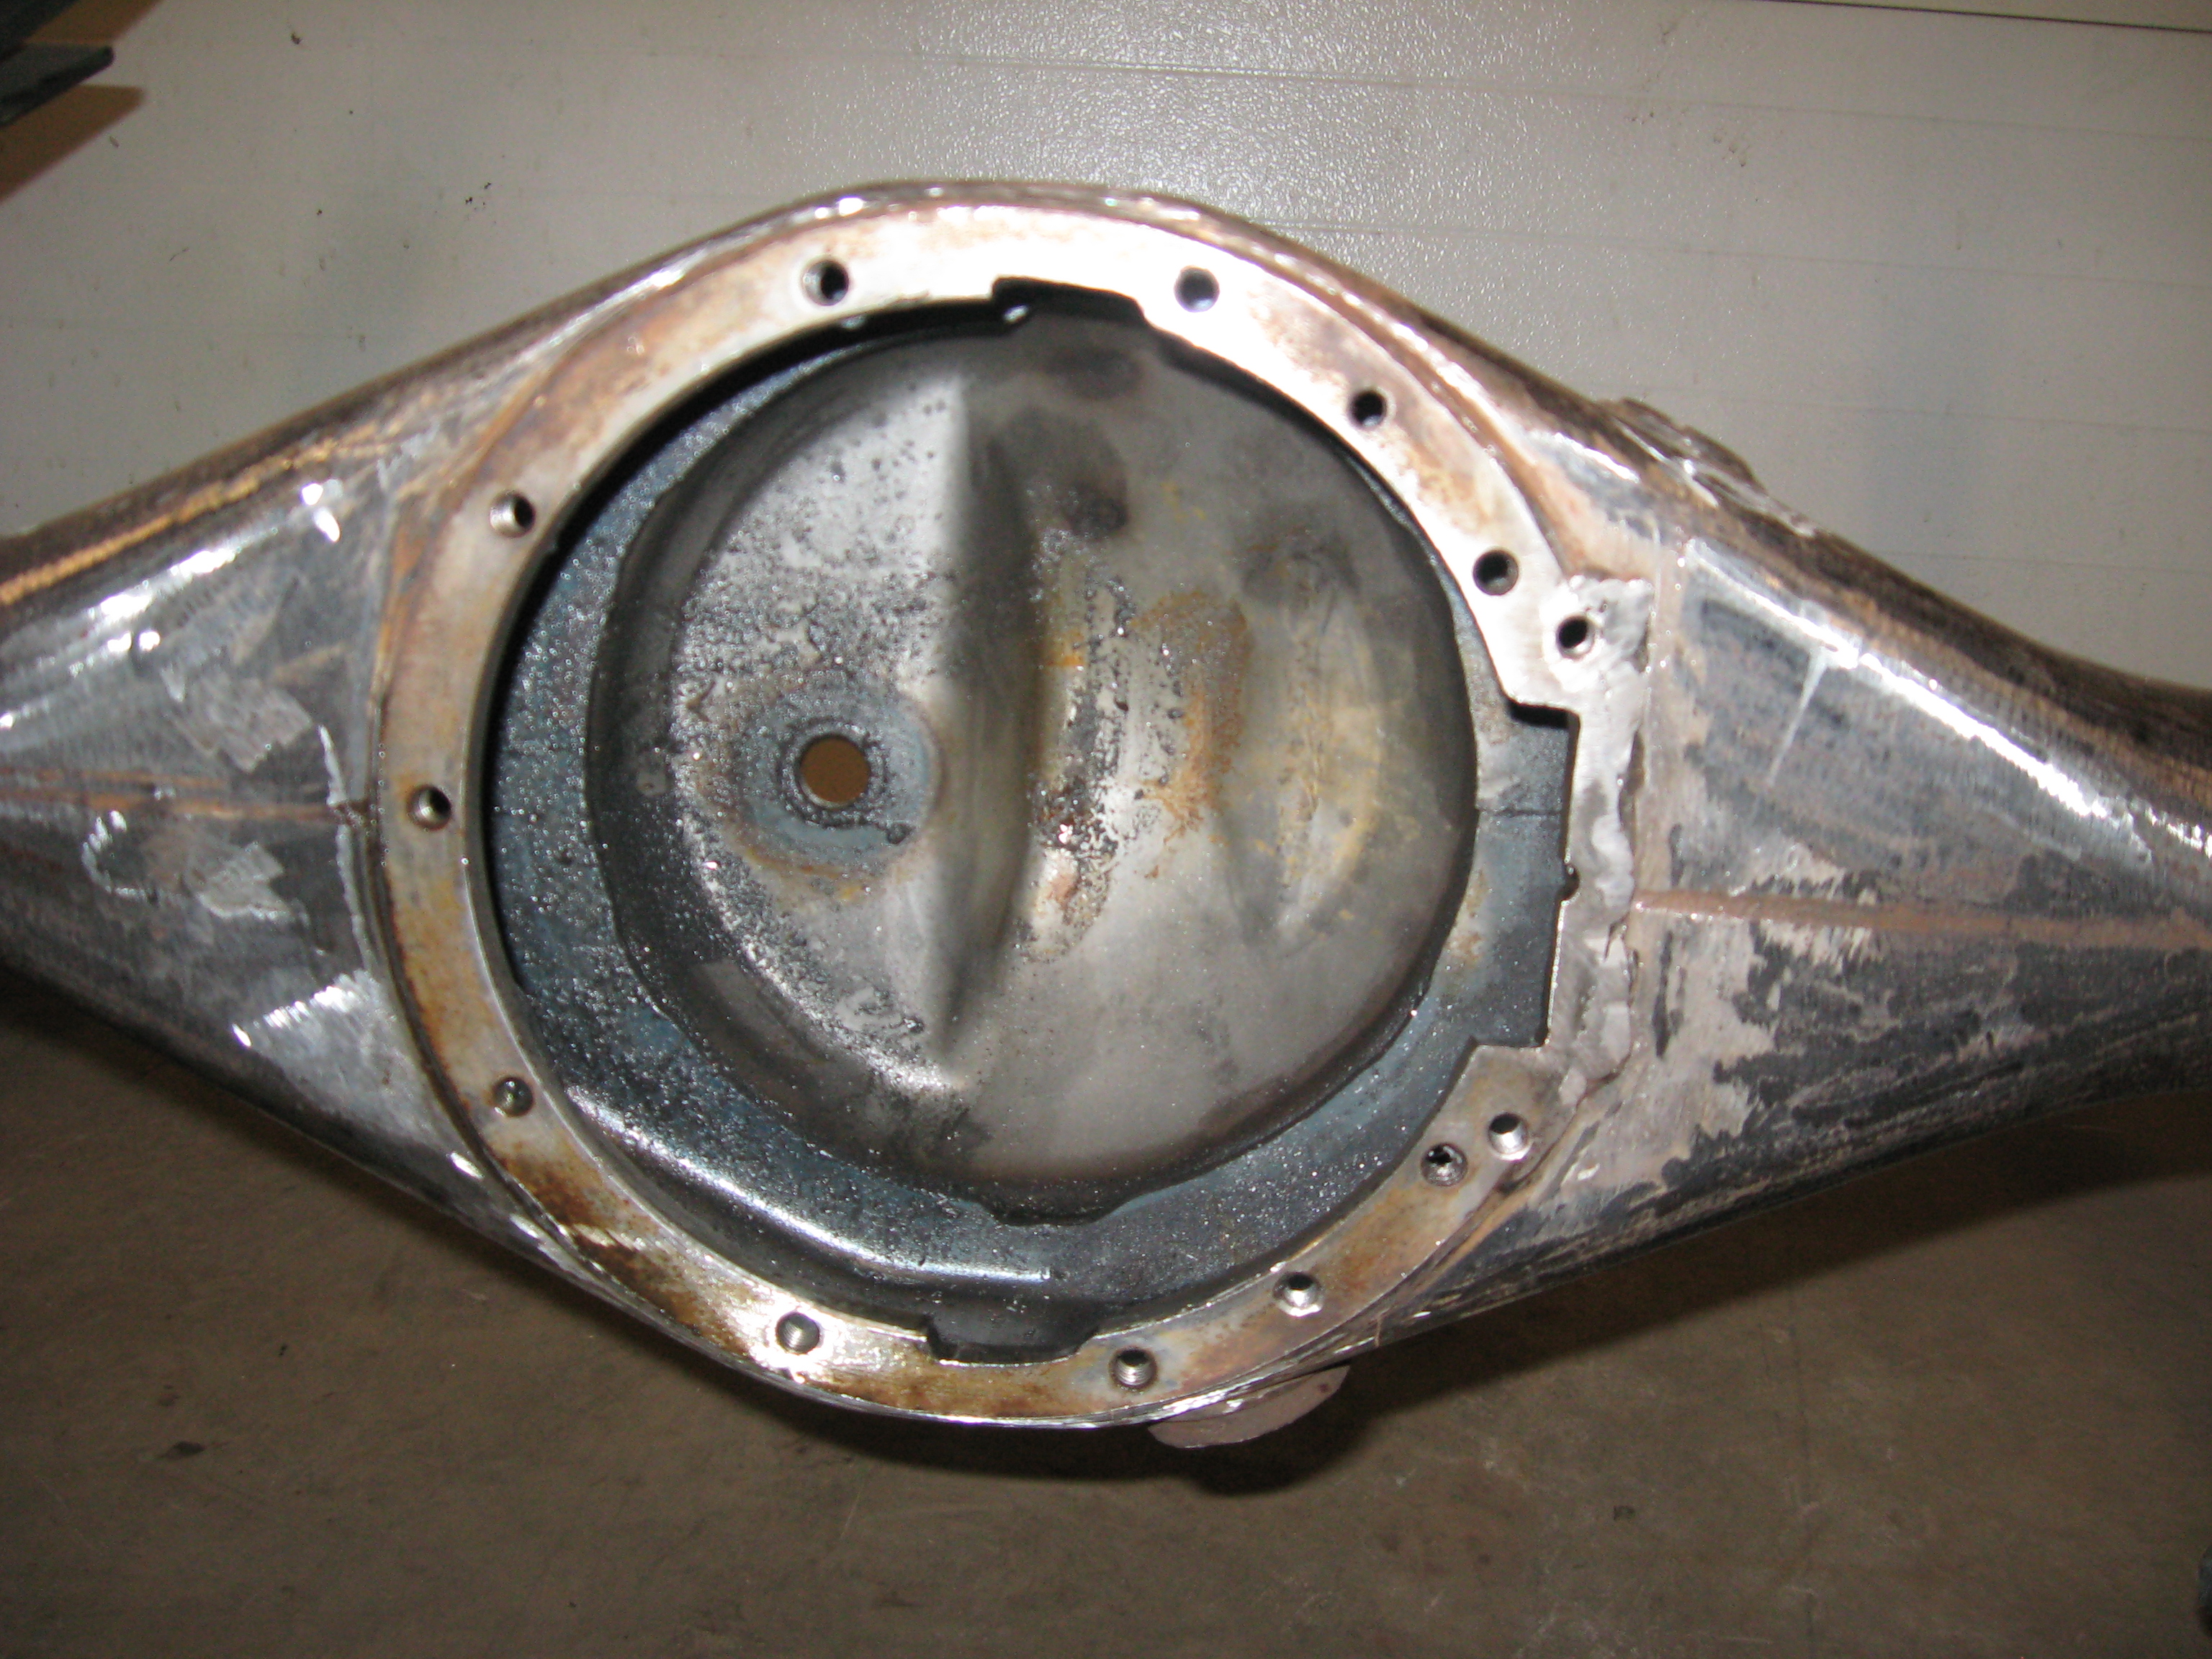 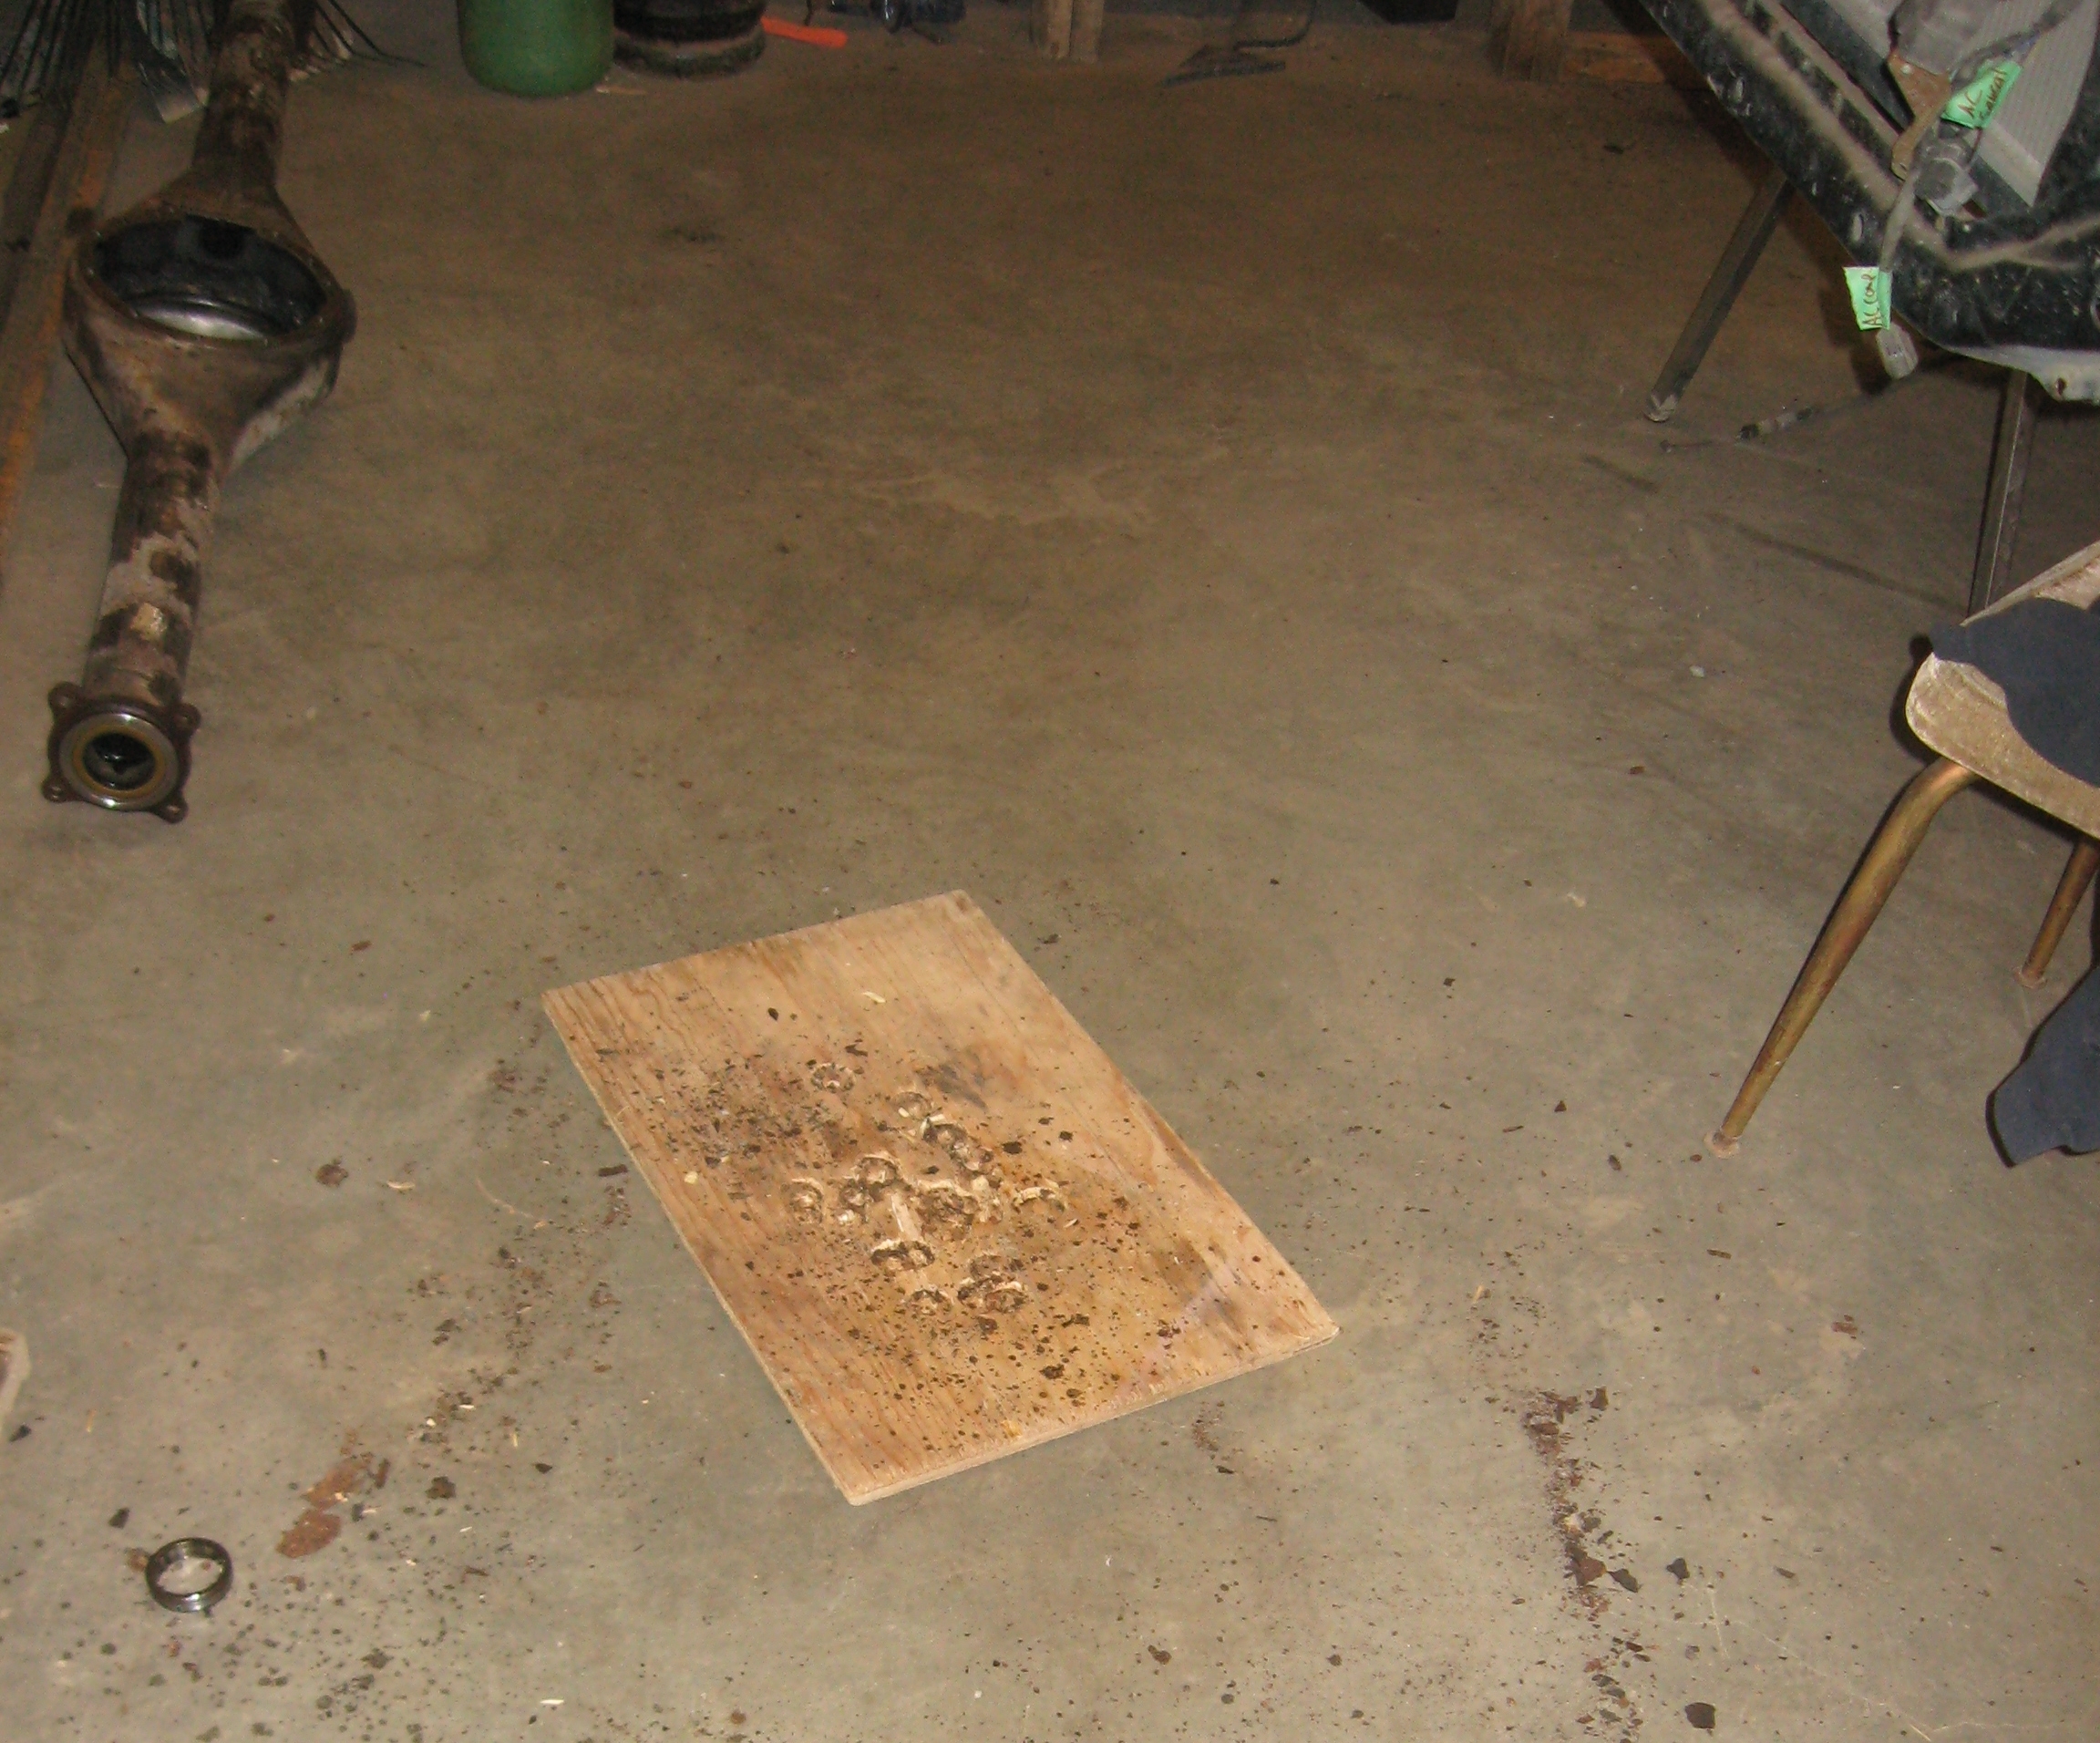
Removing the outer axle bearings was fun. I had a hydraulic press but no jigs to press out the bearings. I wanted to get it done and didn't feel like making a jig so I used the backyard mechanics trick. I grabbed the backing plate with both hands and began smashing the inner side of the axle shaft on the ground. I used a piece of plywood to soften the blow. To speed up the process I added weights to the backing plate by holding two steel plates on top of it. It took a dozen or more smashes before the bearing was loose. In the end I had a perfectly clean axle ready for an electronic locker conversion. The e-locker modifications went smoothly. All I had to do was grind a notch for the actuator, build up the flange area around the notch with weld, drill and tap some new holes for studs and hammer out the rear divet in the housing. There was one part of the housing that had been badly rusted due to the panhard rod bracket trapping dirt and water. I don't know if it was necessary or not, but I cut out and replaced the offending section with a piece of 1/4" flat bar (below left pic).   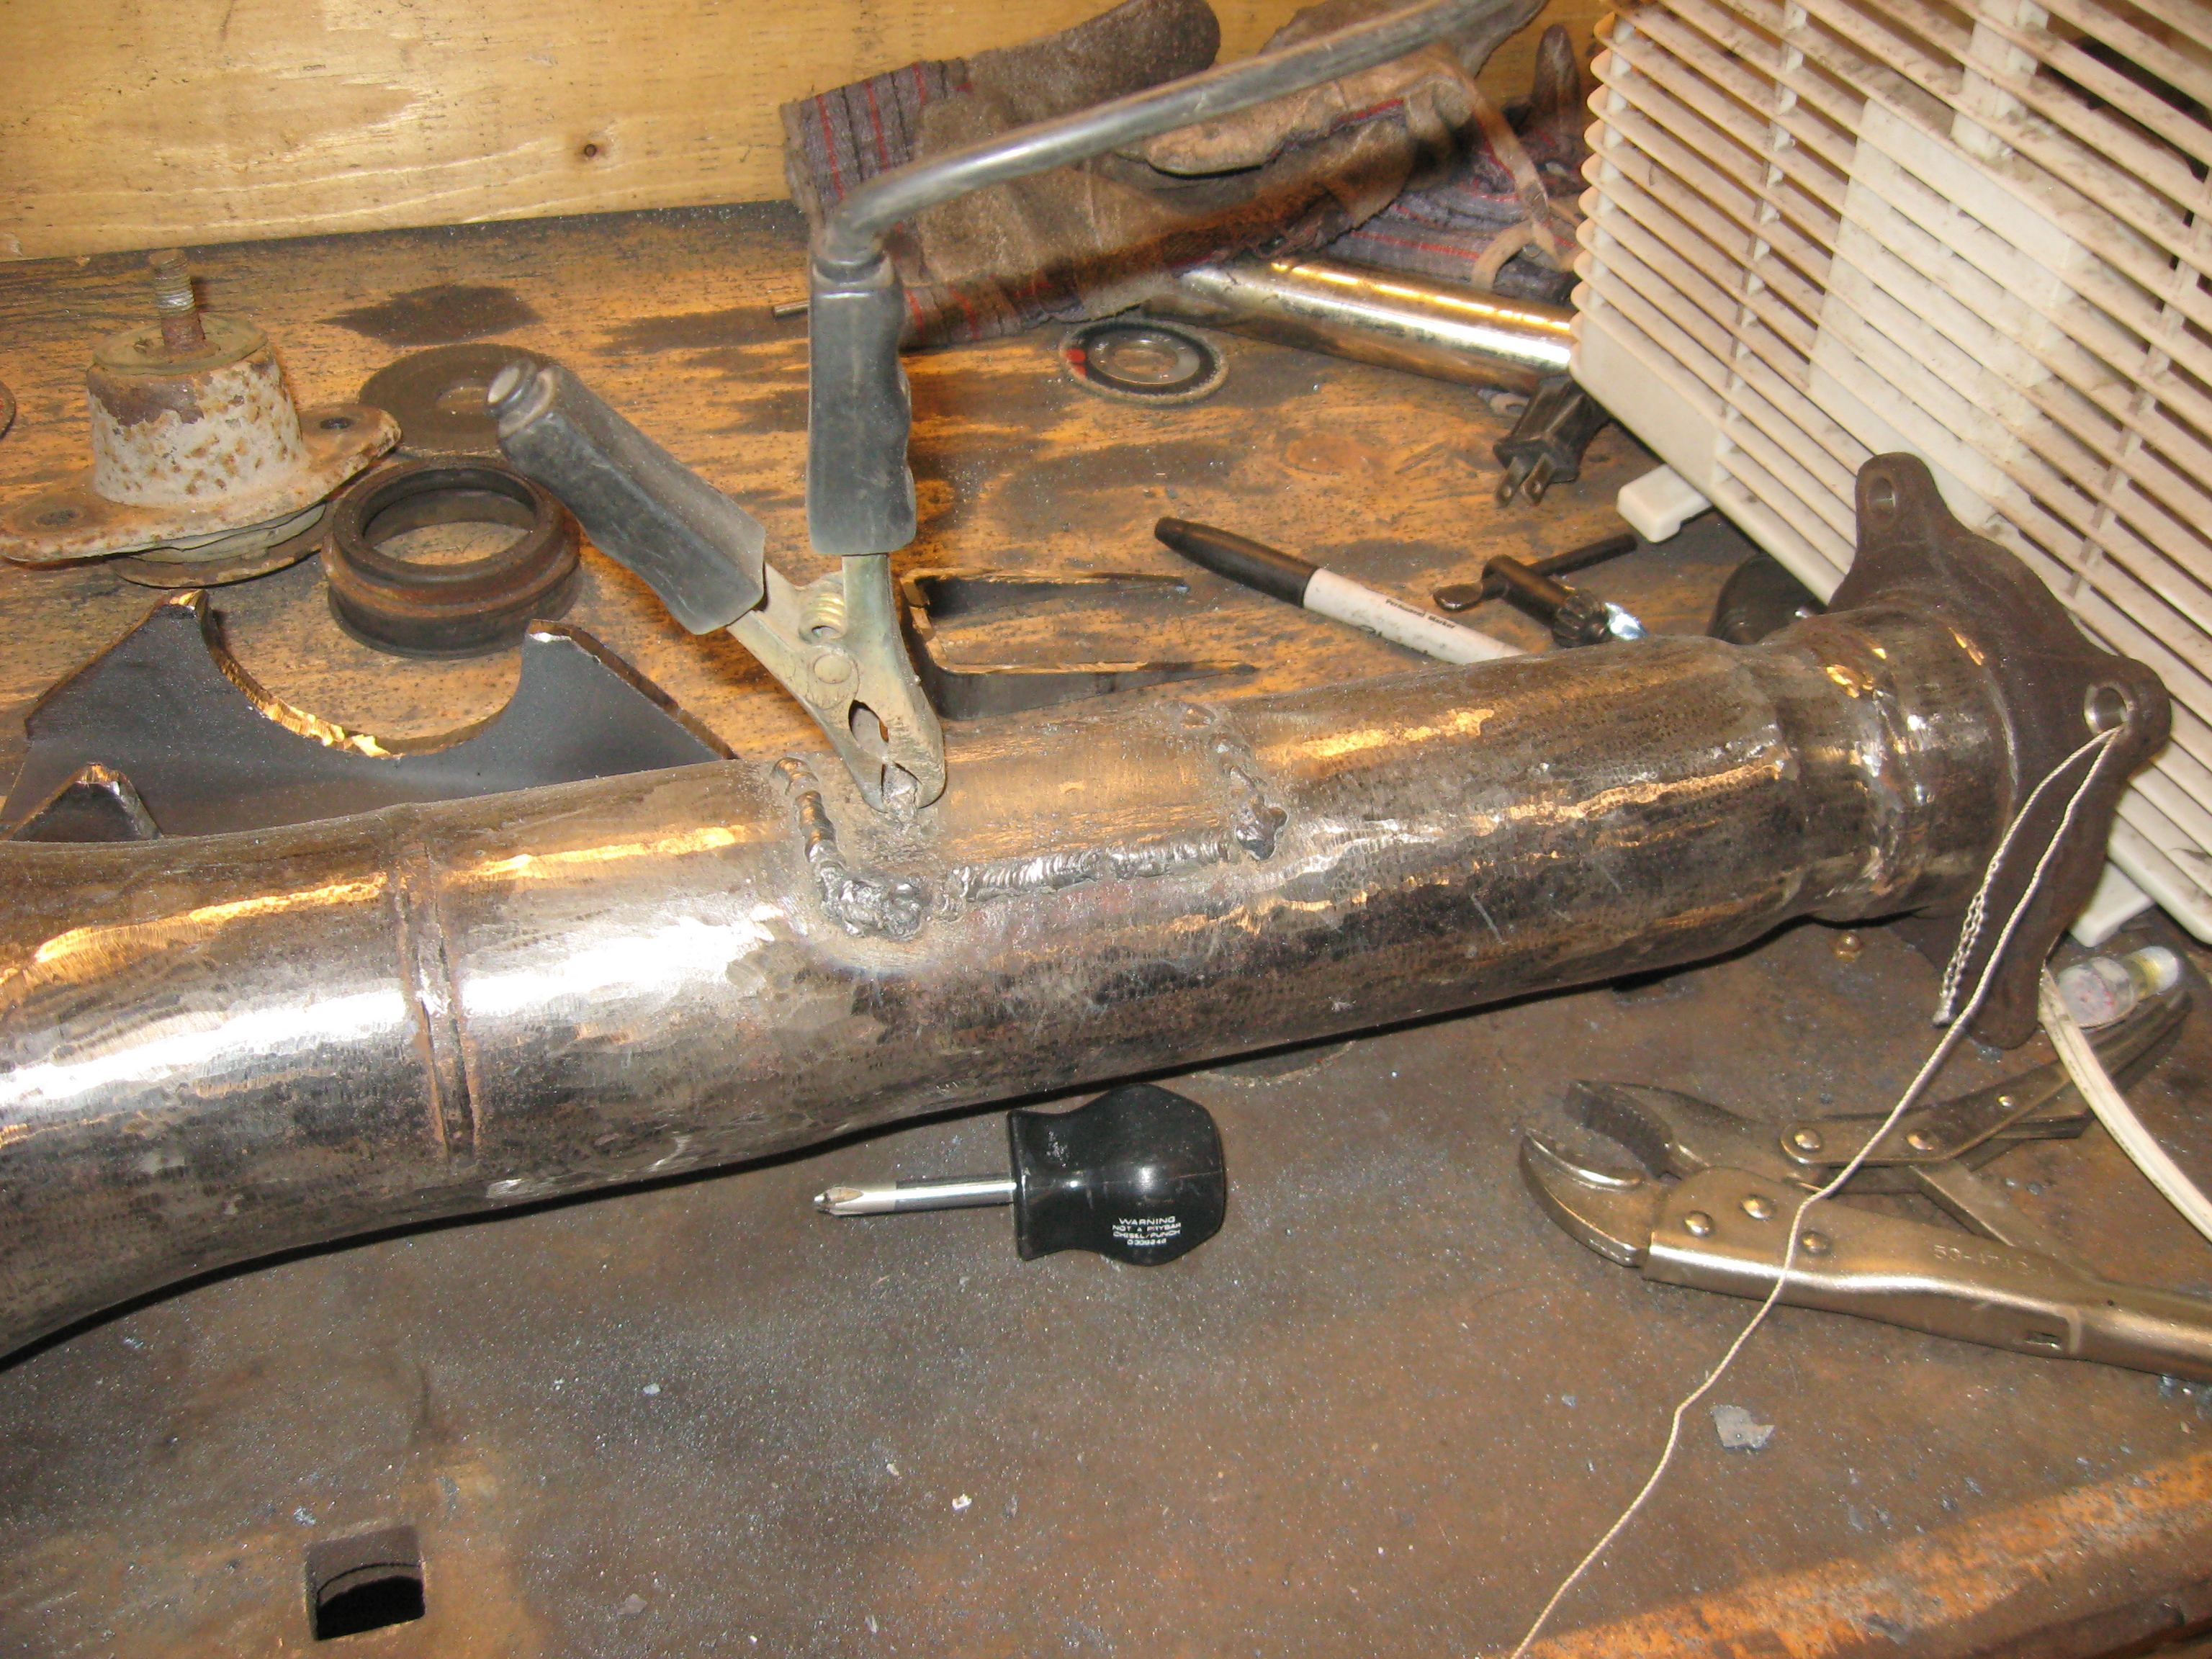
I built some spring perches out of 2 1/2" x 1/4" square tubing. Nothing fancy, they're 7" long and have three holes for the leaf spring so I can play with the wheelbase a little. Right now I have all new parts to rebuild the brakes and axle. Once the backing plates are sand blasted and I have time, the whole thing will go back together. As always there are lots of extra pictures in the gallery. Check them out.
|

