
May 2015
RGB LED Ceiling Display
When I was measuring out the dimensions of my current home in September 2012, I realized that the main room was 20' by 32' and that this would make a nice Tetris playing field if the ceiling were made out of 2' by 2' light up tiles. I figured I could use opaque suspended ceiling tiles with a single RGB LED pointing down on to each one. With that thought planted in my head, all I needed was the time to design the electronics and build it. I got that time over the winter of 2015 :) 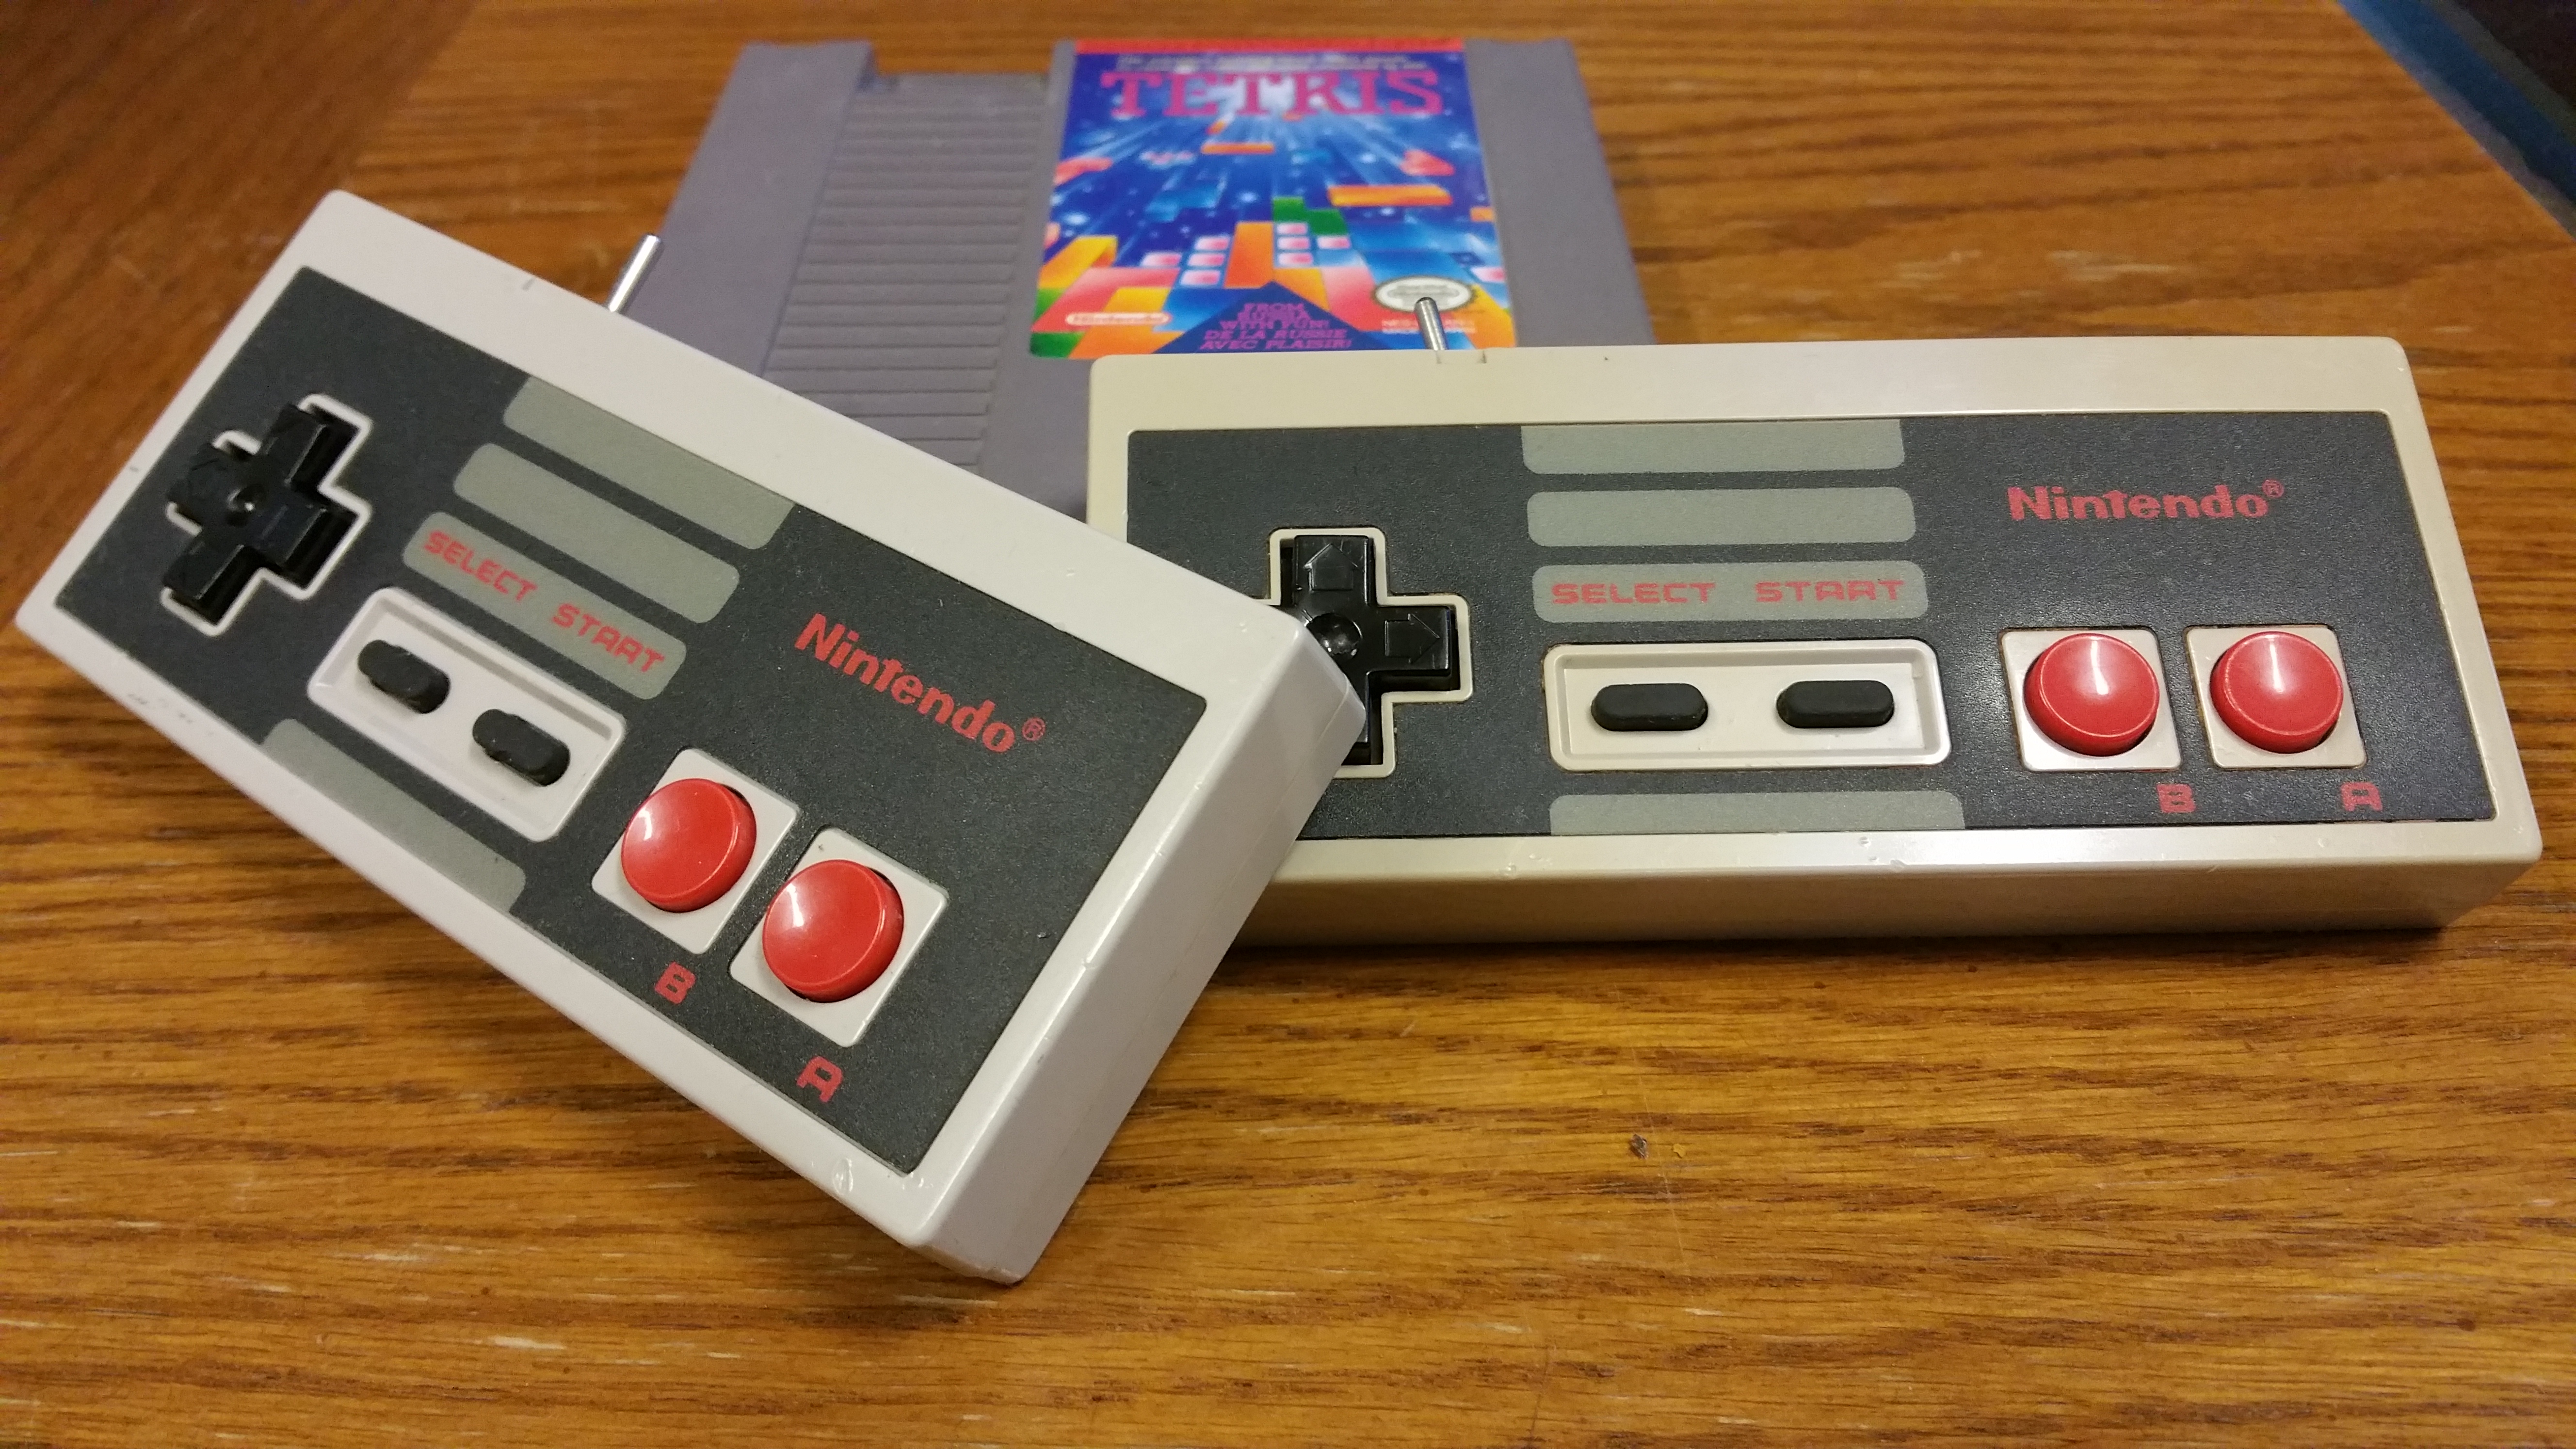 
The project was not hard from a technical aspect. The programming was probably the part that required the most thought. Most of the work was in soldering the 160 WS2812 surface mount RGB LEDs. The main micro-controller for the display is a Teensy 3.1 mounted in the ceiling. It has two serial Bluetooth modules connected to it to receive signals from the game controllers. The original NES game controllers were modded to include new electronics. I removed the stock shift register ICs and replaced them with Arduino Pro minis. Connected to these were Bluetooth modules to talk to the Teensy in the ceiling. Everything was powered by a couple of small micro USB charge controllers and some small Li-Ion batteries I got from Deal Extreme. I programmed the Bluetooth modules to auto connect to the Teensy in the ceiling. I also left the Bluetooth modules on the Teensy open to accept connections from other devices. This way I can connect to the Teensy from my phone or computer and control the display with a simple Bluetooth terminal program. 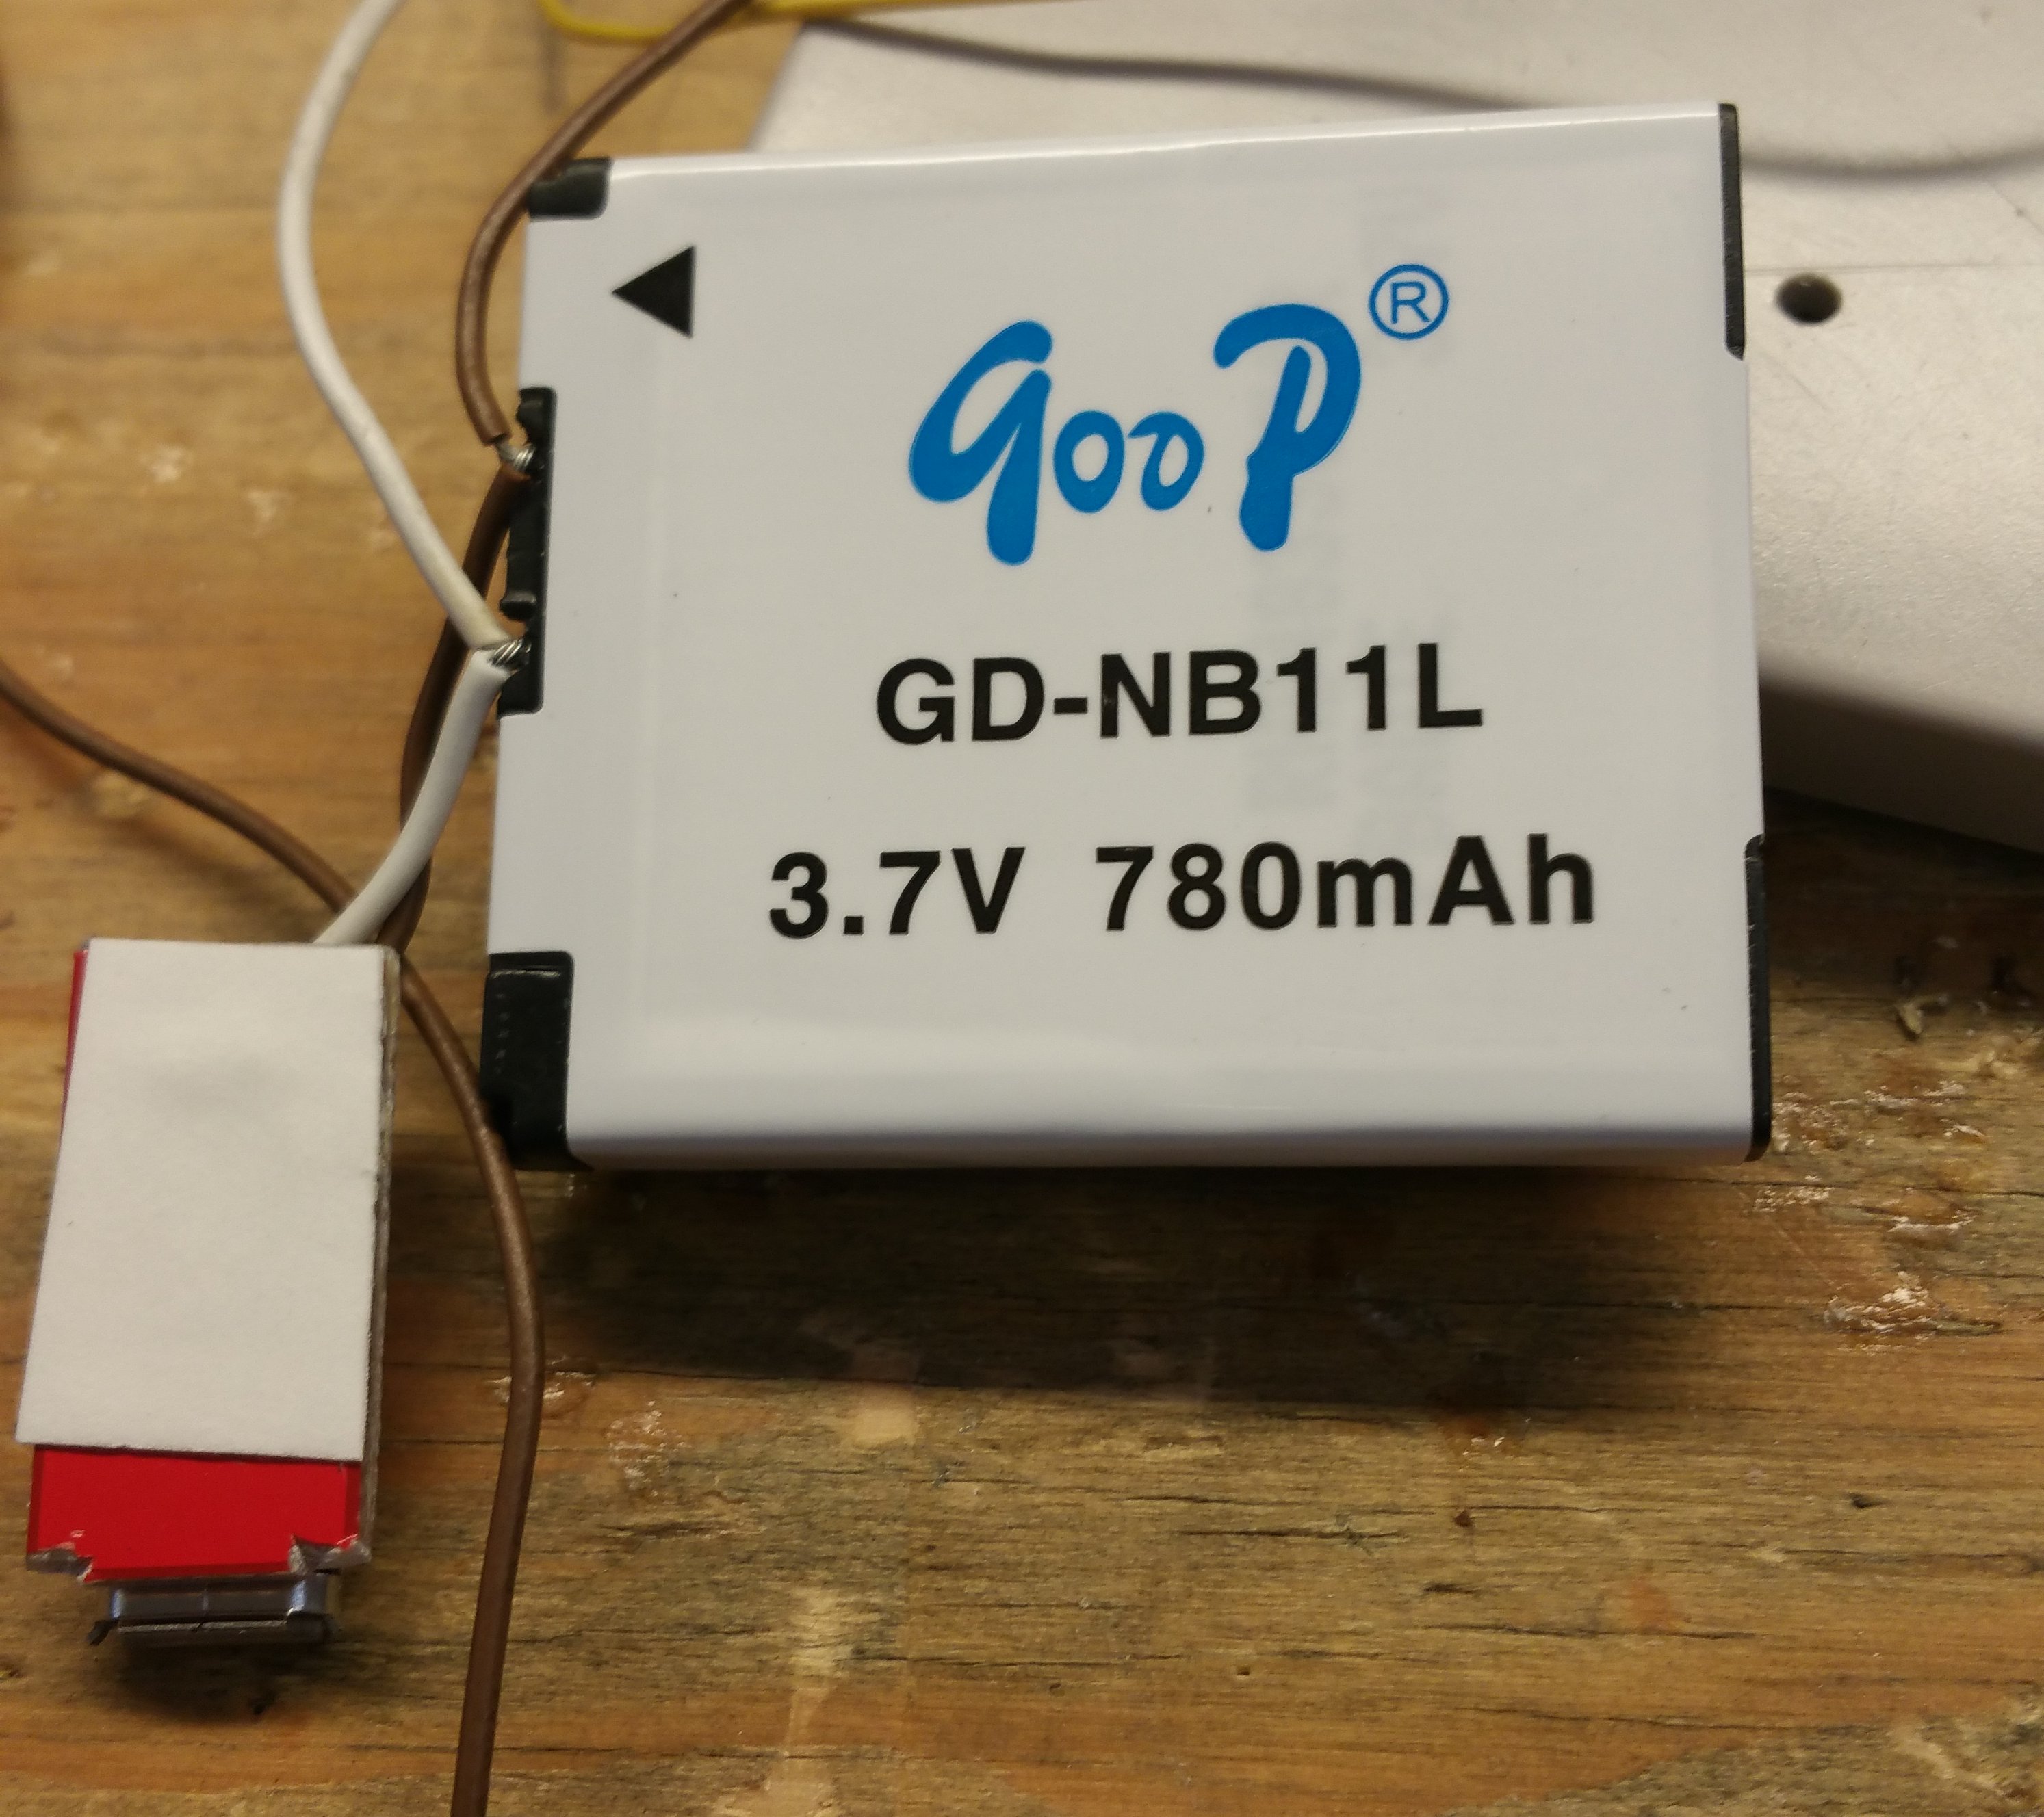 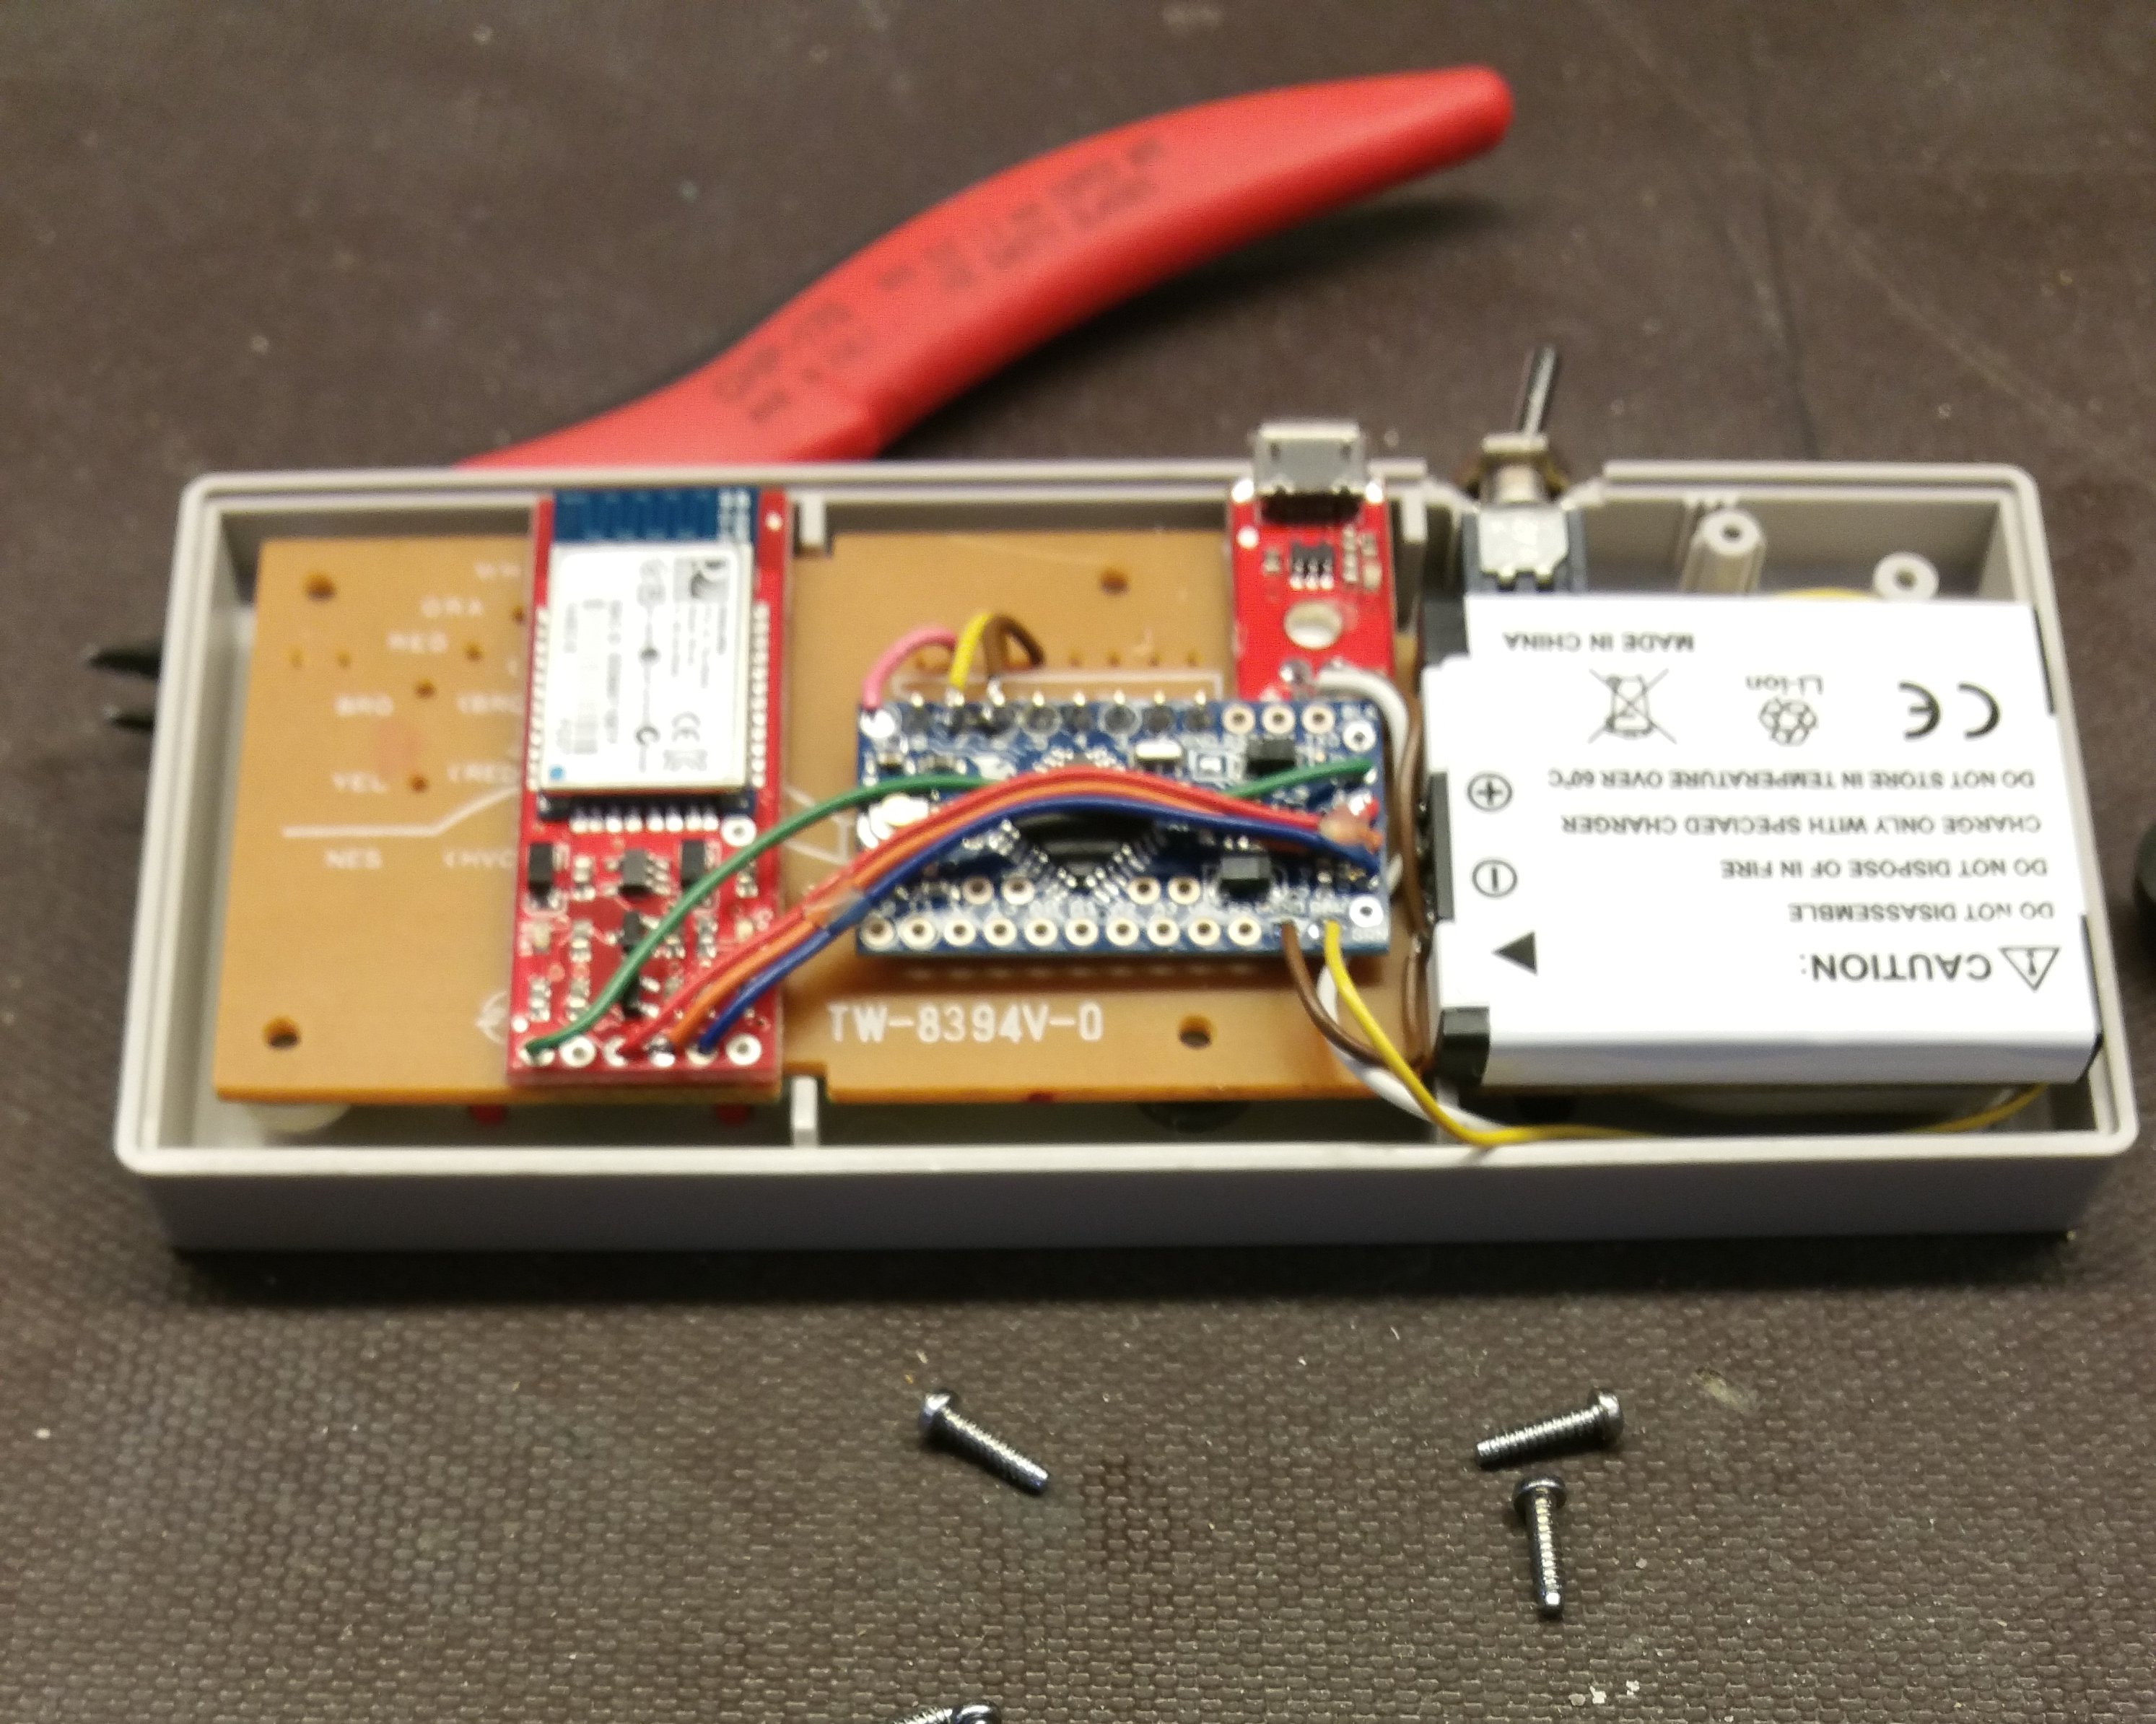 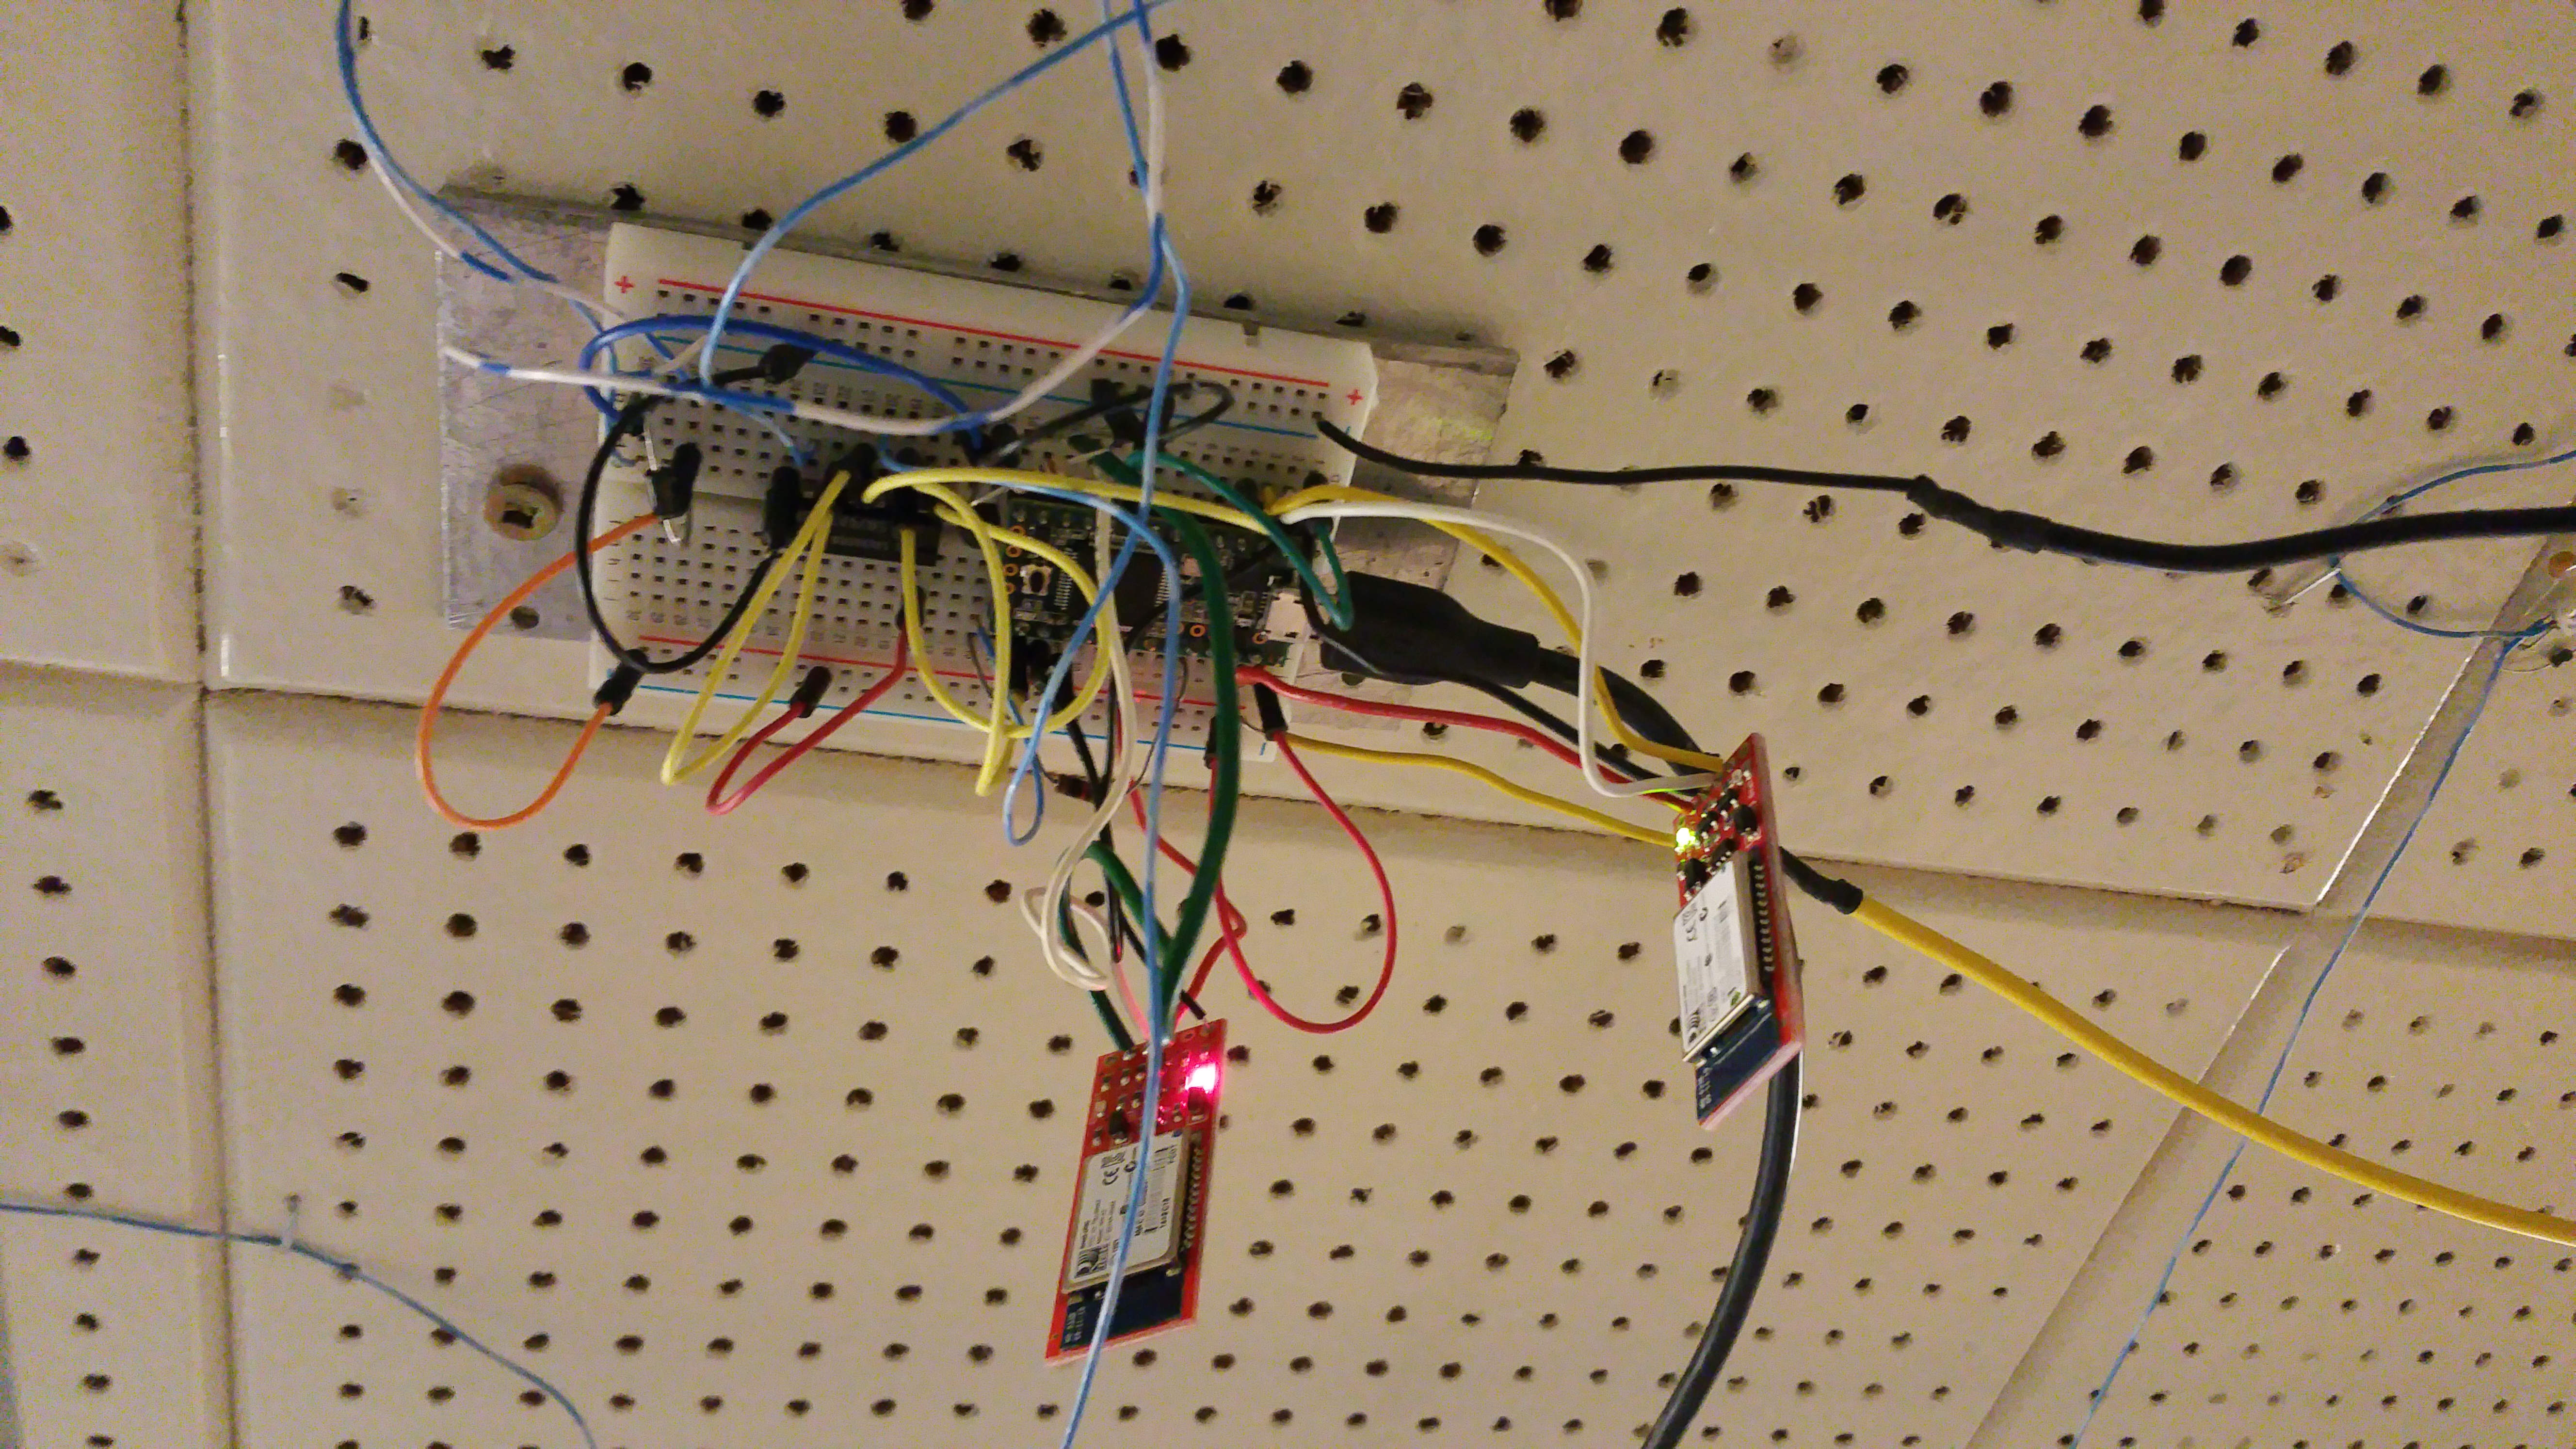
The physical wiring was the hardest part. For each one of the 160 LEDs, I built a small low pass filter for the power input. I also put resistors on both the input and output to stop any ringing on the data bus. These four components were then hand soldered to a 3/16" square surface mount LED to create a pixel. Once all the individual pixels were ready, I soldered them in groups of ten to section of power wiring. I started the power wiring by running a piece of 14/2 (14 gauge, 2 conductor) house wire (the spine) down the center length of the ceiling from top to bottom. From both side of this center line, I ran smaller wires (the ribs) out to the walls. Eight pairs of these ribs in total, one pair for every two rows of LEDs. From each one of the ribs, I ran ten wires, five up five down, for each of the ten pixels. I built the ribs and attached the pixels on my bench and then tested them before installing them on the ceiling. With the ribs mounted on the ceiling, I connected the power wiring to the main spine and soldered the data lines connecting one rib to the next. 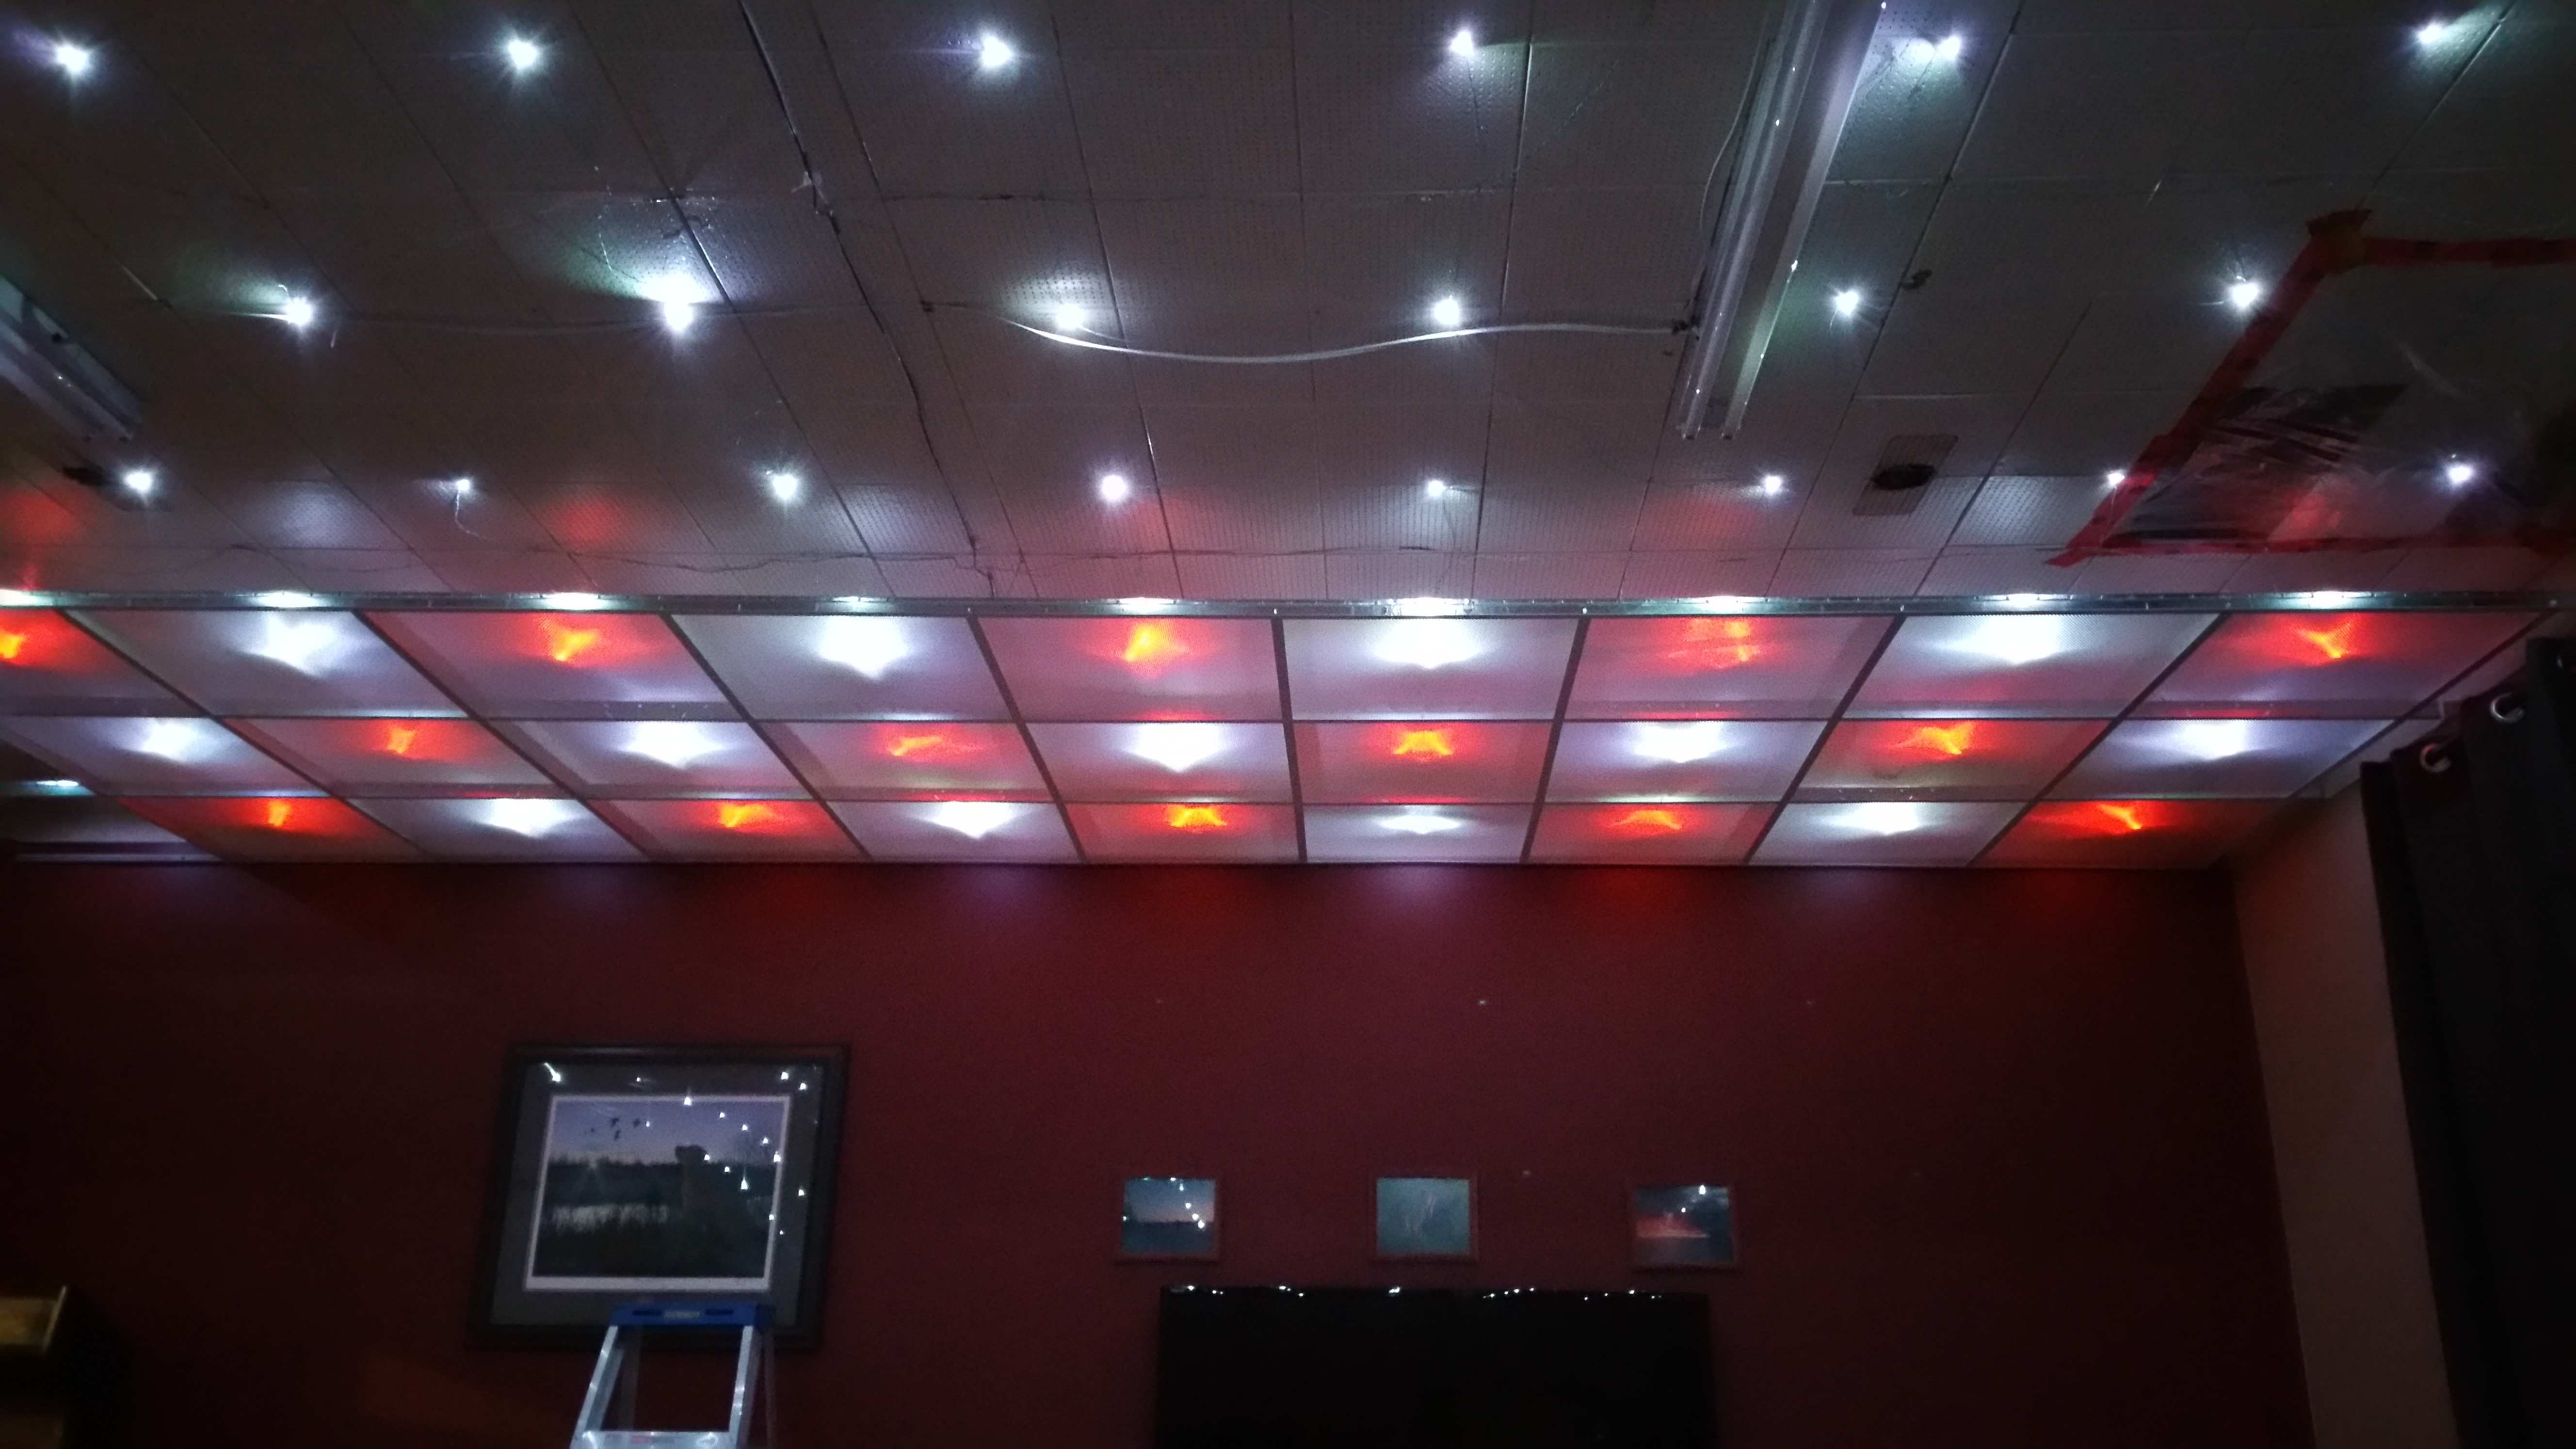  
The WS2812 RGB LEDs that I used are controlled with a bit stream that is daisy chained from one LED to the next. I separated my display into two halves so that the Teensy could be mounted in the center of the ceiling for better Bluetooth reception. I wired the two data buses across the rows and zig-zagging back and forth, one going from the middle up, and the other down. The Teensy is using the Octo2811 LED library, which is set up to drive eight parallel data bit streams. I'm only using two for this display and I'm saving the other six to run other LEDs in my home in the future. I wanted the ability to turn the LED lights on and off without having to use the wireless controllers. For this I wired up a regular home light switch to the Teensy that I mounted next to my main light switch. With all the wiring done and tested, I put up the suspended ceiling. The tiles are all 2' by 2' but the cheapest opaque panels I could find were 4' by 2' so I had to cut them in half. I set up a steel fence and used my angle grinder to score all the tiles at 2'. Then I simple broke them in half and cleaned up the rough edge with a gloved hand. Other than cutting the tiles in half, the suspended ceiling went up like any other. 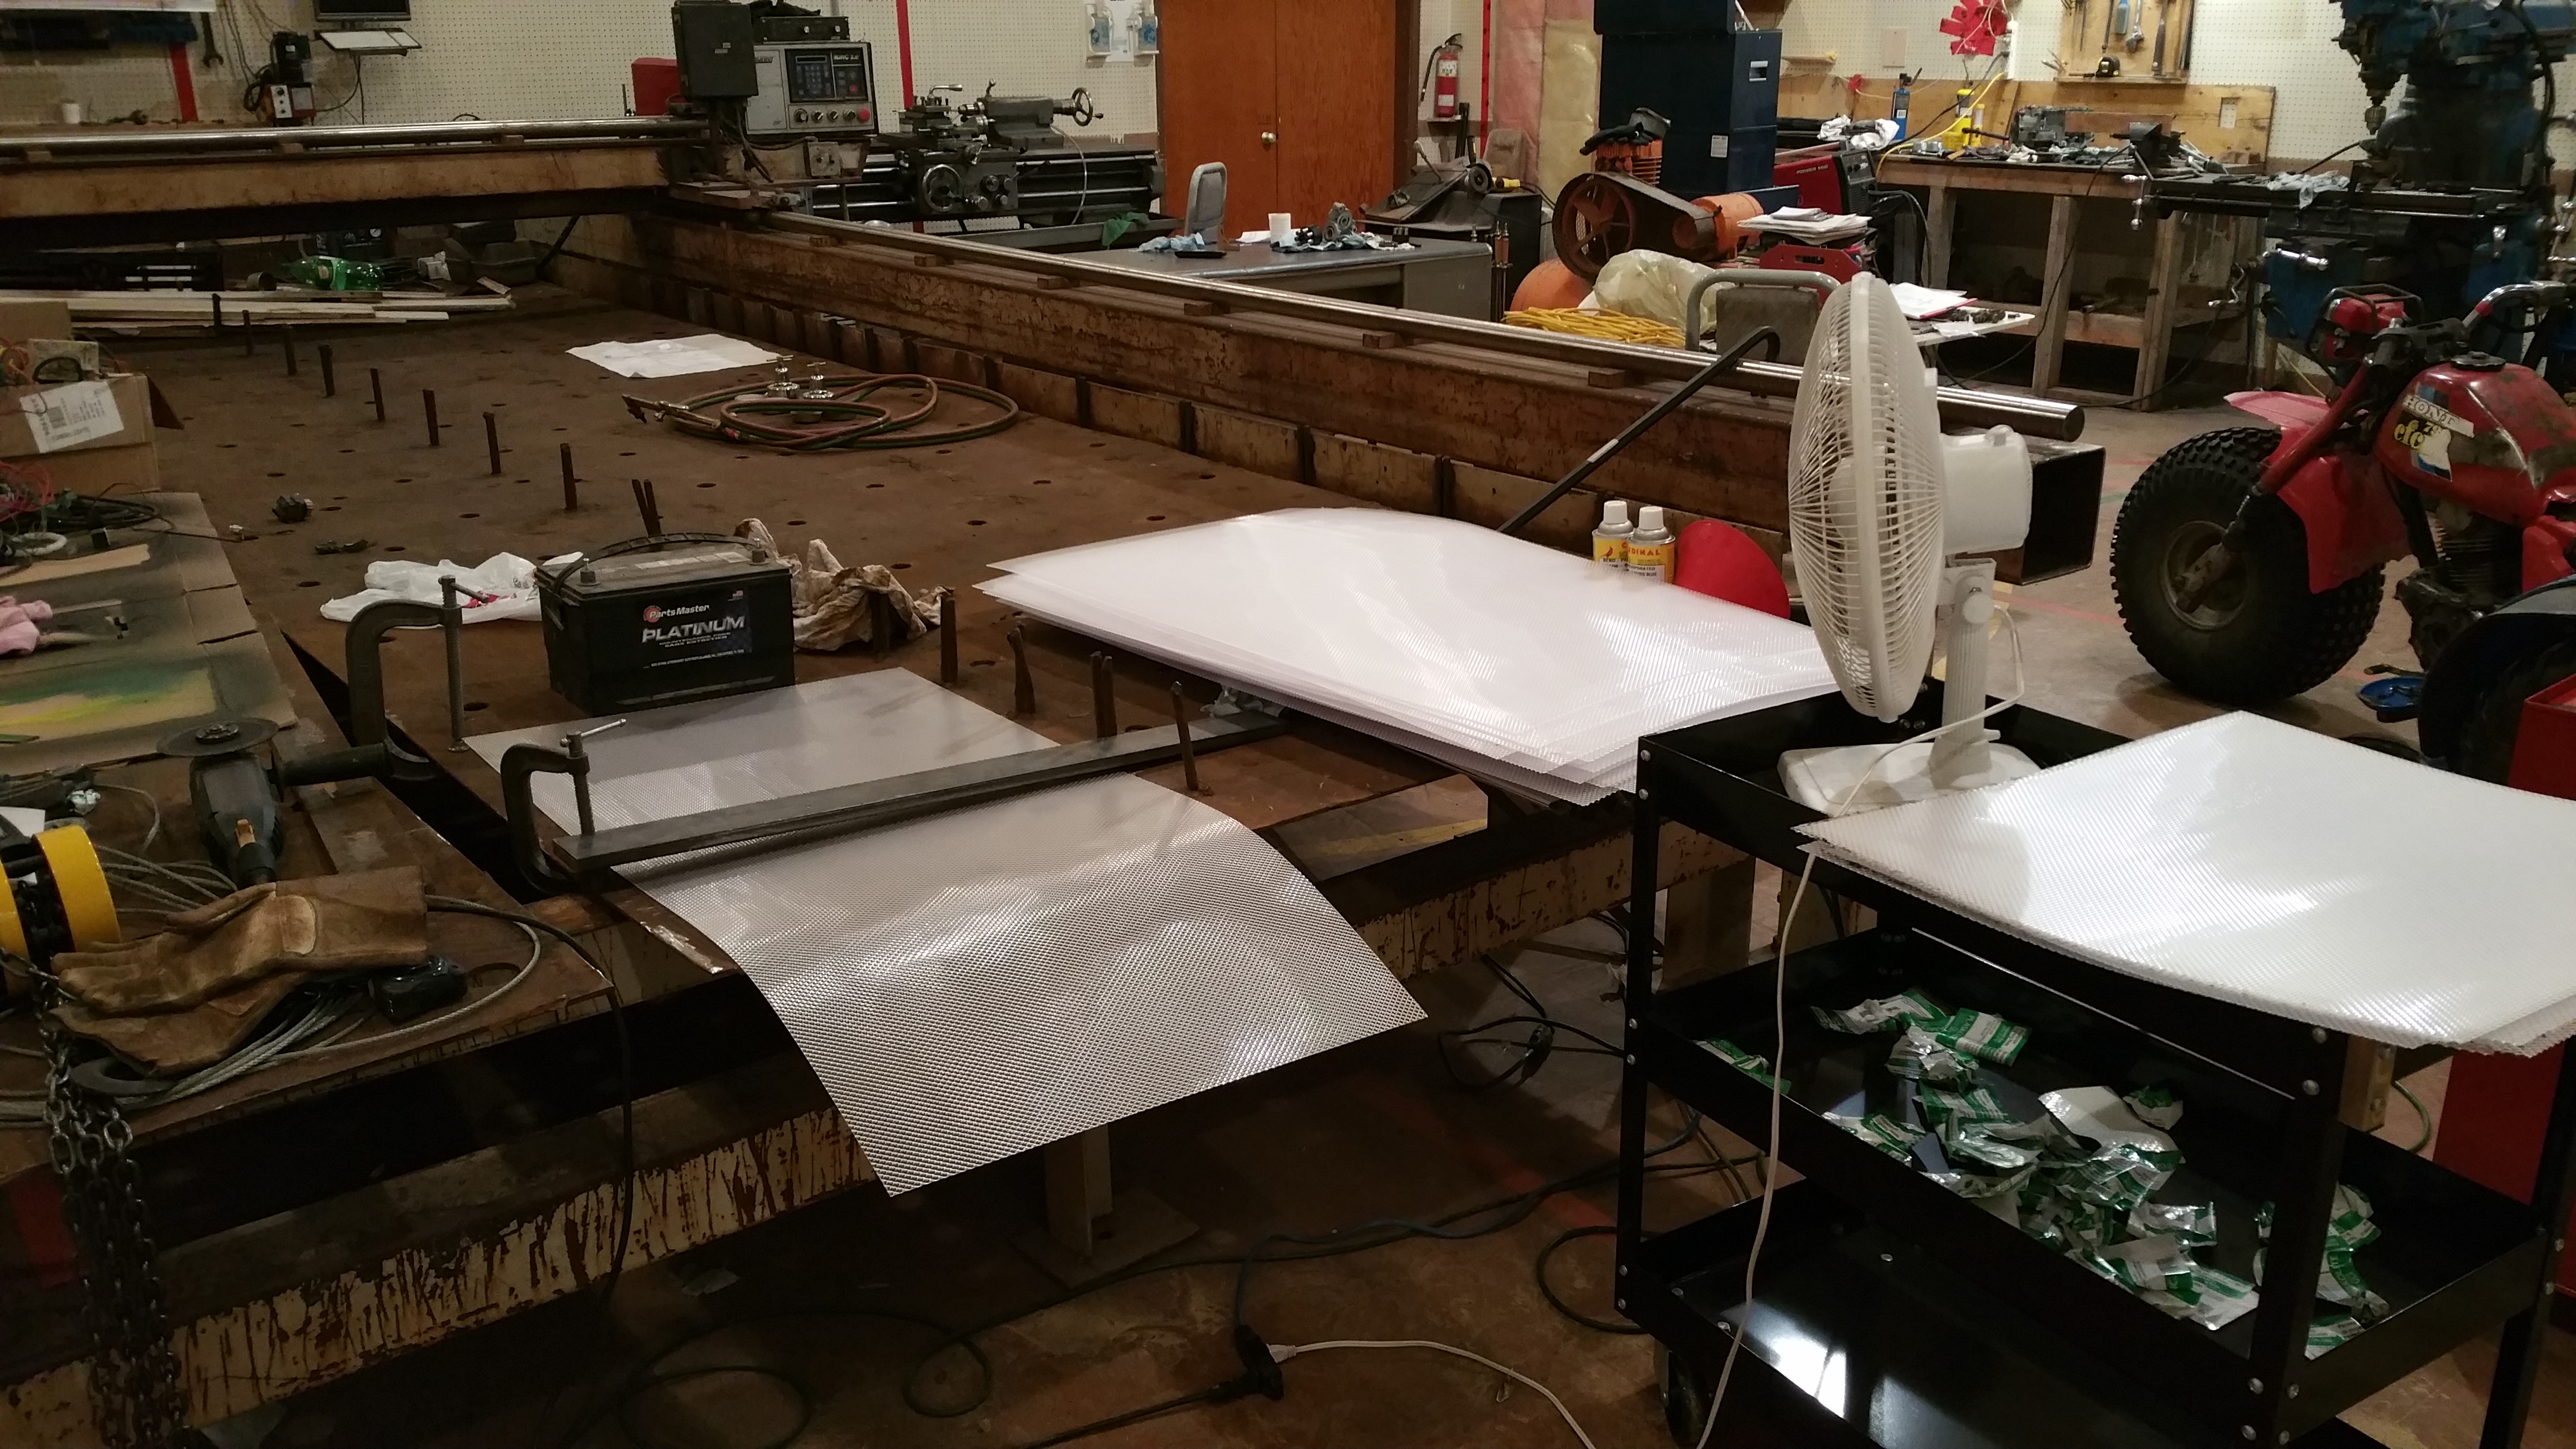 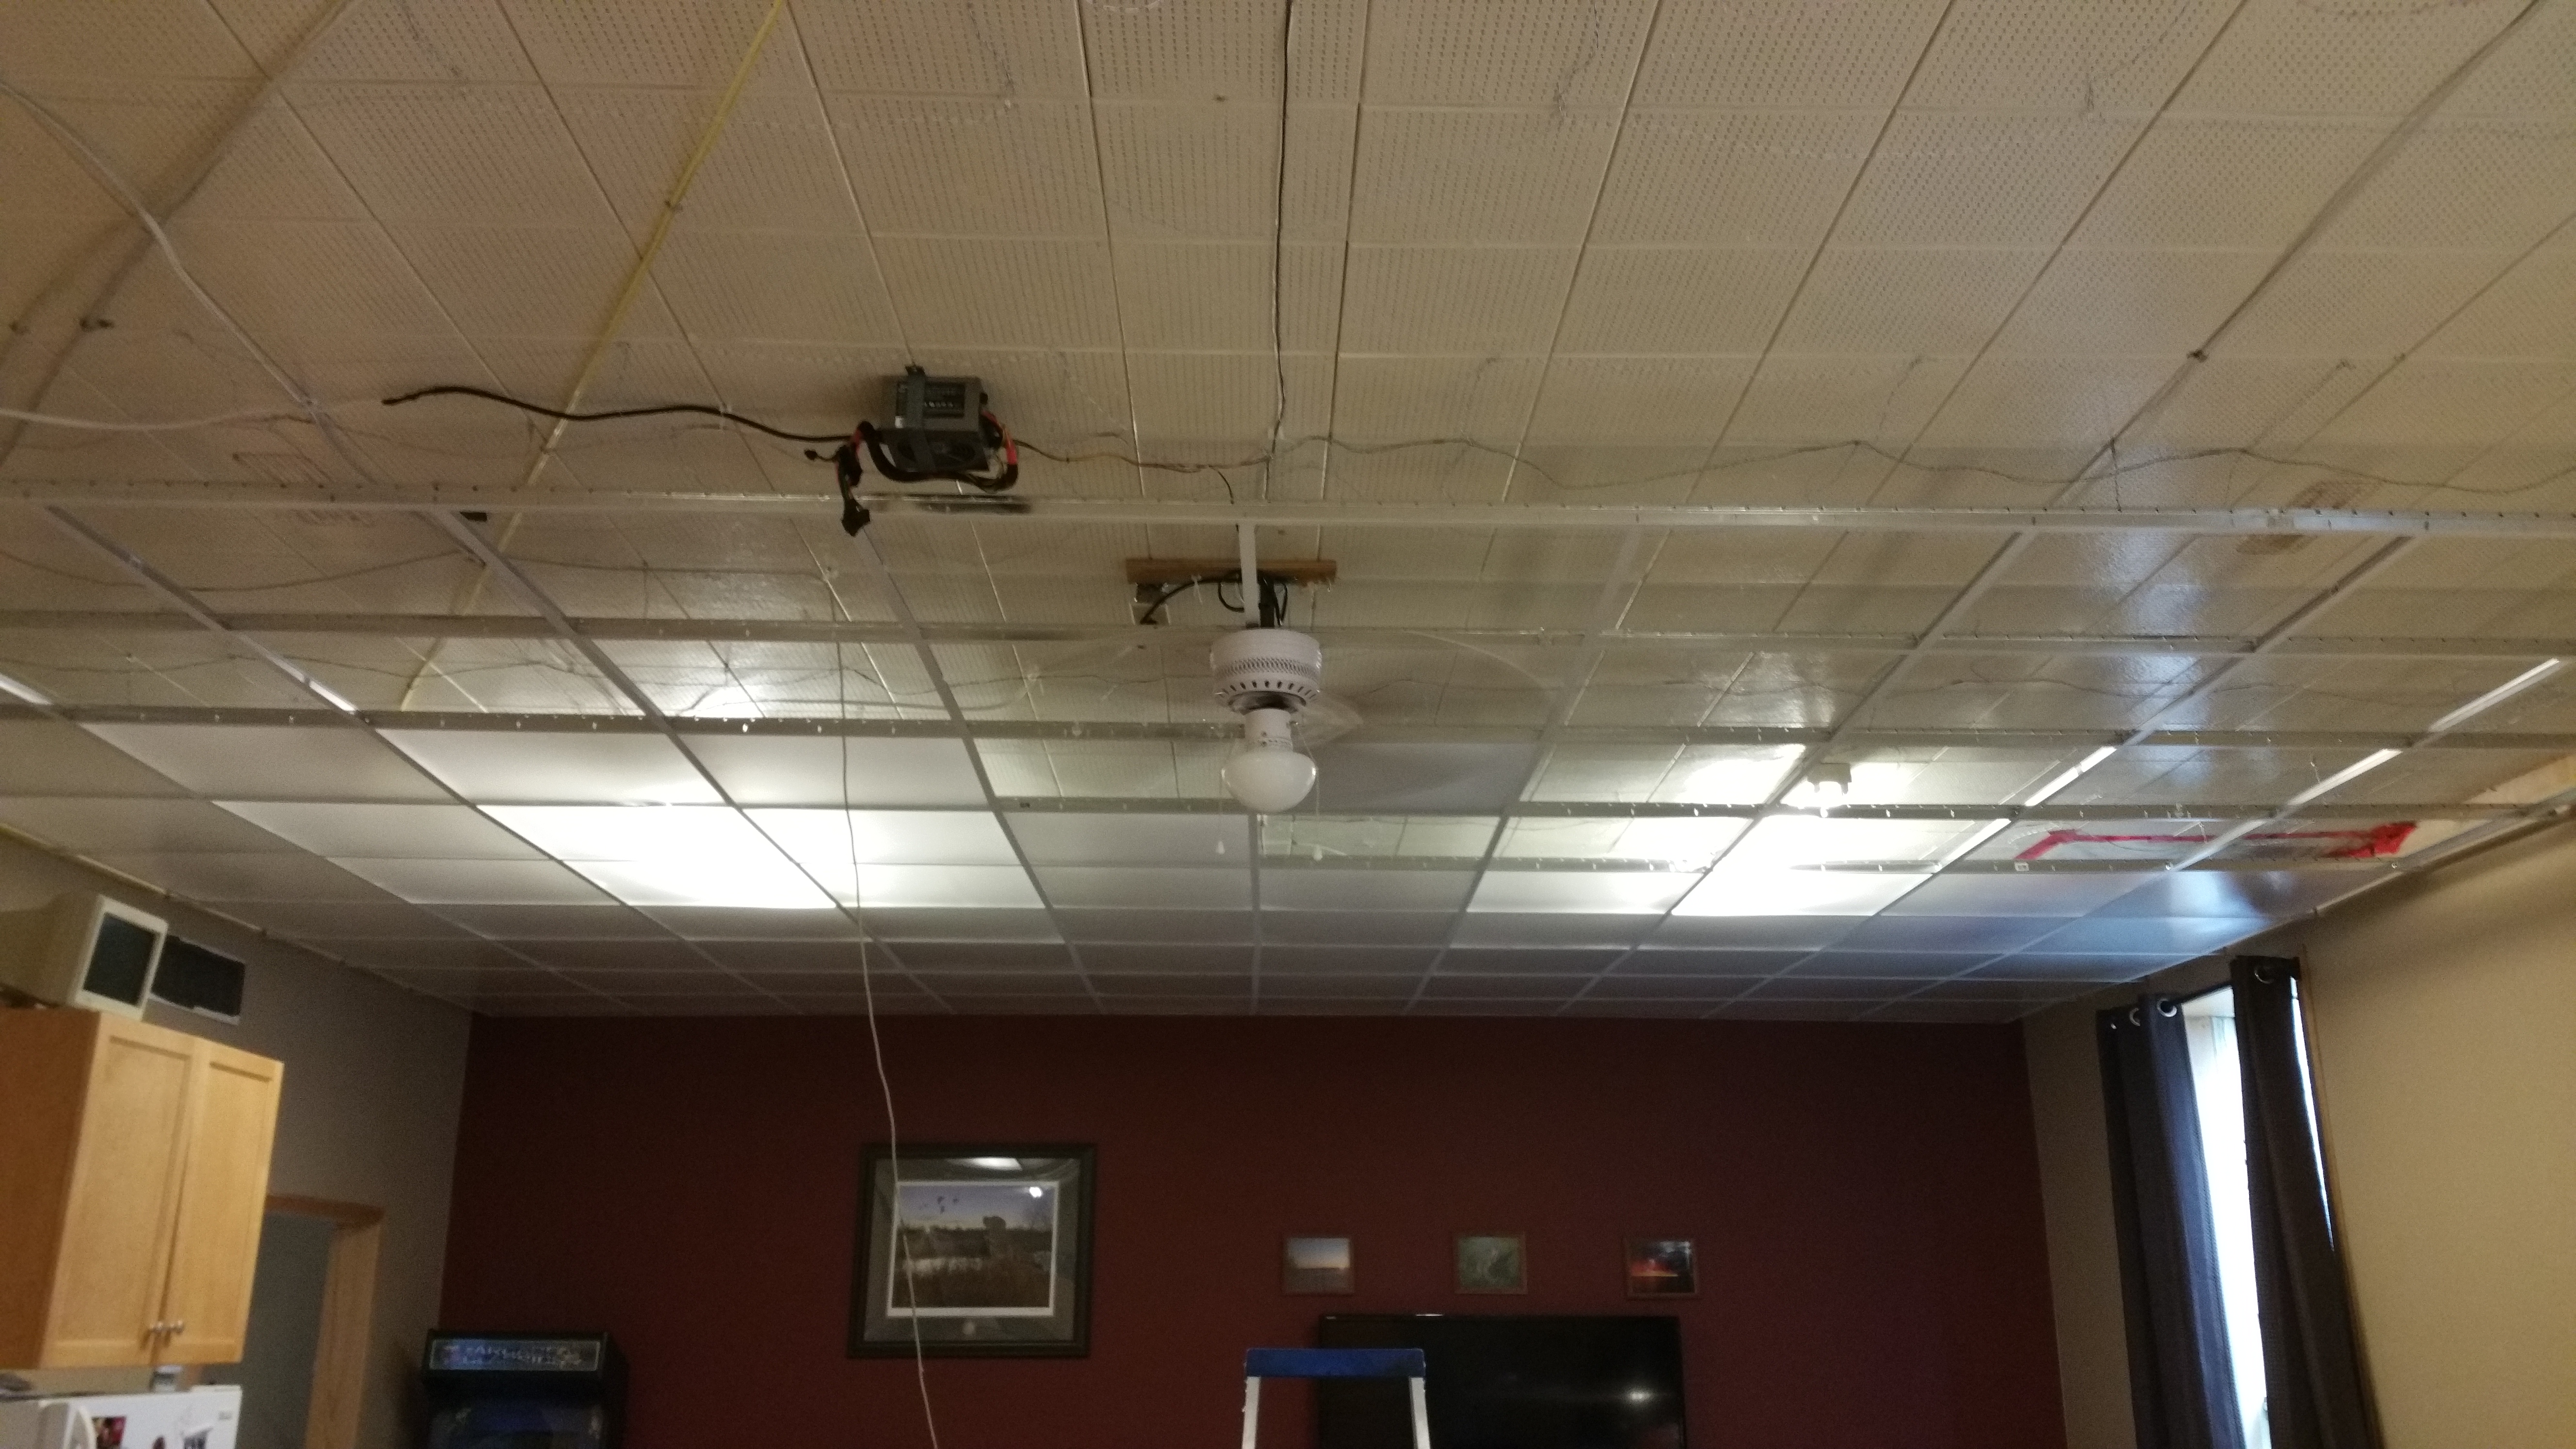 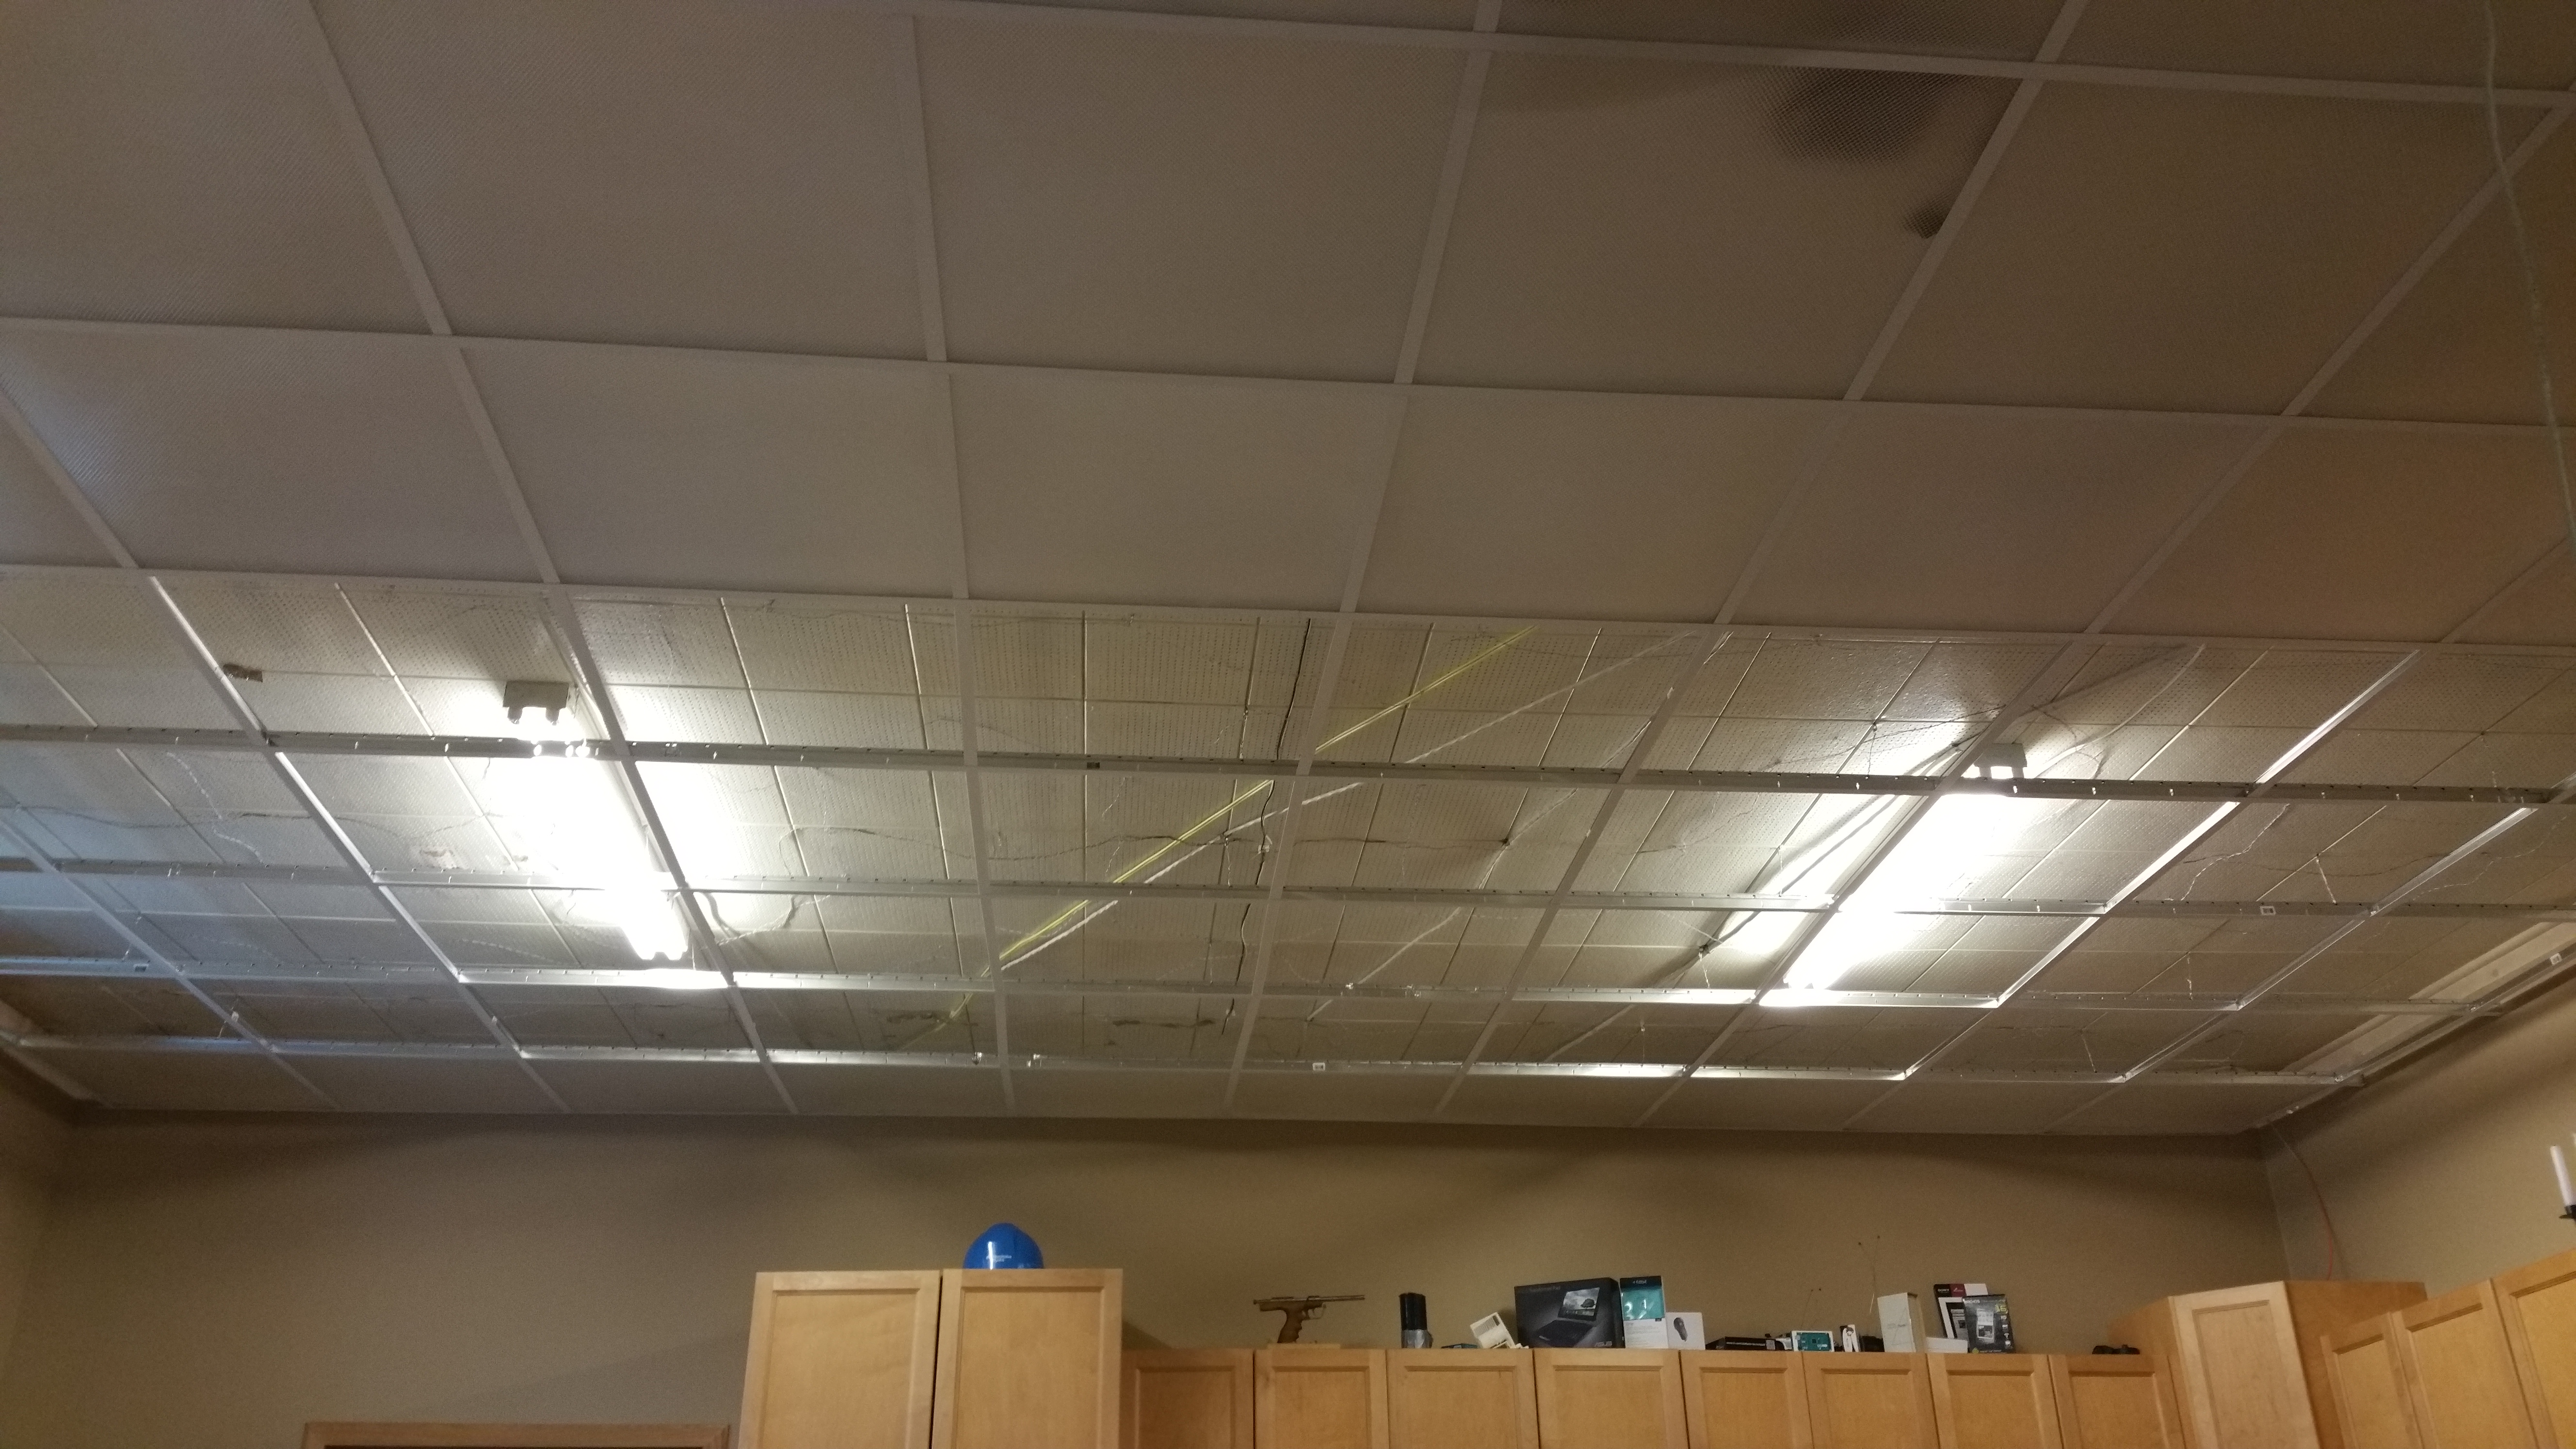
With everything complete I could finally turn off my main lights and see how well the LEDs looked against the opaque tiles. I think they turned out nice. I really like the way they fill the 2' by 2' square while not bleeding too much in to the adjacent tile. I think the calculations and testing I did to find the correct distance between LED and tile paid off. With the LEDs on full white at night, the room is lit well enough to do most tasks but almost feels eerie because of the lack of defined shadows. In the past couple of months I've had it, the most useful thing about the display is that I can set it to a sunset orange in order to signal my brain it's time to get ready for sleep. If I was going to do this project again, I would use small PCBs with a number of RGB LEDs on them to create a brighter pixel for every tile. This would make it easier to wire up and could give you enough light to be your only light source needed.
|

